Last updated November 17, 2026




Free written scope consultation - allowances, timeline, and change-order rules on paper before a single trade is scheduled
Windows & Doors Warning Signs Every Homeowner Should Know
A window that fogs between the panes is an annoyance. A window frame that feels soft when you press it is a $3,000 framing repair – and both look like “old window problems” from across the room. That’s the trap. The costly failures in windows and doors almost never announce themselves. They whisper: a little paint peeling in one corner, a lock that needs an extra nudge, a utility bill that crept up $40 a month and never came back down. By the time the damage is obvious, the repair has usually spread into the wall, the framing, or the subfloor. This guide walks through the early indicators we’ve seen in Yorba Linda homes, in the order they tend to appear, so you can catch failing windows and doors before they turn into structural work.
Quick Answer
The most reliable early warning signs of window and door failure are fogging or condensation trapped inside the glass (a failed seal, not surface moisture), soft or spongy wood when you press a door or window frame, locks and deadbolts that no longer line up cleanly, energy bills climbing without a rate change, and peeling paint, white chalky stains, or water marks around the frame. Two or more of these together means the assembly is failing and you should get it professionally evaluated rather than repainted over.
Styles & brands we work with
- Kitchen remodeling
- Bathroom remodeling
- Home additions & ADU
- Roofing
- Windows & doors
- Driveway & pavers
- Fence
Table of Contents
- Failed Window Seals vs. Surface Condensation: How to Tell Them Apart
- The Door Frame Rot Check Most Homeowners Miss
- Why Your Energy Bills Are Rising – and How to Test Whether Windows Are the Cause
- Security Warning Signs: Shifted Frames, Loose Locks, and Hinge Gaps
- What Peeling Paint, Efflorescence, and Staining Tell You About the Wall
- Yorba Linda Climate and Why Window Failures Show Up Early Here
- A 15-Minute Seasonal Inspection Checklist
- Repair or Replace? How to Make the Call
Key Takeaways

- Fog between the panes means the sealed glass unit has failed. Fog on the room side of the glass is just humidity.
- Soft wood under your thumb is the earliest reliable sign of rot – surface paint hides it until the framing is compromised.
- Energy bills creeping up without a utility rate change often trace back to window seals and door weatherstripping.
- A deadbolt that needs a shove isn’t a lock problem, it’s a settling frame problem – and it’s a security issue.
- White chalky stains or paint peeling in one strip around a frame usually means water is trapped behind it.
- Yorba Linda’s hot, dry summers and Santa Ana wind events put more thermal and pressure stress on window assemblies than most of the region.
Failed Window Seals vs. Surface Condensation: How to Tell Them Apart
The single most misread window symptom is fogging. Homeowners see fog or water droplets on the glass and assume it’s just a humid morning. Sometimes it is. Sometimes it’s a $600 sealed unit that’s already gone.
Modern windows are built from insulated glass units (IGUs) – two panes sealed around a spacer with dry air or argon between them. That factory seal is the whole ballgame. Once it fails, moisture enters the gap between the panes and there’s no way to get it back out. That moisture shows up as fog, haze, or a milky film on the inside of the glass. It also slowly destroys the low-E coating that reflects heat, which is why a fogged window performs worse than the day it was made.
Surface condensation is different. That’s water on the room-side of the glass, usually in the morning, and it wipes away. It happens when warm, moist indoor air hits a cold pane. It’s a humidity signal, not a window failure – though a window that’s constantly dripping in winter may still be worth a closer look at the seals around it.
Here’s the test that separates them:
- Wipe the glass with a dry cloth. If the moisture disappears, it’s surface condensation. If the fog stays, it’s trapped between the panes.
- Look from an angle at midday. Trapped moisture leaves a haze or a faint rainbow sheen near the edges. Surface condensation doesn’t leave a watermark behind.
- Press the glass with one finger. Trapped fog might shift slightly with the pressure. Surface fog won’t.
- Check the inside face of the outer pane. If you can see a wispy film running down the interior of the glass – between the panes – the seal is gone.
One note on urgency: a failed seal on a sealed unit usually doesn’t leak water into your wall. It just kills insulation performance and looks terrible. That’s a replacement job, not an emergency. Seals around the frame – the perimeter caulking and flashing – are the ones that let water into the wall, and those are the ones worth acting on quickly. We’ve replaced plenty of glass units in Yorba Linda homes where the fog had been there for three or four summers, and the only real cost was lost energy savings and a glass unit that had to be swapped anyway.
The Door Frame Rot Check Most Homeowners Miss
Wood rot in a door frame gets missed because it hides under a coat of paint and looks fine from six inches away. The surface coat stays intact while the wood behind it turns punky. When the paint finally cracks, the damage underneath has been progressing for a year or two.
The good news is that rot has a signature you can feel. Here’s the tactile check we walk every homeowner through – it takes about two minutes per door:
- Press the bottom of each side jamb with your thumb, right where the frame meets the threshold or the sill. Healthy wood feels like a wooden cutting board. Rot feels soft, spongy, or like you could dig a fingernail in with light pressure.
- Press the sill across its full length, especially at the corners. That’s where water pools on the exterior side.
- Poke the bottom corner of the door slab where it meets the sweep. Moisture wicks up through the sweep and rots the bottom rail of the door from the inside out.
- Look at the paint line where the frame meets the floor or threshold. Cracking, bubbling, or a faint dark line is water migrating into the wood.
- Smell the bottom corner of the door on a warm day. Damp wood has a musty smell that paint can’t hide.
Any one of those four is enough to call a pro. A soft spot that’s maybe the size of a quarter often means the rot has already spread into the rough opening framing – the wood behind the door frame that ties the assembly into the wall. That’s where the “$3,000 framing repair” number comes from. Surface-level rot remediation is a few hundred dollars. Pulling out and replacing the jamb and rough opening framing behind it is a different category of work altogether.
The same tactile check applies to exterior window frames, especially at the sill. If a window sill is soft under your thumb, water is already inside the wall cavity and you’re past the “just repaint it” stage.
Why Your Energy Bills Are Rising – and How to Test Whether Windows Are the Cause
When a utility bill jumps $60 in a month, most homeowners assume rates or weather. Those are the easy answers, and sometimes they’re right. But in our experience, a bill that climbs slowly over two or three summers and never comes back down is usually an envelope problem – and windows and doors are the top two suspects.
Here’s what window performance degradation looks like from the bill side. A failing seal doesn’t leak air, but it does lose its insulating gas fill and its low-E coating. That means the glass itself becomes less effective at reflecting heat back out. A door that’s settled 1/8″ out of square lets a steady stream of conditioned air escape past the weatherstripping. Neither registers as a dramatic “leak” you can feel. Both add up on every cooling and heating cycle of the year.
The self-test is straightforward and takes 10 minutes on a windy day:
- Close the window or door completely and lock it. Many homeowners test with the lock open – a window is only as airtight as its locked position.
- Run the back of your hand slowly along the perimeter of the frame, the seams, and where the sash meets the jamb. Cool air moving across the back of your hand is a leak.
- Hold a lit incense stick or a tissue about an inch from gaps in the frame. Watch the smoke or tissue. If it flickers or deflects, you have a draft.
- Check the exterior sill and the bottom corners on a windy day. Air pushing through the bottom corners is almost always a failed seal behind the siding, not just the sash.
- Compare rooms. If one room is consistently 3-5°F off from the rest of the house on a hot Yorba Linda afternoon, that room’s windows or door are the likely culprit.
If you find draft points at the perimeter but the glass looks fine, that’s often a weatherstripping and caulking job – the least expensive fix. If the glass itself feels hot to the touch from the outside on a summer afternoon when neighboring windows are cool, the low-E coating is degrading and the sealed unit is done. Our team can walk the whole exterior in about 30 minutes and tell you which is which.
Security Warning Signs: Shifted Frames, Loose Locks, and Hinge Gaps
This is the warning class homeowners walk past every single day, because it doesn’t look like a “window and door” issue at first – it looks like a stubborn lock.
Here’s what a shifting door frame actually means. When a door settles, hinges loosen, or framing moves, the entire door slab shifts within the opening. At first the change is tiny. But doors are a mechanical system: the strike plate, the deadbolt, and the hinges have to line up within about 1/16″ for the lock to engage cleanly. Once the frame has moved past that tolerance, three things happen simultaneously:
- The deadbolt starts needing a shove or a lift of the door handle to engage. That’s not a lock problem. It’s a strike plate alignment problem.
- The hinges develop visible gaps at the top or bottom of the jamb. Run a finger down the hinge side of the door. If you feel a gap at the top hinge and a tight pinch at the bottom (or vice versa), the door is out of square.
- The latch won’t catch unless the door is pulled or pushed into place. That’s the frame itself shifted relative to the wall.
Why this matters for security: a deadbolt that’s partially engaged only in the corner of its strike hole has a fraction of the holding strength it’s rated for. A steady kick or a pry bar is far more effective against a misaligned deadbolt than against one that’s fully seated. We’ve seen Yorba Linda homes where a deadbolt appeared “locked” to the homeowner but was actually only catching about 1/8″ of the strike plate. An exterior door in that condition is effectively a door without a deadbolt.
Windows have an equivalent. If a sash lock needs lifting, pushing, or a bump to latch, the frame has moved. That’s the same failure class – the window is no longer aligned to its own hardware, so the lock is doing cosmetic work. On ground-floor windows in Yorba Linda, this is worth fixing promptly, not adding to a “sometime” list.
What Peeling Paint, Efflorescence, and Staining Tell You About the Wall
Paint peeling in a single strip is not a paint problem. It’s a moisture problem, and the moisture is coming from inside the wall assembly, not from the paint. That’s the piece homeowners miss most often. If paint is failing across an entire sun-facing wall, that’s UV and age. If it’s peeling in a specific pattern around a window or door frame, it’s water.
Three surface signals are worth knowing by name:
- Peeling paint in a strip along a window or door frame – water is migrating behind the paint film, usually from failed perimeter caulking or a flashing detail that’s failed on the exterior side. The paint is the last thing to fail, not the first.
- Efflorescence – that white, chalky, salt-like staining you sometimes see on stucco or brick around a frame. It’s what happens when water moves through masonry, dissolves mineral salts, and then evaporates on the surface, leaving the salts behind. Efflorescence on the exterior around a window means water is moving through the wall from somewhere, usually through a failed window flashing or a crack above.
- Brownish water staining on drywall, stucco, or the interior of the frame – the actual water track. Follow it upward and outward. The stain is almost never where the leak started; water follows the path of least resistance through the wall cavity and shows up well below the actual failure point.
How to interpret these without overreacting: one small efflorescence patch after a big storm isn’t necessarily a failed window. Efflorescence that keeps coming back after repeated rain events, or any interior staining at all, is a signal that water is entering through the window or door assembly and needs professional evaluation. Interior mold at the top corner of a window is a late-stage sign – the water has been there for a while.
If you’re seeing efflorescence and staining together, the window or door assembly needs to be opened up before it becomes a Yorba Linda home envelope and framing repair. Stucco patching alone will not solve it; the failure is behind the surface.
Yorba Linda Climate and Why Window Failures Show Up Early Here
Yorba Linda’s weather is gentle compared to most of the country – but it’s unusually rough on window assemblies, and it’s worth understanding why before you decide whether a symptom is “just cosmetic.”
Three local factors drive window and door wear faster than the national average:
- Hot, dry summers. Yorba Linda regularly sees summer afternoons well into the 90s and occasional 100°F days. Glass units expand and contract against their frames daily. The seals that hold IGUs together take that thermal cycling every day of the summer, which is why failed seals show up at younger ages here than in milder climates.
- Santa Ana wind events. Every fall and winter, sustained dry winds push through the region at 30-50+ mph. These drive driven rain sideways into window and door frames – forced water is exactly what finds weak perimeter seals and failing flashing. Most of the water intrusion we see starts during a Santa Ana event, not during normal rain.
- Low humidity that hides water damage. Dry air pulls moisture out of wood quickly, so rot shows up more slowly here than in humid climates. But the water is still there on each intrusion event, and the rot is still happening under the paint. Dry-climate homeowners often assume “it’s dry here, so rot isn’t a concern” – that assumption is why the damage goes unnoticed longer.
We regularly see sealed unit failures in Yorba Linda homes that are 8-12 years old – younger than the same failures in cooler coastal climates. Fog between the panes in a home at that age isn’t a surprise; it’s the climate doing what it does.
On the code side, window and door replacements in Yorba Linda must meet current Title 24 energy requirements for the climate zone, which usually means dual-glazed units with specific U-factor and SHGC ratings. If a replacement is done without permits or with the wrong rated unit, you can end up with a code compliance problem at resale. Something to keep in mind when you’re evaluating whether to repair or replace.
A 15-Minute Seasonal Inspection Checklist
Set a reminder for the same weekend every spring and again in the fall – once before cooling season and once before the Santa Ana winds arrive. The whole walkthrough takes 15 minutes and will catch most failures while they’re still in the repair-only stage.
- Walk the exterior. Look for peeling paint, staining, efflorescence, or cracked caulking around every window and door frame. Note anything that’s new since the last walkthrough.
- Touch every exterior door sill and jamb bottom. Press with your thumb. Any softness is a red flag.
- Operate every window. Open it fully, look at the tracks and the perimeter seal, close it, and lock it. If the lock needs a push or the sash drags, the frame has moved.
- Test every lock and deadbolt. If it needs a shove, lift, or wiggle, that’s a frame alignment issue, not a lock.
- Look at every pane from an angle. Fog, haze, or a rainbow sheen between the panes means a failed seal.
- Do the draft test on the three windiest exposed walls. Back of the hand, then incense or tissue.
- Check the interior. Look for water stains at window heads, mold at corners, or paint bubbling on the interior side.
- Compare energy bills year-over-year – same months, similar weather. Rate changes aside, a bill that climbs steadily is trying to tell you something.
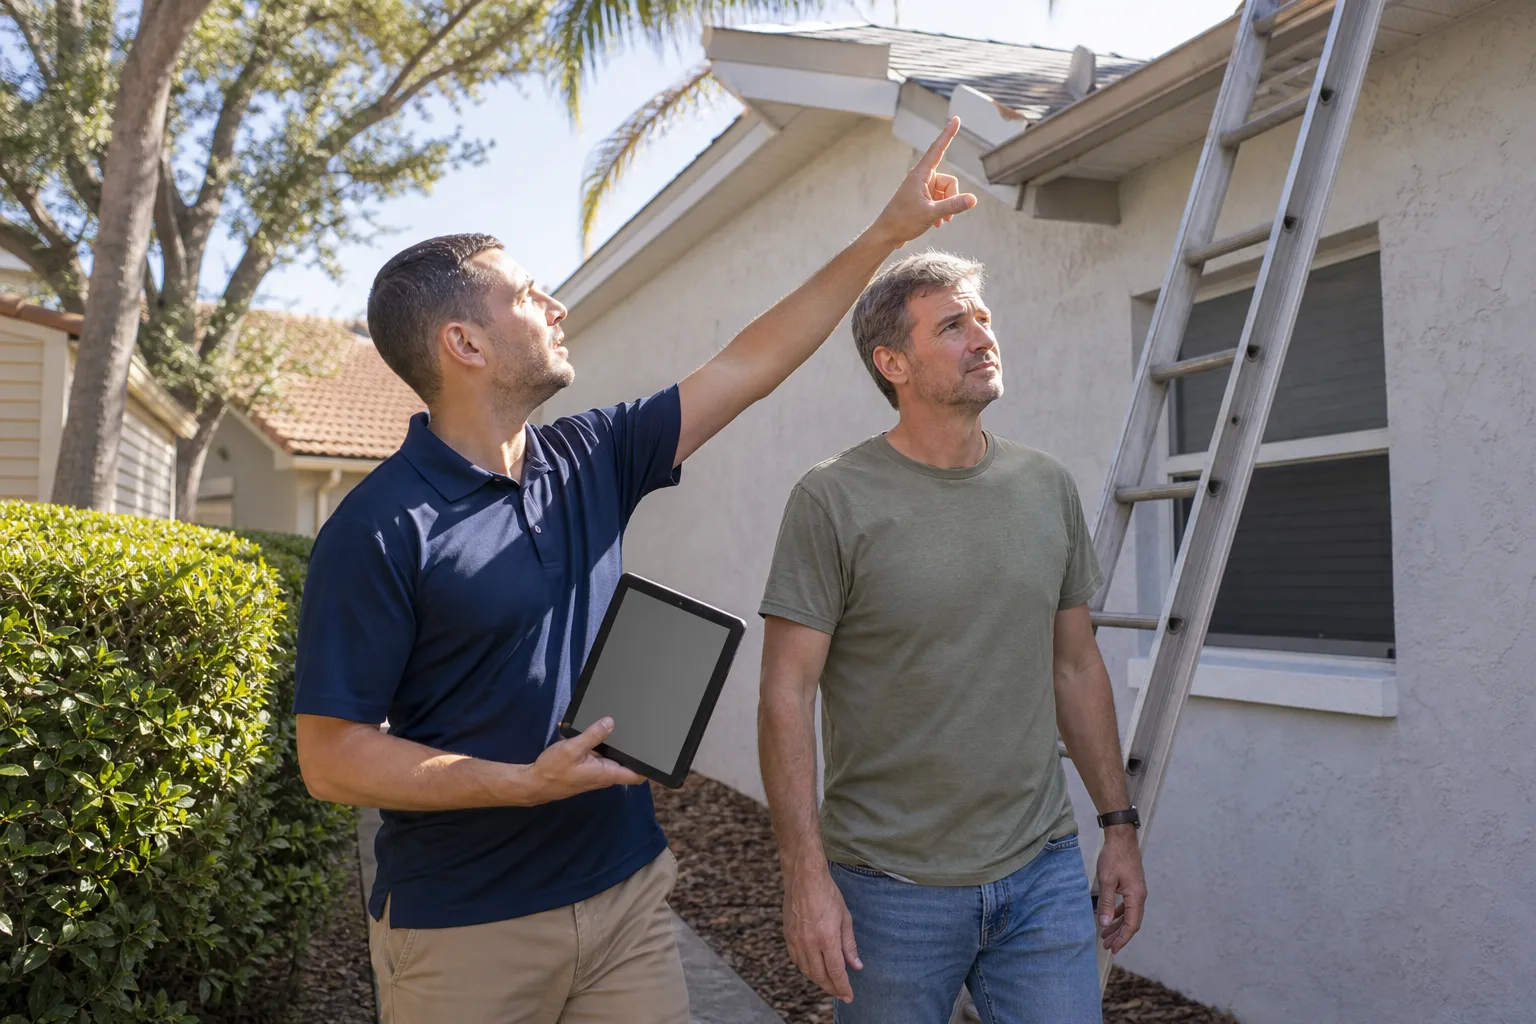
Our full-scope approach means a single inspection can cover windows, doors, exterior trim, and the roof tie-ins – all parts of the same envelope. When we walk a Yorba Linda exterior, we look at how the window failures tie into the roof and stucco detail, because that overlap is where most of the expensive damage starts. If the inspection turns up exterior work beyond windows and doors, we can handle it from foundation to finish line without a second contractor.
Repair or Replace? How to Make the Call
Most homeowners arrive at the “should we repair or replace?” question and get stuck because the honest answer depends on which failure class you’re looking at. Not all symptoms carry the same weight. Here’s how we sort it:
- Repair-only candidates: fogged sealed units where the frame is solid and the perimeter is tight, replacing weatherstripping, resetting hinge plates, adjusting strike plates, and re-caulking perimeter joints. Cost is typically a few hundred dollars per opening.
- Replacement candidates: soft frames, failed flashing details, two or more failed seals in the same opening, doors that have been re-hung once already and are out of square again, or window assemblies that have been patched and repainted multiple times without addressing the underlying failure.
- Wall-opening candidates: rot that has reached the rough framing, repeated water intrusion with interior staining, or an assembly where the window flashing has failed at the head. These are the jobs that turn into $2,500-$5,000 per opening because the wall has to come open to do the work correctly.
New window costs in the Yorba Linda market generally land somewhere between $650 and $1,400 per opening installed for a standard replacement, and north of $1,800 per opening when the trim and stucco detail requires custom work. A door replacement ranges from about $900 for a basic fiberglass entry door installed to $3,500+ for a premium entry door with sidelights and a proper flashing and trim rebuild. Those are ranges, not quotes – the honest number depends on the opening, the current condition, and what’s behind the trim.
We work with a curated set of brands across the window category: Andersen and Marvin on the premium side, Therma-Tru for fiberglass entry doors, and ES Windows and ECO Window Systems for impact-rated and dual-glazed configurations that fit the Southern California market. Picking a window brand is not the interesting question; picking the window that matches your opening, your climate zone, and your budget is. That’s the conversation. Every project we do is backed by the 730-Day Done Right Promise, and if the windows aren’t right after two years of Yorba Linda summers, we come back and fix them.
Our technicians have up to 12 years of experience on window and door work, and we’ve walked enough Yorba Linda exteriors to know which failures are common in which parts of town. Most of the honest answers come from a 30-minute walkthrough, not from a bid sheet.
Common Mistakes to Avoid
- Repainting over rot. A fresh coat of exterior paint over a soft door frame buys you six months of looking fine and another year of rot spreading underneath. Press before you paint.
- Assuming fog between the panes is just Yorba Linda morning humidity. Wipe it. If it doesn’t come off, the sealed unit failed and it will not self-correct. Every summer you ignore it is lost energy savings and a glass unit that still has to be replaced.
- Thinking “it’s dry here, so rot isn’t a concern.” Low humidity makes rot harder to see, not less likely. The water intrusion is happening during Santa Ana wind events – the dry air just hides the evidence longer.
- Ignoring a deadbolt that needs a shove. That’s a security failure with a cosmetic disguise. A partially-engaged deadbolt is not locked in any meaningful sense, even if the key turned.
- Replacing windows without pulling permits. Yorba Linda replacement windows are subject to Title 24 energy compliance. An unpermitted replacement with a non-compliant unit can cost you at resale, and many inspectors will flag it on the disclosure.
- Caulking over failed flashing. Caulk is a maintenance material with a 5-10 year lifespan. Flashing is the actual water management system behind the window. Caulking over a failed flashing detail hides the leak without stopping it.
- Hiring a window-only contractor for a wall problem. When the rot reaches the framing, the job is no longer a window job. It needs a contractor who can open the wall, repair the framing, and rebuild the whole assembly to spec. A glass-and-sash company can’t do that; a full-scope builder can.
See the difference
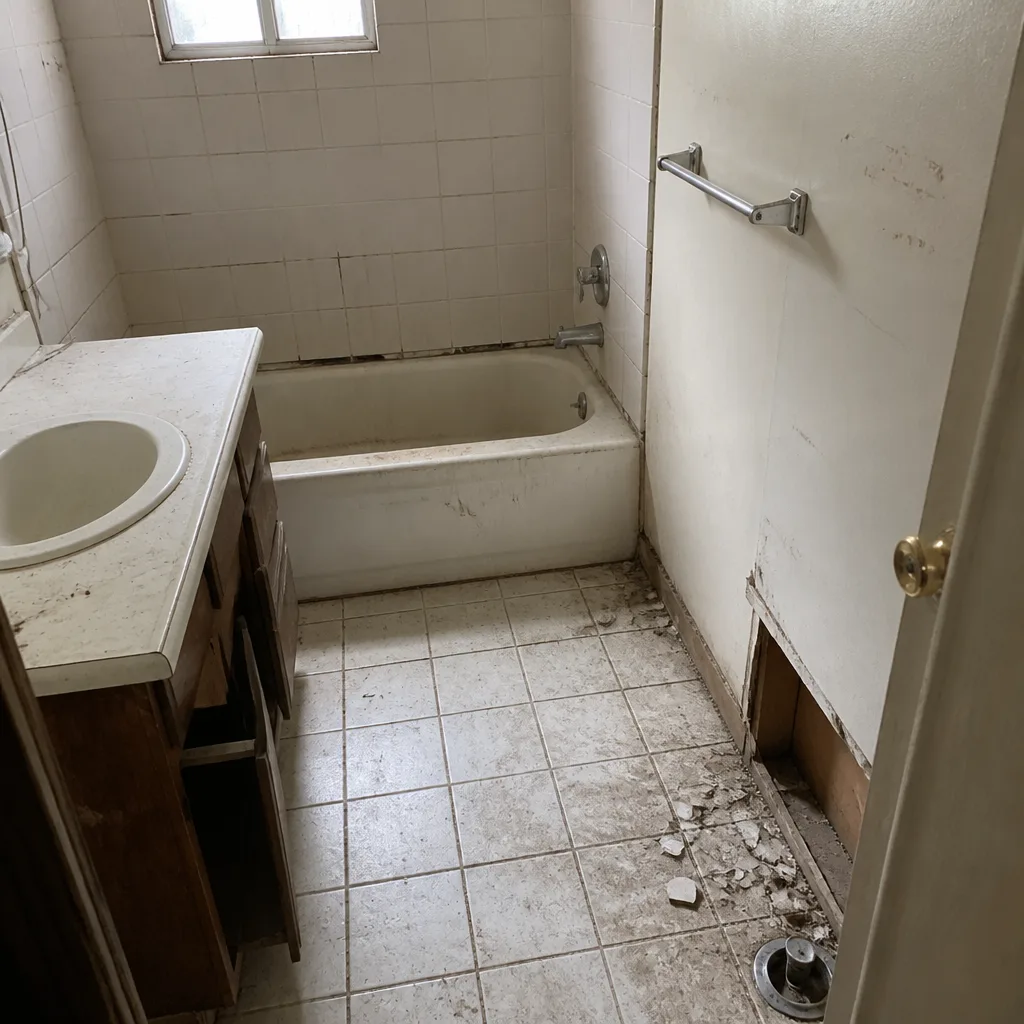 Before
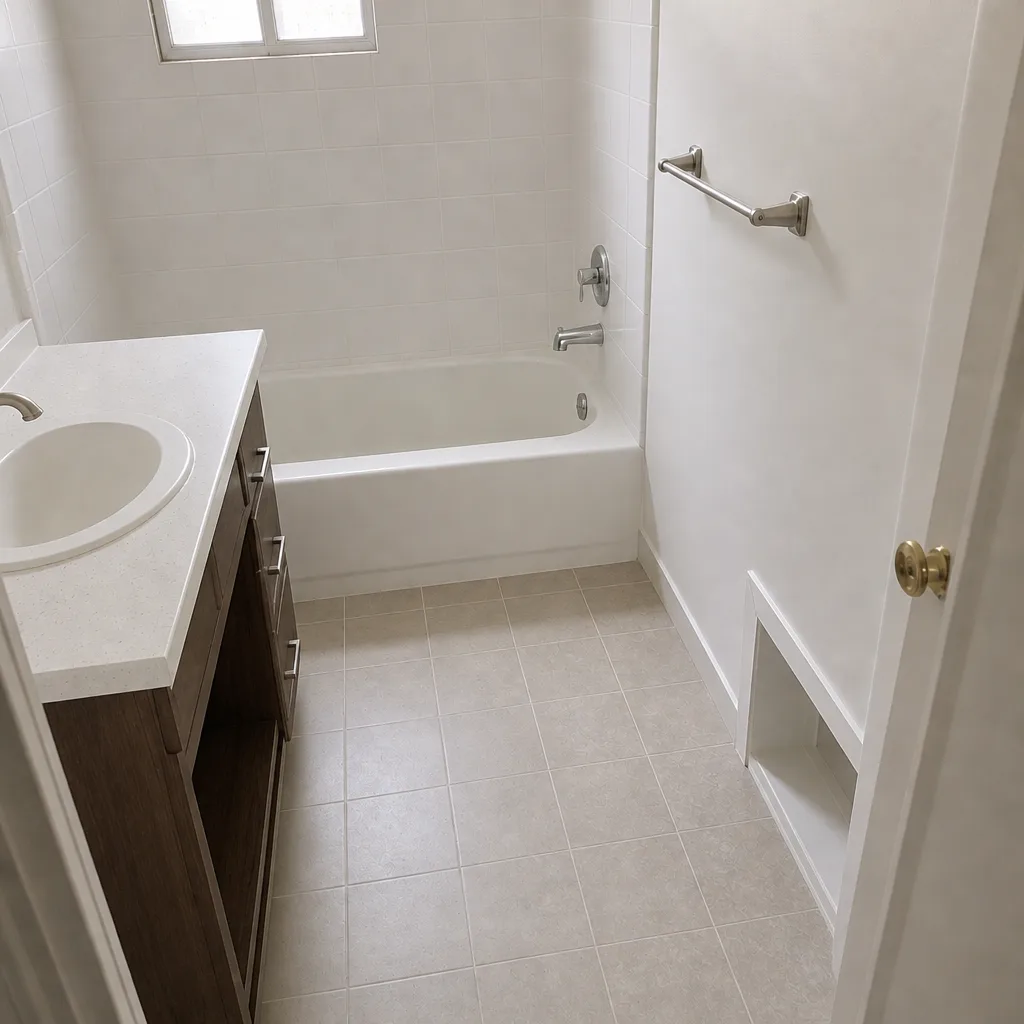 After
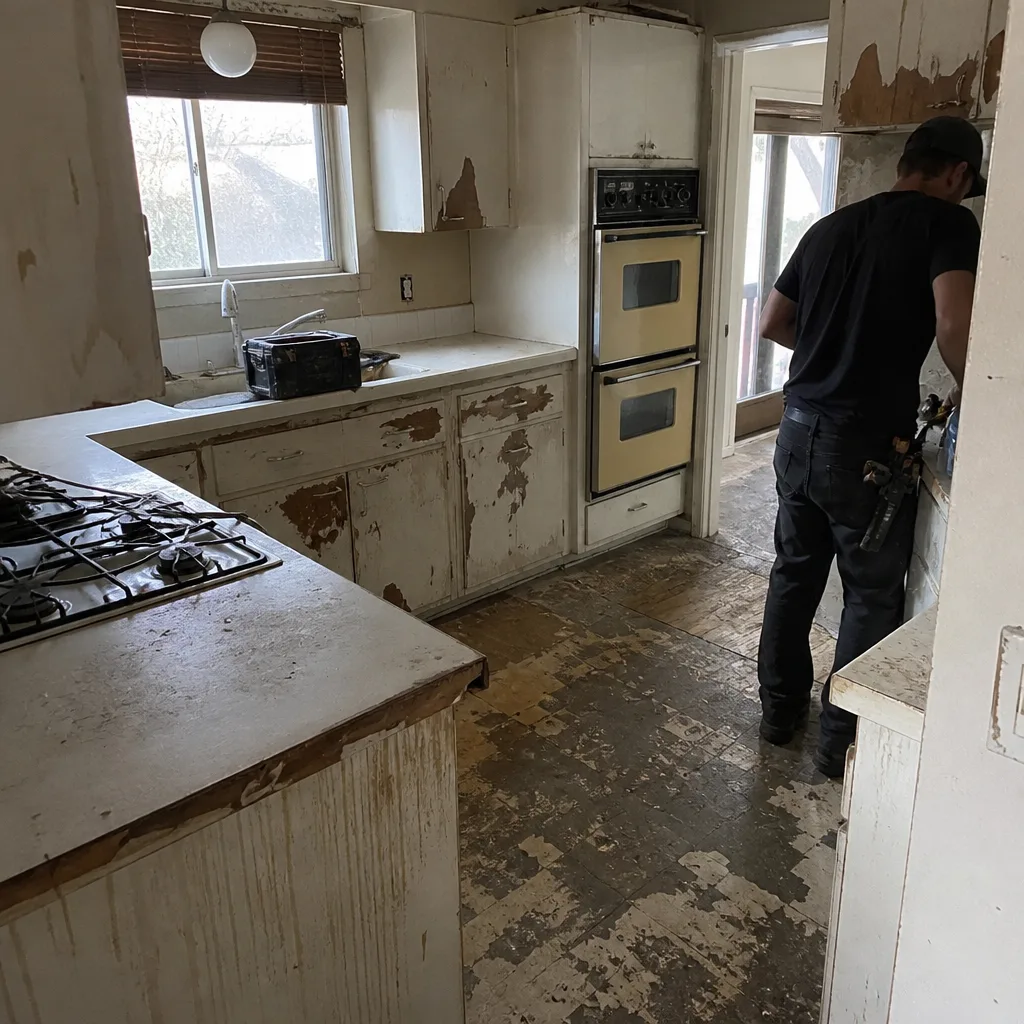 Before
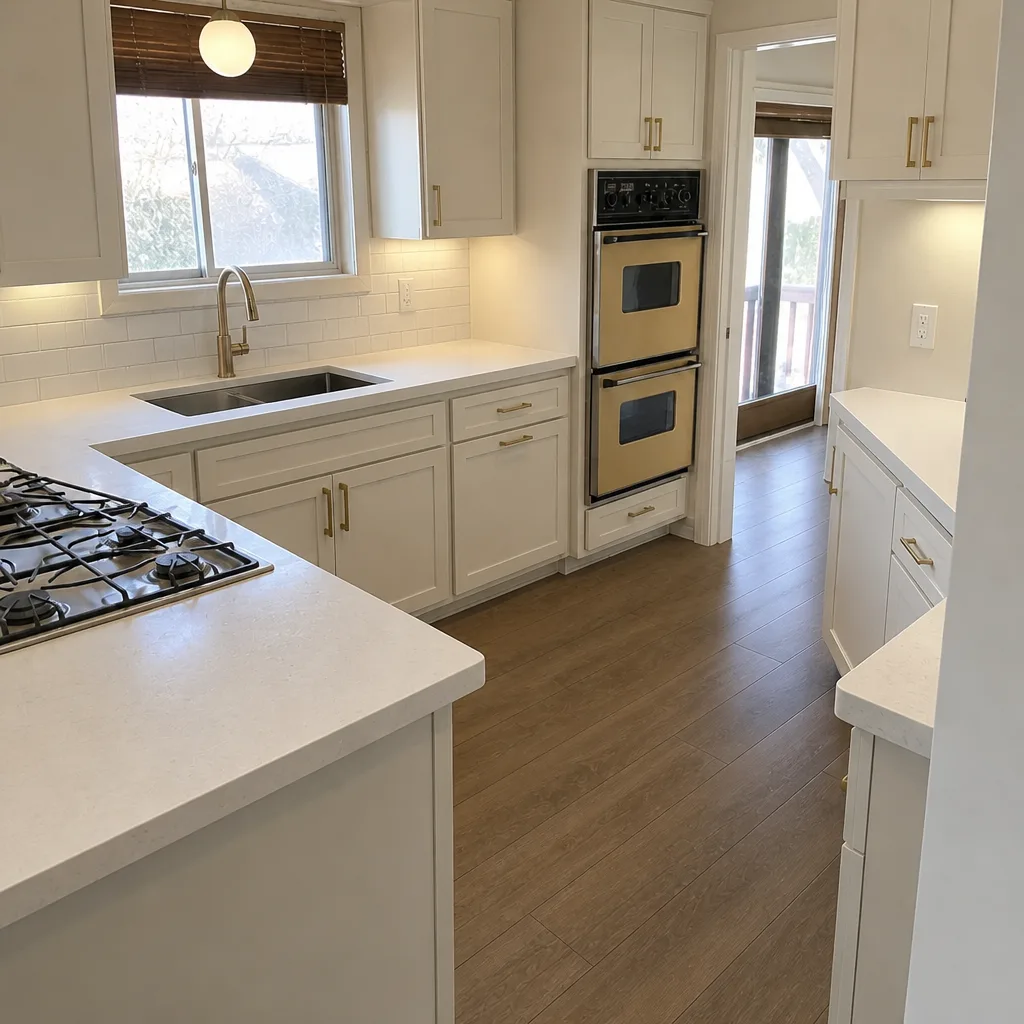 After
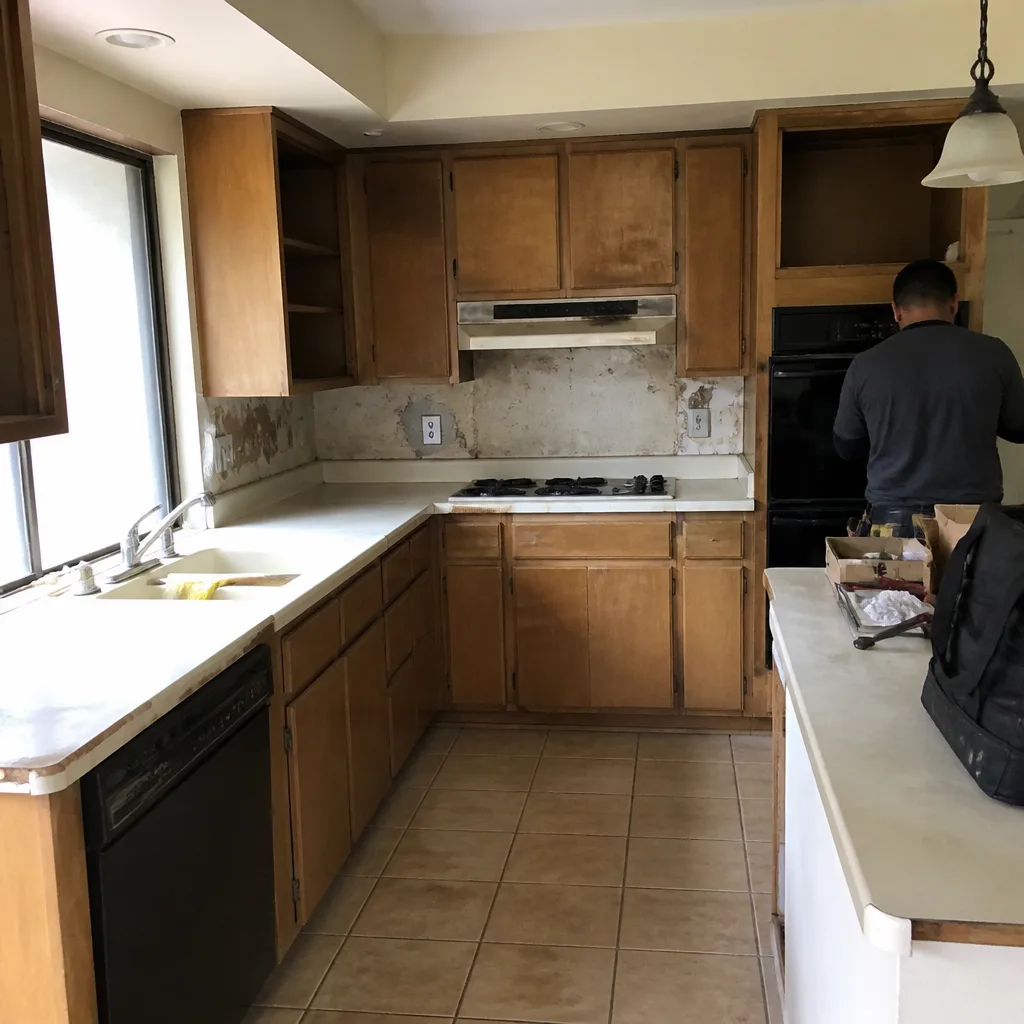 Before
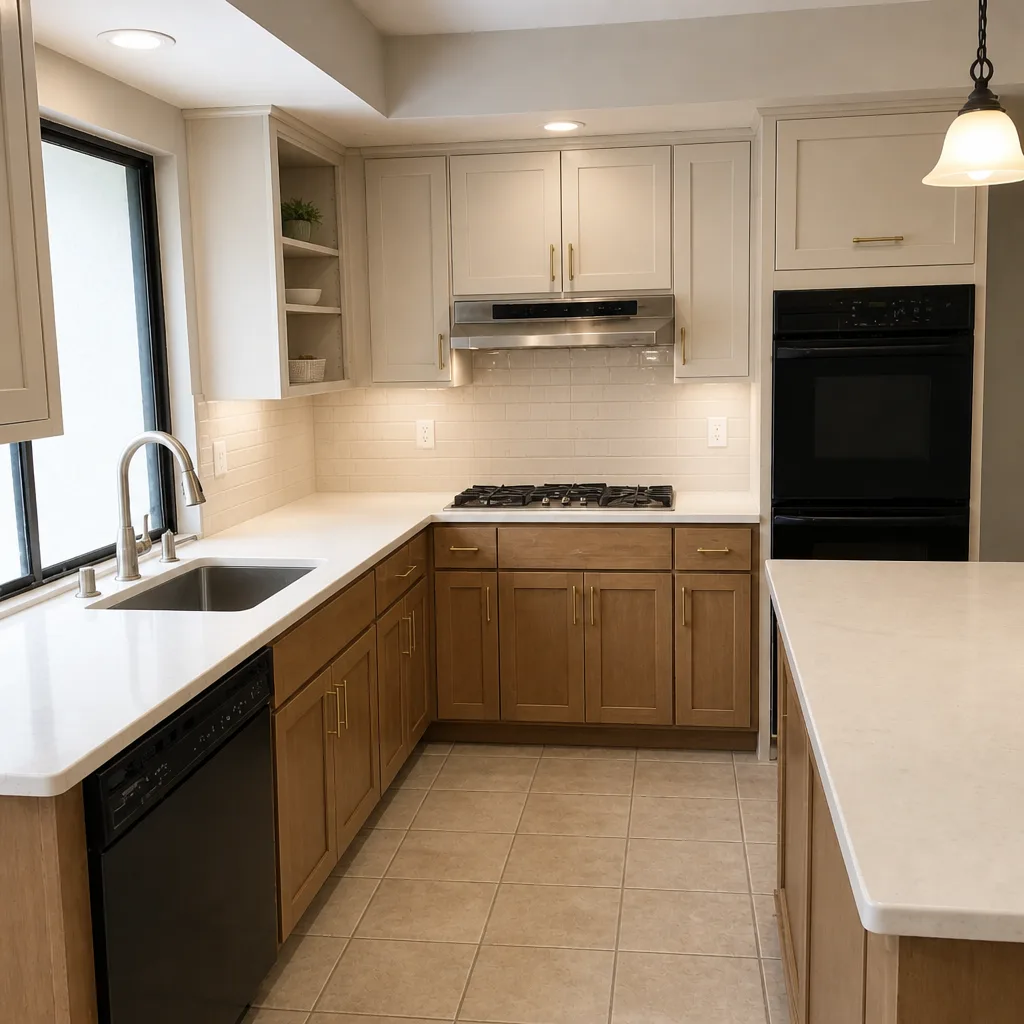 After
When to Call a Professional
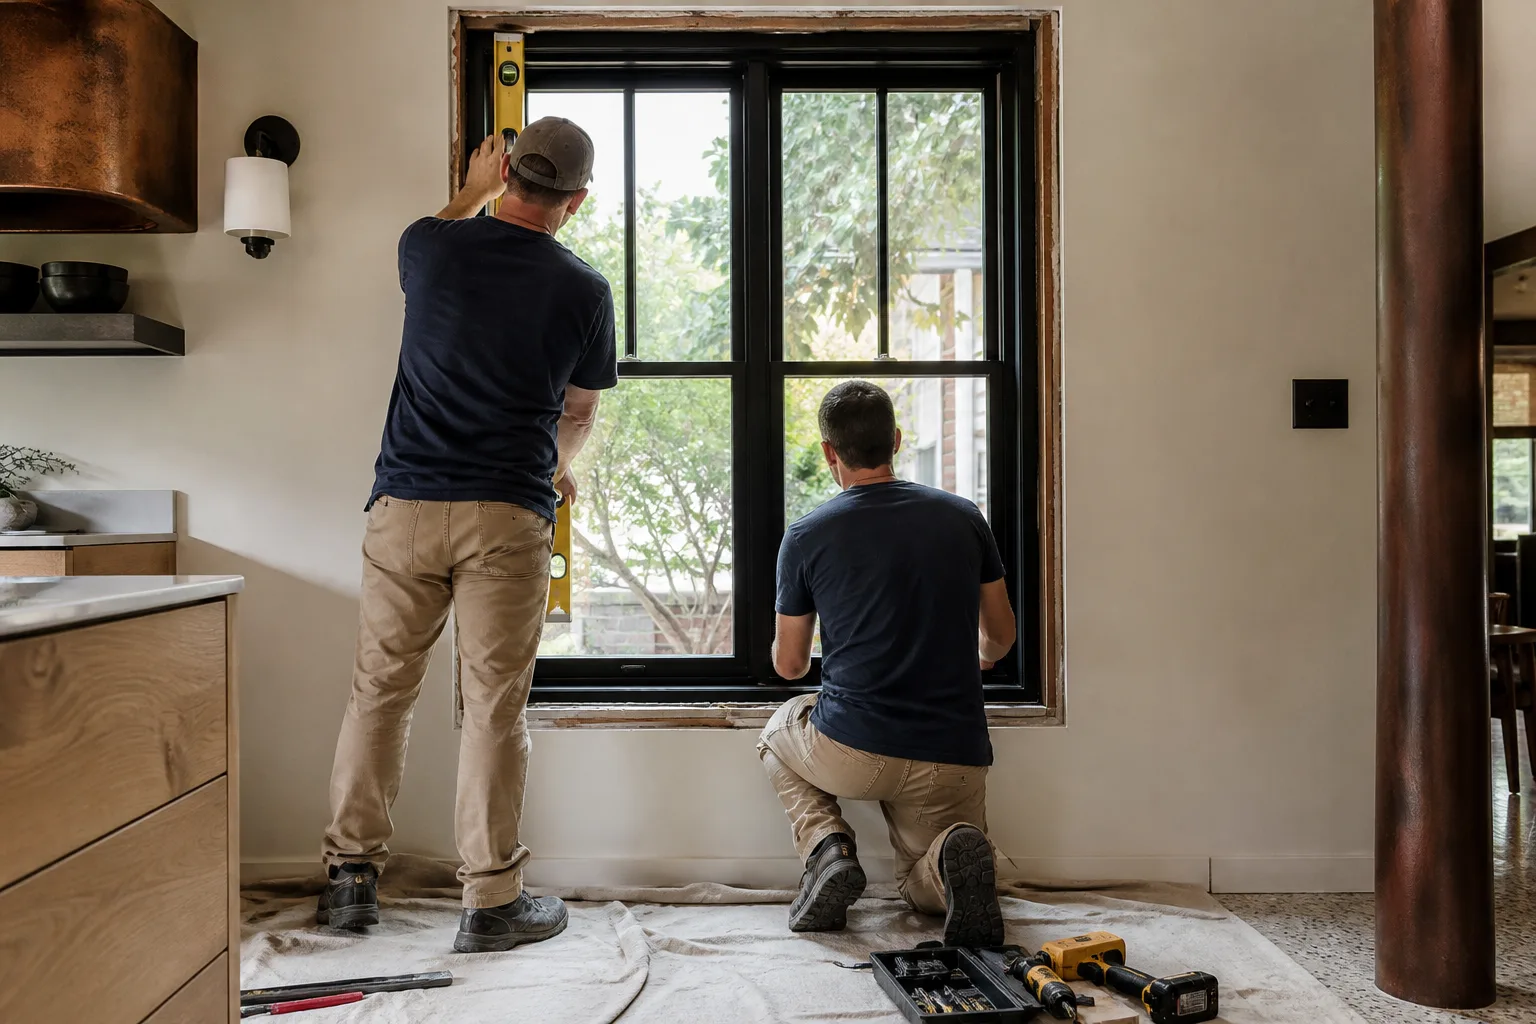
Call a professional when two or more of the warning signs in this guide show up in the same opening, when any wood frame feels soft to the touch, when you’re seeing interior water staining, mold, or repeated efflorescence on the exterior, or when a lock or deadbolt no longer engages cleanly. Those are the signs that the failure has moved beyond cosmetic and into the assembly – the place where a small problem becomes an expensive repair. If you’re simply due for a walkthrough and want a trained eye on the whole exterior, that’s also a good reason to call before a Yorba Linda summer or fall wind season starts.
Groundwork Construction Co. of Yorba Linda offers free estimates in Yorba Linda – call (888) 255-9354. A live person answers, 24/7. Our technicians are background-checked, arrive in uniform, and can walk your exterior, diagnose the failure, and write a line-item quote that shows you exactly what’s being repaired vs. what’s being replaced. No-hassle upfront pricing, and the number on the quote is the number you pay.
Frequently Asked Questions
If the fog wipes off from the room-facing side of the glass, it’s surface condensation and the window is fine. If the fog stays after you wipe – or you can see a haze inside the gap between the panes – the sealed unit has failed and the glass assembly needs to be replaced. The frame is usually still fine. A single sealed-unit replacement is typically a few hundred dollars per window; a full window replacement runs $650-$1,400 installed in the Yorba Linda market. Call (888) 255-9354 for an exact quote – estimates are free.
A surface-level rot repair on a door frame typically runs $250-$600 in Yorba Linda. If the rot has reached the rough opening framing behind the door – which is common once the jamb is punky for more than a few inches – the repair moves into the $1,500-$3,500 range because the framing has to be opened up and rebuilt. The difference between those two outcomes comes down to how early it’s caught. Call (888) 255-9354 to schedule a free walkthrough and get a written line-item quote.
Replace the failing ones first, and evaluate the rest on a 5-year plan. Replacing every window when only two have failed seals is rarely a good financial move – you’re paying full replacement cost for windows that have years left. The exceptions are windows of the same age and same original install, which often fail in clusters within 2-3 years of each other. In that case, a full-floor replacement is usually the better value. We write line-item quotes either way so you can see exactly what you’re buying – call (888) 255-9354.
Usually the door frame has settled relative to the rough opening, not the whole house. Foundation movement does cause door shift, but far more often it’s a hinge plate that’s loosened, a jamb that’s absorbed moisture and moved, or a strike plate that needs adjustment. A quick test: open the door 45° and let it go. If it swings on its own, the frame is out of level and it’s worth confirming the cause. If it stays put, the issue is likely the hardware. Get a professional read before assuming foundation work – call (888) 255-9354.
Yes. Yorba Linda replacement windows must meet current Title 24 energy requirements, which requires a permit and an inspection to confirm the units meet the required U-factor and SHGC ratings for your climate zone. Skipping the permit can trigger a compliance issue at resale or refinance. Choose a contractor who pulls the permits and passes the inspection – Groundwork pulls the permits on every window and door project, and the inspection is part of the job. Call (888) 255-9354 to discuss your project.
Expect dual-glazed windows to hold their sealed units for 10-15 years in Yorba Linda; some fail as early as 8 due to the thermal cycling from summer heat and Santa Ana wind exposure. Entry doors with proper maintenance can last 20-30 years, but the door frame’s perimeter caulking and flashing (the water-defense detail) needs attention every 5-7 years regardless of door quality. If you’re past 10 years on original windows or you can’t remember the last time the exterior caulking was refreshed, a professional walkthrough is worth the call – (888) 255-9354.
The Bottom Line
The window and door failures that cost the most money don’t look like failures. They look like a stubborn deadbolt, a foggy pane, a little peeling paint, a utility bill that crept up. Catch them in that stage and the repair is hundreds, not thousands. Catch them after rot reaches the framing or water has soaked into the wall cavity and you’re rebuilding an entire assembly. The check is a 15-minute walkthrough twice a year: press the wood, test the locks, wipe the glass, look at the stains. When the signs stack up, get a trained eye on it. And when you’re ready to fix what you find, work with a contractor who’ll put the workmanship in writing and stand behind it – Groundwork Construction Co. of Yorba Linda does exactly that, from foundation to finish line. If the windows are just part of a larger plan, we handle Home Additions & ADU in Yorba Linda, Driveway & Pavers in Yorba Linda, and Fence Installation in Yorba Linda through the same team and the same 730-Day Done Right Promise.
Ready to Take the Next Step?
If you’ve identified two or more warning signs on your windows or doors, don’t wait for the next Santa Ana wind event to confirm what you already suspect. Call (888) 255-9354 for a free estimate in Yorba Linda. A live person answers 24/7. Our team will walk your exterior, diagnose the failure, and write a clear line-item quote – no change orders, no hidden fees, no surprises. Every project we do comes with the 730-Day Done Right Promise, and the number you see is the number you pay. Book your free estimate and design consult today, and ask about 0% financing for 18 months and $1,000 off projects over $10,000.
Written by the team at Groundwork Construction Co. of Yorba Linda.