Last updated November 17, 2026






Free written scope consultation - allowances, timeline, and change-order rules on paper before a single trade is scheduled
Bathroom Remodeling Troubleshooting: Common Problems and How to Fix Them
Grout cracking within 12 months of a bathroom remodel isn’t a grout problem. It’s a deflection problem in the substrate underneath, and no amount of re-grouting fixes it until the movement is addressed. We’ve torn out showers in Yorba Linda where the tile looked perfect on the surface and the plywood below had flexed enough to shear every grout joint in the room. Homeowners blamed the tile. The tile was fine. The sequencing was wrong. This guide works backward from the symptom to the actual cause, so you can tell whether you’re looking at a substrate failure, a waterproofing failure, a plumbing compatibility issue, or routine maintenance. By the end you’ll know which problems are legitimate warranty claims, which are yours to maintain, and which need a licensed contractor before someone gets hurt.
Quick Answer
Most post-remodel bathroom problems trace to four root causes: substrate deflection under tile, waterproofing failures at penetrations and liner laps, plumbing valve and flow-restrictor mismatches after fixture replacement, and missing maintenance on caulk and sealant joints. Diagnosing correctly means identifying which of those four you’re dealing with before you spend money on a repair. Grout cracks that return after re-grouting point to movement. Moisture that appears only after showers points to waterproofing. Pressure drops that started the day a new faucet went in point to the fixture, not the house.
Styles & brands we work with
- Kitchen remodeling
- Bathroom remodeling
- Home additions & ADU
- Roofing
- Windows & doors
- Driveway & pavers
- Fence
Table of Contents
- How to diagnose tile and grout failure correctly
- The three waterproofing failures we find most often in shower remodels
- Post-remodel moisture problems: plumbing leak, condensation, or waterproofing failure?
- Low water pressure and temperature swings after fixture replacement
- Subfloor and framing problems that surface after the tile goes down
- Ventilation, mold, and the Yorba Linda climate factor
- Warranty claim, maintenance failure, or licensed repair?
- How to sequence a bathroom remodel so these problems don’t happen
How to Diagnose Tile and Grout Failure Correctly
There are four distinct reasons tile and grout fail, and they call for four different fixes. Get the diagnosis wrong and you’ll pay for the same repair twice. In our experience across Yorba Linda remodels, the failure mode breaks down roughly like this:
- Substrate deflection: The floor or wall moves under load. Grout cracks in straight lines, often along the center of a floor field or at the junction between two substrate panels. Tile may sound hollow when tapped. Re-grouting buys you months, not years.
- Inadequate mortar coverage: The tile wasn’t fully bedded. You’ll hear hollow spots when you tap individual tiles, and those specific tiles loosen or crack while their neighbors stay intact. Coverage below 80% in dry areas or 95% in wet areas is a workmanship failure.
- Grout joint sizing errors: Joints too narrow for the tile’s expansion coefficient, or sanded grout forced into a joint meant for unsanded. Cracks appear as fine spiderwebbing across the grout lines, not as a single clean break.
- Thermal expansion: Common where a shower wall faces an exterior wall with direct sun. Cracks run along the perimeter of the field or at changes of plane.
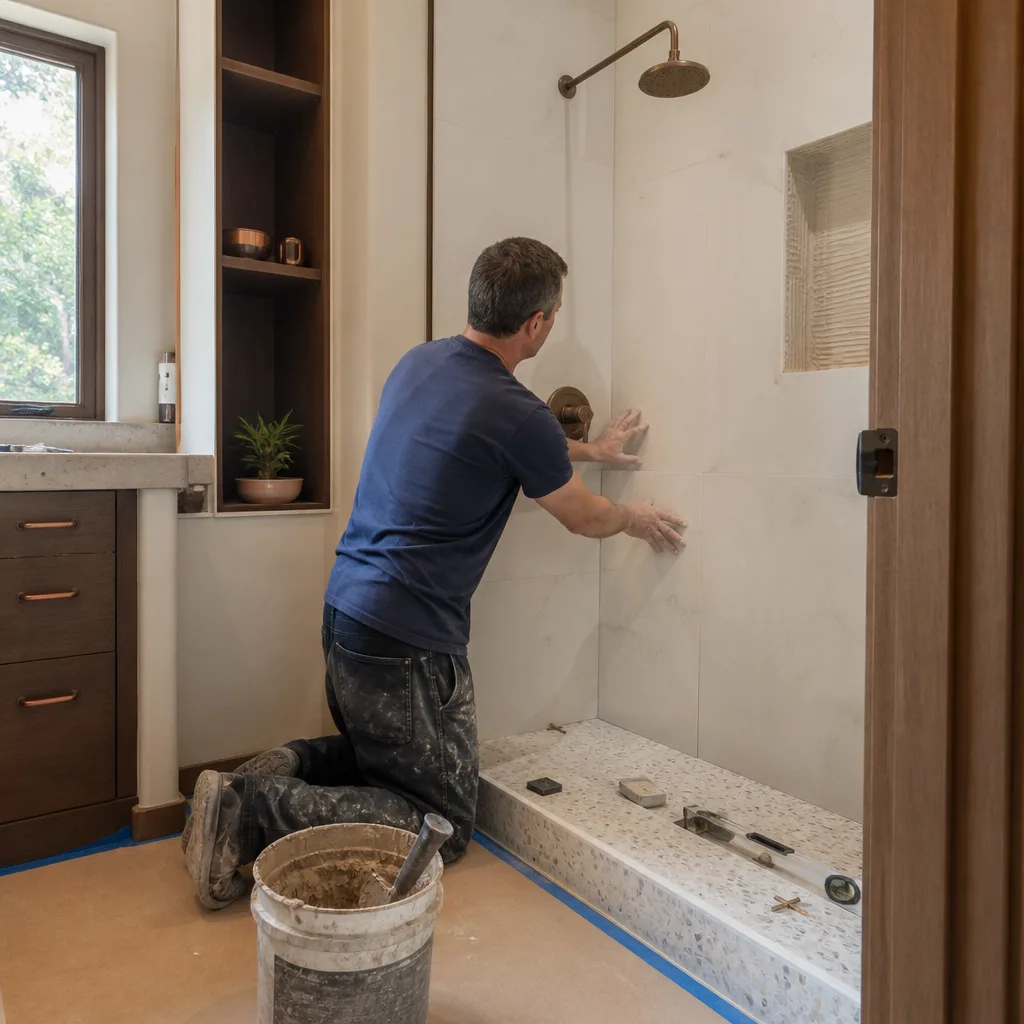
Here’s a simple test any homeowner can run before calling anyone. Tap across the floor with a coin or the handle of a screwdriver. Hollow, dead sounds mean the tile isn’t bonded. Solid, sharp sounds mean it is. If 90% of the floor sounds solid and a few tiles sound hollow, you have a coverage problem. If the whole field sounds hollow, the substrate or the thinset application is the issue.
Changes of plane are the number one spot for cracking in every bathroom we open up. Where the floor meets the wall, or two shower walls meet, the substrate moves in different directions and rigid grout can’t absorb it. That’s why we caulk those joints instead of grouting them. If your remodel was grouted at every change of plane, that’s a sequencing decision you can trace back to the installation, and it’s often a legitimate workmanship call.
The Three Waterproofing Failures We Find Most Often in Shower Remodels
Waterproofing is the part of the shower you’ll never see again once the tile goes up. Which is exactly why it’s where most failures hide. Three specific mistakes account for the majority of shower leaks we diagnose in Yorba Linda homes:
- Unsealed penetrations. Every hole through the waterproofing membrane – the shower valve, the diverter, the showerhead arm, the niche edges – has to be sealed with the manufacturer’s specified sealant and reinforcing fabric. We regularly find valves cut in with a bare hole and no seal, which is a guaranteed leak path behind the wall.
- Improper liner laps. In a traditional PVC liner shower, the liner has to overlap the dam corners and curb correctly, and the seams have to be solvent-welded with the right adhesive. Liners installed flat against the curb, or lapped in the wrong direction, wick water into the framing. The damage is usually invisible until the curb rots.
- Missing pre-slope under the liner. The mortar bed beneath the liner has to slope to the drain, and then a second bed goes on top of the liner. Skip the pre-slope and water pools on the flat liner, never reaching the weep holes. The shower smells musty within a year and the mortar underneath stays permanently wet.
We’ve pulled pans in Yorba Linda where the pre-slope was skipped entirely and the “mortar bed” was a flat layer of thinset over plywood. That shower had been leaking slowly into the subfloor for two years before the ceiling below showed a stain.
The fix for any of these is a full tear-out to the studs and subfloor, re-flashing, and a fresh waterproofing system. There’s no patch that works. When we rebuild a shower here, we use a bonded sheet membrane system or a liquid-applied membrane with fabric at every seam and penetration, and we flood-test it for 24 hours before a single tile goes down. That’s a sequencing choice baked into our Groundwork Construction Co. of Yorba Linda home remodeling process on every bathroom we open up.
One safety note: if you suspect a leaking shower pan, do not keep using the shower while you investigate. Water tracking into framing and subfloor causes rot and mold that turns a $2,000 repair into a $12,000 one. Shut the shower down and get it diagnosed.
Post-Remodel Moisture Problems: Plumbing Leak, Condensation, or Waterproofing Failure?
Almost every moisture complaint we hear starts with the same sentence: “There’s water where there shouldn’t be.” The trick is telling the three possible sources apart before you open a wall. You can usually narrow it down with non-destructive indicators.
- Plumbing leak: Constant moisture, not tied to shower use. A damp spot that never dries, sometimes with a musty smell that’s strongest right after the water runs. A plumbing leak shows up even when the shower hasn’t been used in days.
- Condensation: Moisture that appears only in cool weather or after long hot showers, on cold surfaces – mirror glass, window frames, exterior walls, the ceiling above the shower. Wiping it dry stops it immediately.
- Waterproofing failure: Moisture that appears after shower use, tracked to a specific spot. Staining on the ceiling below, efflorescence on the tile, or a soft spot at the curb. Dries out when the shower isn’t used, comes back when it is.
Here’s the sequence we recommend for narrow it down without demolition:
- Stop using the shower for 72 hours. Note whether the moisture spot dries out completely.
- Run the bathroom fan during and for 20 minutes after every shower for a week. If the moisture stops, you have a ventilation or condensation problem, not a leak.
- Check the ceiling below the bathroom (if you have one) with a moisture meter. A reading over 15% in drywall is a real leak path.
- Dye-test the shower pan. Plug the drain, fill the pan with an inch of water, add a few drops of food coloring, and watch the ceiling below for a few hours. Color showing up below is a waterproofing failure confirmed.
A leak that’s localized and constant needs a licensed plumber. A waterproofing failure needs the shower opened up. Condensation is usually solvable with better ventilation and is not a warranty issue. In Yorba Linda, we see condensation complaints spike between November and March, when the exterior walls of the house cool off and warm shower air condenses on them – that’s climate, not construction.
Low Water Pressure and Temperature Swings After Fixture Replacement
A new faucet or showerhead that delivers less pressure than the one it replaced is almost always a fixture compatibility problem, not a plumbing failure. Three things cause it:
- Flow restrictors: Modern fixtures ship with restrictors that cap flow at 1.5 or 1.8 gallons per minute. That’s a code and water-conservation requirement, not a defect. Many homeowners find the old fixture’s restrictor was removed years ago and forget that the new one is doing its job.
- Valve compatibility: Mixing a new cartridge into an old valve body, or installing a showerhead that doesn’t match the diverter’s designed flow, is the fastest way to get temperature swings. A shower handle that runs hot then cold when someone flushes a toilet is often a pressure-balancing valve that’s undersized for the home’s water supply or plumbed to the wrong side.
- Clogged aerators and screens: New fixtures come with debris screens in the inlet. Sediment from the water line gets caught in them during the first weeks of use. Pull the aerator, rinse it, reinstall. That fixes more low-pressure complaints than any other single step.
If you’re seeing temperature swings that change with another fixture running elsewhere in the house, that’s a pressure balance issue, and a licensed plumber or a shower valve replacement is the safe fix. If you’re seeing low pressure on just one fixture, start with the aerator, then check the shutoff valve under the sink or behind the wall to make sure it’s fully open.
In Yorba Linda, homes on the older side of town sometimes have galvanized supply lines that were never replaced. A pressure drop that appears after a fixture swap can be the moment you finally notice how restricted those lines have become. That’s a bigger conversation and a good reason to have a plumber out before you start replacing fixtures one by one.
Subfloor and Framing Problems That Surface After the Tile Goes Down
Tile won’t forgive a subfloor that flexes. The industry standard for tile underlayment is no more than L/360 deflection for ceramic, L/720 for natural stone, and most failures we see in Yorba Linda start with a floor that was never brought up to that standard.
Three common framing problems show up after the tile is down:
- Undersized joists or too-wide spacing: A bathroom floor framed with 2x8s on 16″ centers over a long span may not hold tile. The fix requires access from below – sistering joists or adding a mid-span support.
- Insufficient subfloor thickness or the wrong panel: Thicker tile backer board doesn’t replace the need for a proper subfloor. A common mistake is laying cement board directly over 5/8″ plywood without the second layer that the tile system’s manufacturer specifies.
- Missing blocking at the tub and shower edges: The substrate needs support at every edge. When it’s missing, the tile at the outside corner of a tub surround moves every time you step into the tub. Grout cracks there. Caulk peels there. And it’s all traceable to blocking that should have gone in before the walls closed up.
Our team has up to 12 years of experience diagnosing these, and in most cases the tell is the same: tile that sounds hollow, grout that fails in the same pattern after every repair, and a floor that feels soft underfoot. If you can feel the floor flex, tile isn’t the repair – the framing is.
Adding a bathroom or expanding one? The same structural concerns apply to Home Additions & ADU in Yorba Linda and any project that ties new construction to an existing tile floor – the transition point is where deflection problems usually show up first.
Ventilation, Mold, and the Yorba Linda Climate Factor
Yorba Linda sits in a spot where the climate matters for bathroom performance in ways homeowners don’t always expect. The inland heat means windows stay closed more in summer, which means the bathroom fan is your only moisture control. And the marine layer that creeps in during the cooler months cools exterior walls fast, which makes condensation show up on north and west-facing bathroom walls a lot more than on the south and east walls.
Three ventilation issues we see in Yorba Linda bathrooms specifically:
- Undersized exhaust fans: A fan rated for 50 CFM in a 90-square-foot bathroom doesn’t clear the moisture fast enough. The rule of thumb is at least 1 CFM per square foot of bathroom area, and it needs to run for 20 minutes after a shower ends.
- Fans venting into the attic: If the exhaust hose terminates in the attic instead of through the roof or wall to the outside, you’re pumping moisture into the attic all year. That’s a framing and mold problem waiting to happen. The fix is a simple re-route, either through the roof via a proper vent or out a gable wall.
- No fan on a timer or humidistat: A fan on a wall switch gets turned off the moment the homeowner leaves the room. A timer or humidity sensor is the single best upgrade you can make to a bathroom in this climate.
One caution we always give on attics: don’t go into a Yorba Linda attic in July or August without breathing protection, and definitely don’t crawl around the ceiling framing without watching where you step. One misplaced foot is a ceiling repair. If you’re not comfortable in an attic, that fix belongs with a professional.
If the moisture has already progressed to visible mold – dark staining on the grout lines, the caulk, or the drywall above the shower – don’t just clean it. Get it diagnosed. Cleaning mold that keeps coming back is a sign the moisture source is still active.
Warranty Claim, Maintenance Failure, or Licensed Repair?
Not every post-remodel problem is a warranty call. Knowing the difference saves you time and keeps you honest about what’s preventable. Here’s how we think about it:
- Legitimate warranty: Substrate deflection, unprotected waterproofing penetrations, improper liner installation, missing pre-slope, tile with insufficient mortar coverage, and plumbing rough-in errors are all workmanship issues. They exist at handoff, even if they don’t show until months later. Those are on the contractor.
- Homeowner maintenance: Failing caulk at corners and tub edges, mold on the grout from a shower that never gets ventilated, a clogged aerator, and a shower valve that needs to be re-cartridged after a few years – these are wear items. Caulk in a bathroom has a realistic life of 3 to 7 years depending on use.
- Licensed repair: Any problem involving the supply, drain, or gas system behind the wall requires a licensed plumber. Any electrical issue in a bathroom – GFCI failures, light fixture problems, fan wiring – requires a licensed electrician. Structural framing corrections need a contractor who can pull a permit.
Here’s where a strong workmanship warranty matters. The Groundwork Construction Co. of Yorba Linda home page lays out our 730-Day Done Right Promise, which covers workmanship – not just materials – for two full years. When a shower we built has a waterproofing issue in month 14, it’s our problem to fix, not yours. Our technicians are background-checked and arrive in uniform, and calls are answered by a live person 24 hours a day, 7 days a week.
How to Sequence a Bathroom Remodel So These Problems Don’t Happen
Most of what’s on this page is preventable at the design stage. If a homeowner asked us for the single-page sequencing checklist for a bathroom in Yorba Linda, it would look like this:
- Assess the framing before anything else. Confirm joist size, spacing, and span will hold tile. If not, fix it before demolition starts, not after.
- Fix the plumbing rough-in while the walls are open. Replace any galvanized supply lines, confirm the valve body matches the trim kit you plan to install, and pressure-test before closing.
- Vent the exhaust fan to the outside. Not the attic. Confirm the route and the termination point before the ceiling closes.
- Confirm waterproofing method and materials in writing. Bonded sheet membrane or liquid-applied, with fabric at every seam and penetration. Flood-test for 24 hours before tile.
- Correct substrate prep at every edge. Blocking at tub and shower edges, changes of plane caulked instead of grouted, correct mortar coverage (95% in wet areas).
- Use manufacturer-approved sealants at all changes of plane, and give the homeowner a maintenance schedule for caulk and grout.
- Test the fan, the pressure, and the temperature balance before final walkthrough. A 10-minute test after handoff catches almost every complaint we see.
When we plan a bathroom remodel, the sequence above is baked into every step. That’s because we’ve seen what happens when it isn’t – to the previous owners of Yorba Linda homes who had the shower rebuilt twice. The upfront pricing model we run means the number we quote is the number you pay, with no surprise change orders when a rough-in surprises us mid-project.
Common Mistakes to Avoid
- Re-grouting before diagnosing the movement. Grout cracks that come back within 12 months aren’t a grout problem, and re-grouting repeatedly just adds cost to the eventual fix. Find the deflection first.
- Skipping the flood test on the shower pan. Twenty-four hours of water in the pan before tile goes down is cheap insurance. Skipping it is a leak that shows up a year later in the ceiling below. We’ve caught failures at this stage in Yorba Linda remodels that would have cost thousands to repair after tile.
- Venting the bathroom fan into the attic. In Yorba Linda’s climate, that pump of moisture into attic framing is an invitation to mold and rot. Confirm the exhaust terminates outdoors.
- Mixing old valve bodies with new trim kits. Temperature swings and pressure drops after a fixture swap are usually a compatibility issue, not a plumbing failure. Match the trim to the valve.
- Ignoring the subfloor when adding tile to an existing transition. Tile’s deflection tolerance doesn’t care what the old floor was doing. If you’re tying a new tile bathroom into an existing floor, the joist check happens first.
- Caulking over mold instead of removing it. Caulk that fails because the joint wasn’t cleaned and dried properly peels within months. Mold underneath means the moisture problem is still active.
- Assuming every problem is a warranty claim. A missing aerator screen or dried-out caulk is maintenance. Knowing the difference keeps your relationship with your contractor productive instead of adversarial.
See the difference
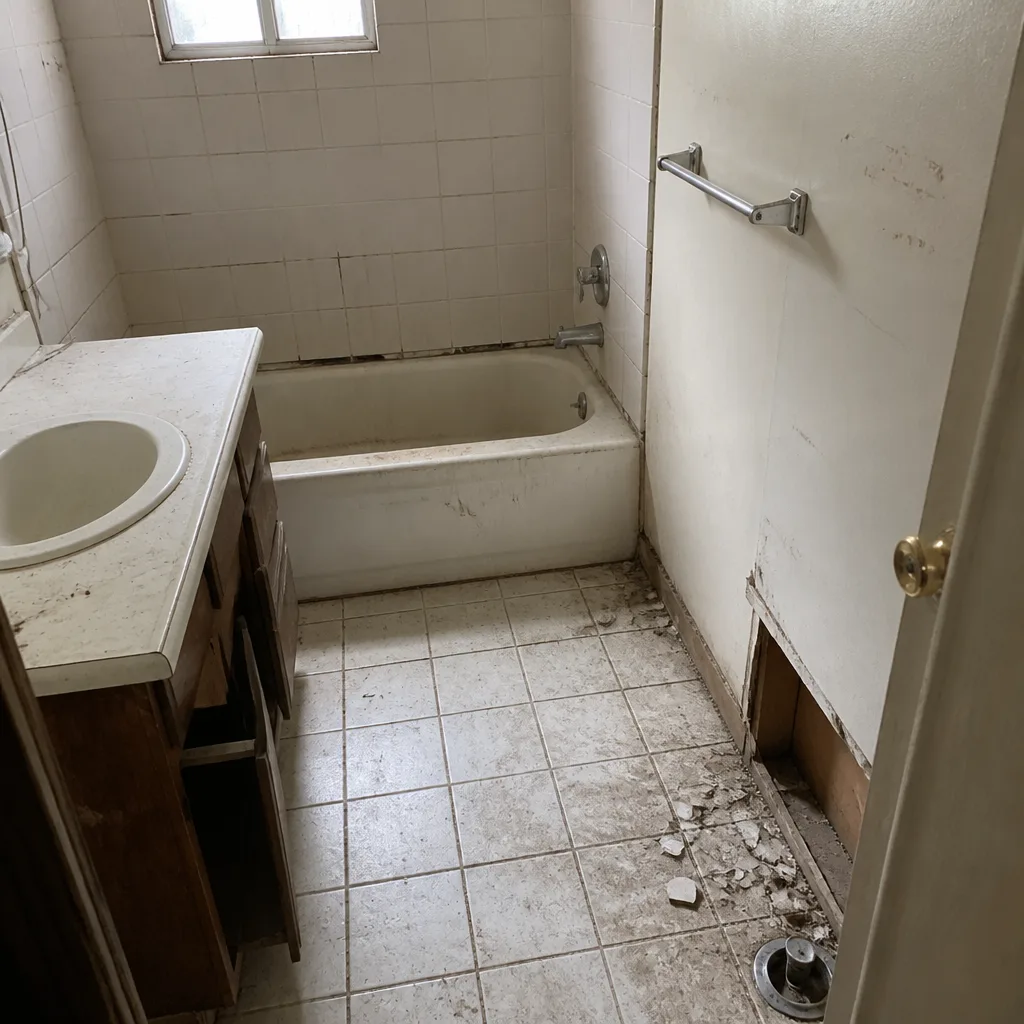 Before
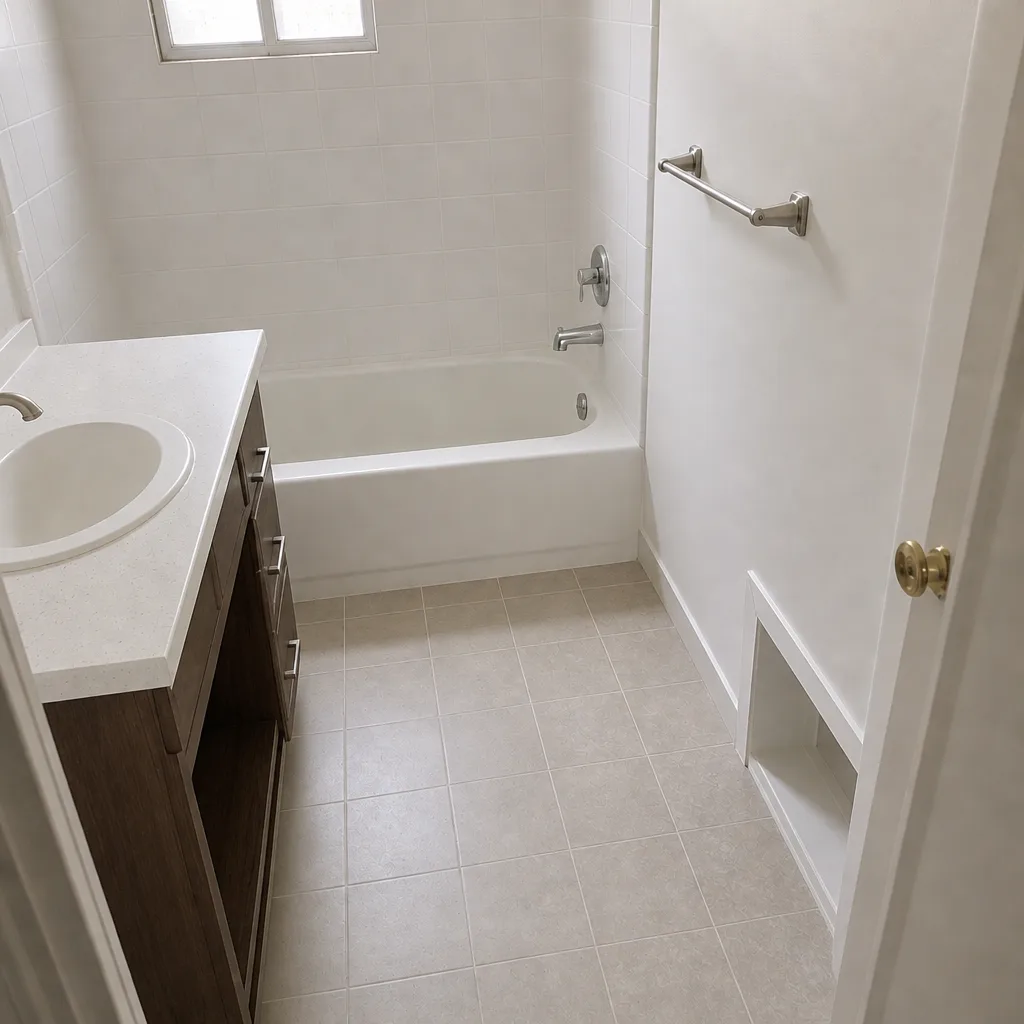 After
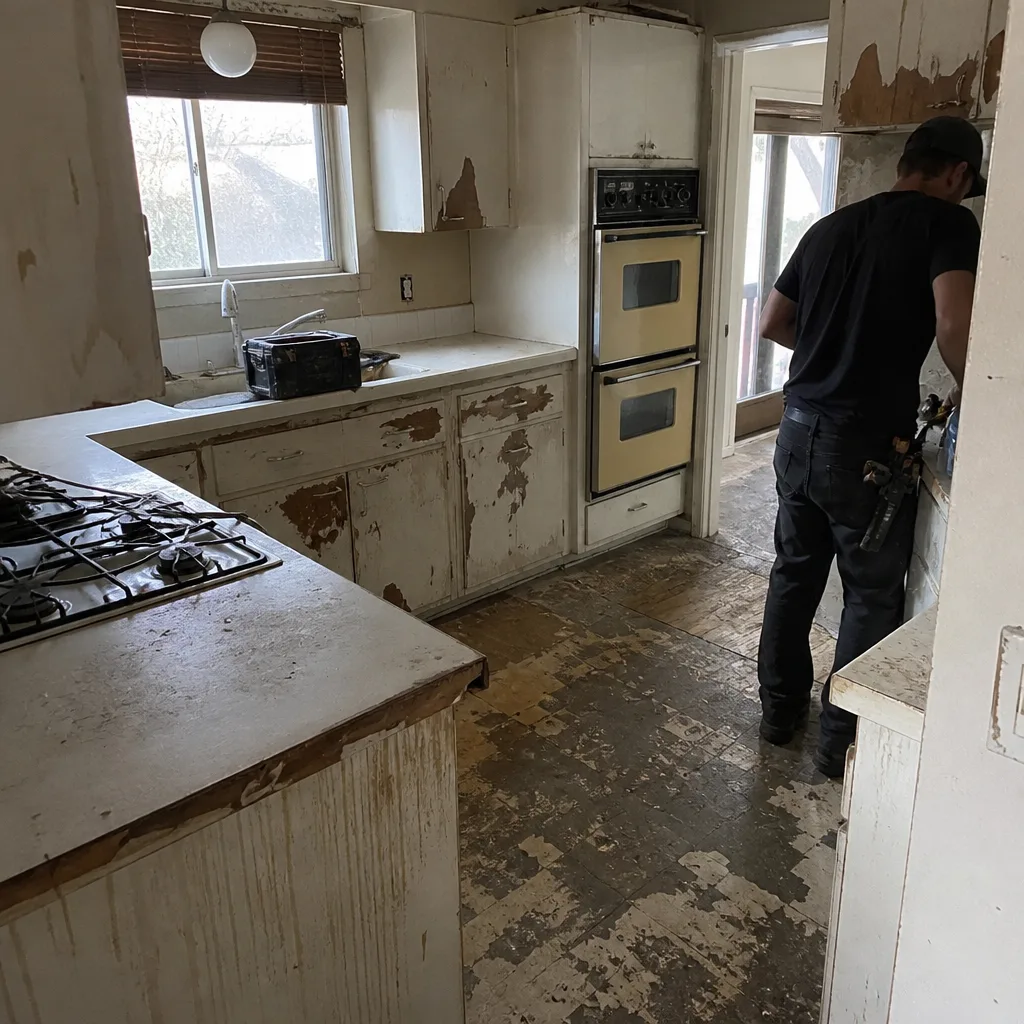 Before
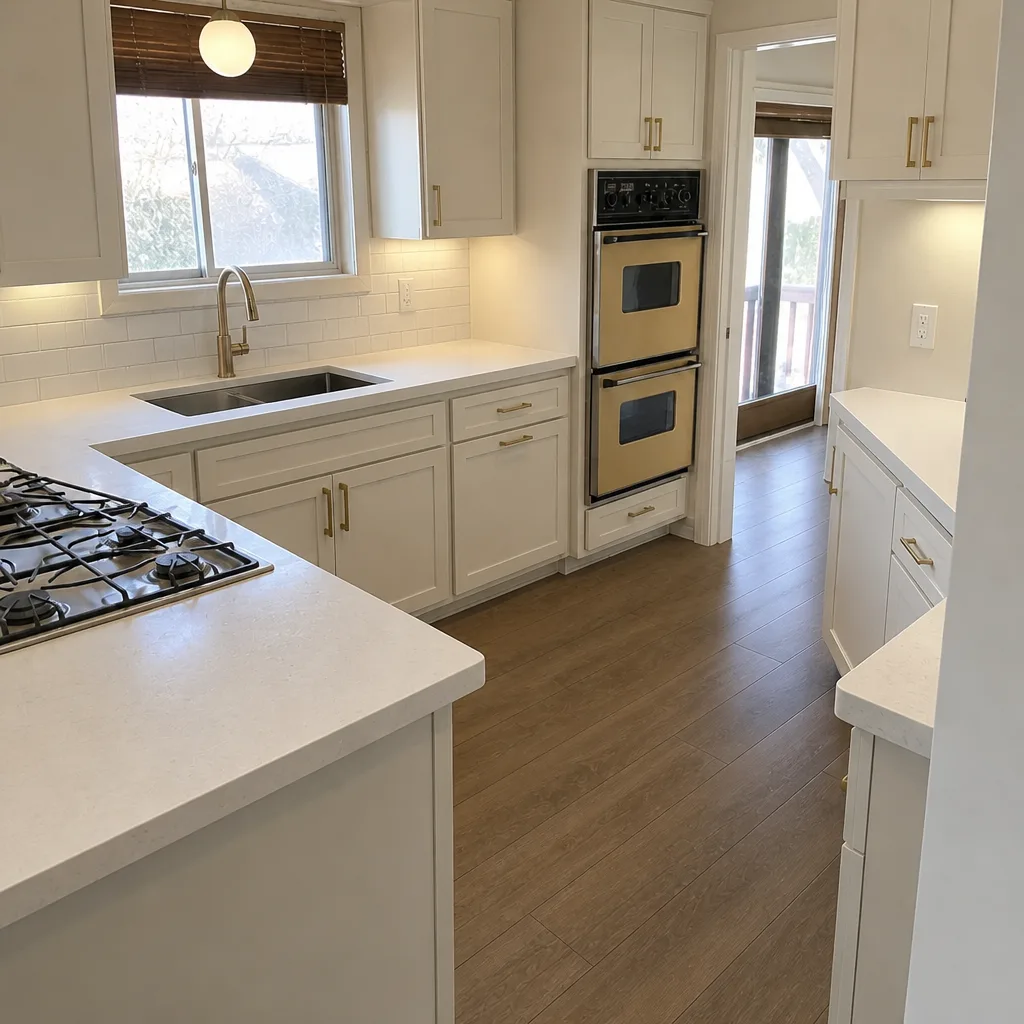 After
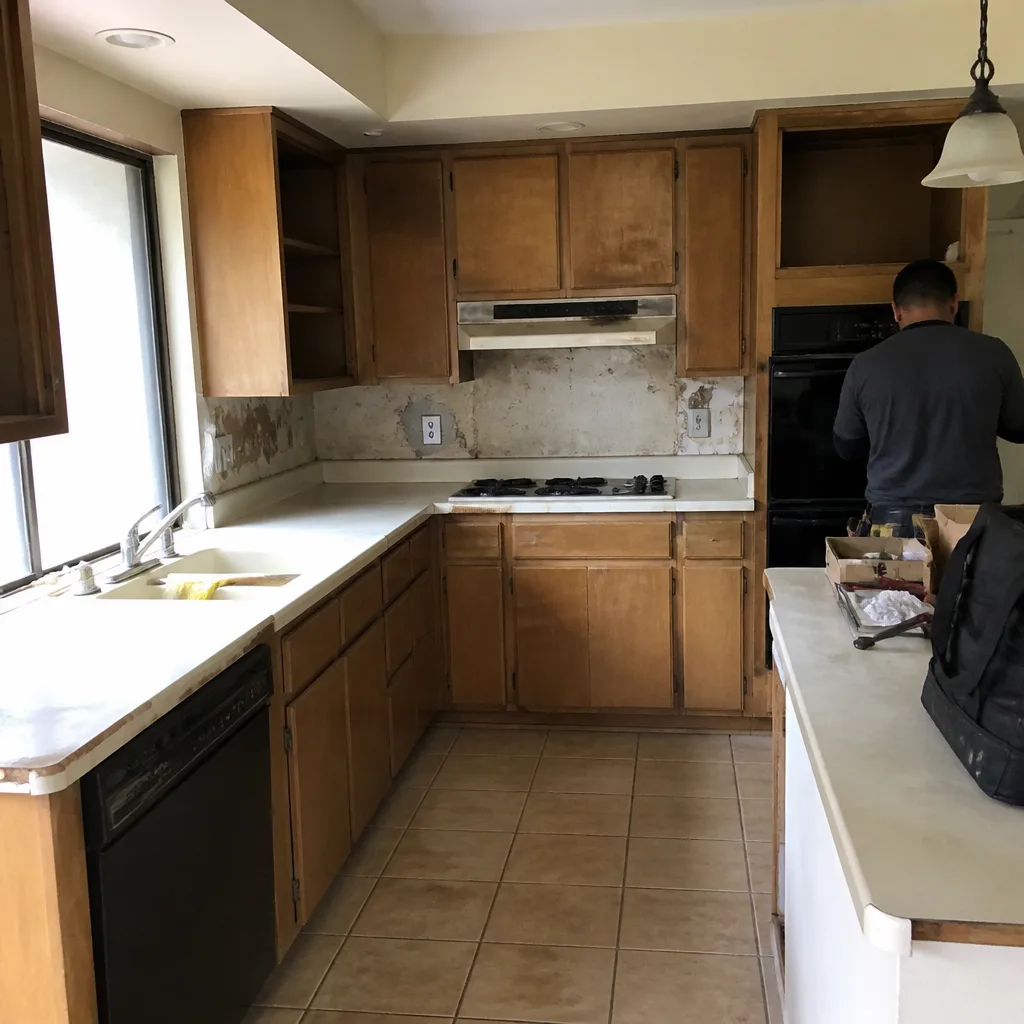 Before
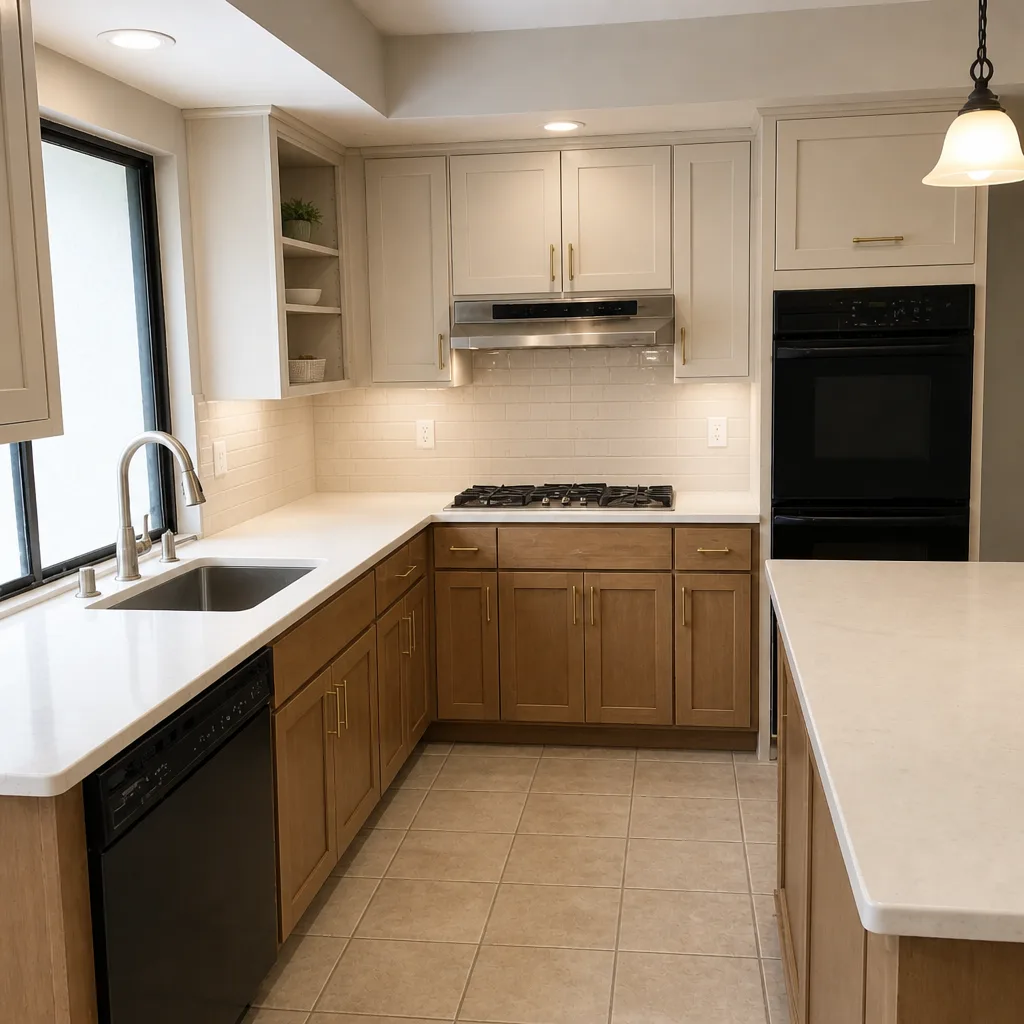 After
When to Call a Professional
Some bathroom problems are genuinely DIY-friendly – a clogged aerator, a fresh bead of caulk at the tub edge, a fan grille cover that needs cleaning. Others aren’t. Call a professional when: the tile under your foot flexes, water shows up on the ceiling below the bathroom, you smell persistent musty odor without a visible source, the shower valve runs hot and cold when another fixture runs, or you’re looking at any kind of moisture behind a wall. Also call when the repair involves opening the shower pan, running new plumbing, or replacing framing. These are the exact jobs that get worse, not better, when done without a permit or the right sequence. Groundwork Construction Co. of Yorba Linda offers free estimates in Yorba Linda – call (888) 255-9354. We’ll tell you what’s a warranty issue, what’s maintenance, and what’s a licensed repair before anyone picks up a tool.
Frequently Asked Questions
Because the grout isn’t the problem – the substrate under the tile is moving. Grout is rigid and cracks when the tile field flexes, so re-grouting adds a fresh layer over a joint that will keep opening. The fix is diagnosing deflection under the tile, which usually means opening a section of floor or wall to check framing and mortar coverage. Call (888) 255-9354 for a free assessment – estimates are free.
Two non-destructive tests: stop using the shower for 72 hours and see if the moisture dries, then dye-test the pan by plugging the drain and filling it with a few inches of colored water. If dye shows up on the ceiling below, it’s waterproofing. If moisture continues when the shower isn’t used at all, it’s the supply or drain plumbing. Either way, stop using the shower while you investigate.
Most of the time it’s a flow restrictor doing its job, or a debris screen clogged with sediment from the line. Pull the aerator, rinse it, and check the shutoff valve under the sink is fully open. If pressure is still low, it’s a valve compatibility issue and a licensed plumber should look at it.
More common than it should be, especially in showers built before pre-slope became widely enforced as standard practice. Any time we tear out a shower in a Yorba Linda home and find a flat liner bed or a musty smell without an obvious source, the missing pre-slope is usually why. That’s a full pan rebuild, not a patch.
Yes, in two specific ways. Summer heat keeps windows closed, so the exhaust fan becomes the only moisture control – undersized fans are more of a problem here than in cooler climates. And the cool marine layer in winter cools north- and west-facing bathroom walls fast enough that condensation shows up on them, which homeowners often mistake for a leak.
Workmanship at the time of installation – deflection, waterproofing, substrate prep – is a warranty claim. Wear items – caulk, grout joints, aerator screens, shower cartridges – are maintenance. Any repair involving the plumbing behind the wall, the electrical, or structural framing requires a licensed trade, so call us and we’ll help you sort out which you’re looking at.
The Bottom Line
Bathroom problems that look like material failures are usually sequencing failures that got buried under tile. Deflection that wasn’t corrected, waterproofing details that didn’t get the attention they needed, and valve mismatches at fixture swap time account for the bulk of what we diagnose in Yorba Linda. When something goes wrong, work backward: does it depend on use, does it move, does it tap hollow? Then decide if it’s warranty, maintenance, or a licensed repair. Our technicians have up to 12 years of experience and our 730-Day Done Right Promise covers workmanship in writing, so a repair isn’t on you when it shouldn’t be. Call (888) 255-9354 to schedule your free estimate.
Written by the team at Groundwork Construction Co. of Yorba Linda.