Last updated November 17, 2026


Free written scope consultation - allowances, timeline, and change-order rules on paper before a single trade is scheduled
Driveway & Pavers Troubleshooting: Common Problems and How to Fix Them
A single sunken paver isn’t a paver problem. It’s a base problem. We’ve watched homeowners pull one loose stone, top it with fresh sand, and set it back down – only to see the same section dip again within 18 months because nobody dug down to find out why it moved in the first place. Across Yorba Linda, the same story plays out on driveways that look fine from the street: the pavers aren’t failing, the platform underneath them is. This guide teaches you to read what your driveway is actually telling you – displacement patterns, joint sand loss, edge movement, and stains – so you fix causes instead of symptoms and never pay for the same repair twice.
Styles & brands we work with
- Kitchen remodeling
- Bathroom remodeling
- Home additions & ADU
- Roofing
- Windows & doors
- Driveway & pavers
- Fence
Quick Answer
Sinking, uneven, and cracking pavers are almost always caused by a failed base, eroded joint sand, or root intrusion – rarely the stone itself. Diagnose the pattern of displacement first: broad dips point to base failure, wavy edges point to a failing restraint, and single heaved stones near a tree point to roots. Minor sand and joint fixes are DIY-friendly, but any repair that requires re-excavating the base is a job for a professional with proper compaction equipment.
Table of Contents
- How to Diagnose Any Paver Problem by Looking at the Pattern
- Base Failure: The Root Cause Behind Most Sinking Pavers
- Joint Sand Erosion and What It Tells You
- Tree Root Intrusion: What It Looks Like and How to Handle It
- How to Lift, Re-Level, and Re-Set an Individual Paver
- Efflorescence, Staining, and Spalling: Three Problems, Three Treatments
- Failed Edge Restraints and What They Mean for the Whole Field
- DIY Repair vs. Full Re-Excavation: The Honest Line
- Common Mistakes to Avoid
- When to Call a Professional
- Frequently Asked Questions
- The Bottom Line
How to Diagnose Any Paver Problem by Looking at the Pattern
Before you touch a single stone, walk your driveway slowly and look at the shape of the failure. The pattern of displacement is the diagnosis, and it’s readable from the surface if you know what you’re looking for. Getting this wrong is why so many Yorba Linda driveways get patched three and four times by homeowners who keep treating the visible stone when the real movement is happening 6 to 10 inches below grade.
Here’s how the three most common causes look from above:
- Base failure shows as broad, saucer-shaped dips. The stones themselves stay tight to each other but the whole section drops together, usually over an area larger than 3 or 4 square feet. It often sits over a low spot where water pools or where an old utility trench was never compacted properly.
- Joint sand erosion shows as narrow dips and a loss of the mortar-like sand between stones. Individual pavers wiggle slightly underfoot, edges chip, and the joints look hollow or dark. The field is essentially intact but the interlock is loosening.
- Tree root intrusion shows as single pavers or short rows heaved upward, often in a line radiating from the base of a nearby tree. The lift is usually sharp rather than a broad dip, and the stones rock on their high point.
One more pattern worth memorizing: wavy edges along the driveway border almost always mean a failed edge restraint, not a base problem – and we cover that separately below. In our experience across Yorba Linda, the Anaheim Hills side of town sees more tree-root heave on driveways with mature ficus and eucalyptus nearby, while the flatter western neighborhoods see more broad base dips from soil settling after the dry season.
Base Failure: The Root Cause Behind Most Sinking Pavers
Base failure means the compacted gravel layer under your pavers has lost its stability. It can happen from poor initial compaction, from water saturating the subgrade, from soil settlement over time, or from an underground utility trench that was backfilled but never mechanically compacted. When the base loses its load-bearing capacity, the pavers above it follow the movement down. Replacing those stones is like putting a fresh coat of paint on a sagging joist.
In Yorba Linda specifically, we see a lot of base failure tied to the region’s expansive soils and the way they move between wet winters and dry summers. A base that’s 95% compacted in a wet February can settle noticeably by September. Driveways near the Yorba Linda Country Club and along the older streets off Yorba Linda Boulevard often sit on subgrades that were compacted with equipment that wouldn’t meet today’s standards – not because the original installer was careless, but because the standards themselves have tightened since then, and drainage details weren’t engineered the way they are now.
How to confirm base failure without digging a big hole:
- Press a length of steel rebar or a stiff screwdriver into the sand joint at the low point. If it sinks easily into what should be solid base, the base has lost compaction.
- Pull up two or three pavers at the edge of the dip and look at the bedding sand. Soft, saturated, or powdery sand is a tell.
- Look at the subbase itself. Proper paver base is crushed aggregate with fines – usually a graded Class II or equivalent – at 4 to 6 inches compacted depth for a driveway. If you see rounded river rock, loose dirt, or a thin layer of sand on top of soil, that’s your answer.
If you’re seeing the start of this pattern and want a full system replacement rather than a series of patches, driveway and pavers work in Yorba Linda is where we help homeowners start fresh with a properly engineered base.
Joint Sand Erosion and What It Tells You
Joint sand is not decoration. It’s a structural part of the interlock system – it locks each paver against its neighbors so the field behaves like a single connected surface instead of 3,000 loose bricks. When the sand is gone, pavers can rotate and chip, joints open up, and weeds take hold. On a Yorba Linda driveway that sees southern exposure and dry summer heat, sand comes out faster than most homeowners expect.
The warning signs of sand loss are easy to spot before structural damage sets in:
- Joints that look visibly deeper than neighbors, or that collect water after rain
- Individual pavers that rock slightly when you walk on them
- Weeds sprouting in the joints – not just edge weeds, but weeds throughout the field
- Ant hills running along joints (ants love a hollow joint)
- Visible sand collecting at the driveway apron or in the gutter after heavy rain
Top-dressing with new sand is a real fix if the loss is shallow – under about half an inch – and the pavers haven’t started to move. Use a genuine polymeric joint sand or asphalt sand designed for pavers, NOT play sand or bagged builder’s sand from a big box store. Those don’t pack and don’t resist washout. Sweep the sand into the joints, tamper the surface with a rubber mallet or plate compactor over a board, and sweep again.
If joints are losing sand repeatedly within a year of each refill, that’s a sign the base is shedding and the sand is draining away instead of staying put. That’s a base conversation, not a sand conversation. When we look at a Yorba Linda driveway showing repeat sand loss, we usually find the base or drainage detail is the real issue.
Tree Root Intrusion: What It Looks Like and How to Handle It
Tree roots under a paver driveway behave differently than most homeowners expect. They don’t grow straight up toward the sky – they grow along the path of least resistance, usually in the bedding sand or at the top of the base where the moisture and oxygen are. The lift you see at the surface is a single paver or a short row heaved up, often 1/4 to 1/2 inch at first and eventually an inch or more.
Diagnosing root intrusion in Yorba Linda is usually straightforward. Look for:
- A vertical lift pattern radiating from a nearby tree trunk – roots push in a straight line from the trunk to the driveway edge
- Rocking pavers on their high point, where the field looks otherwise normal
- Heaving that gets worse in spring when roots actively grow
- Cracked or popped edge restraints right where the driveway meets the tree
The uncomfortable truth about root intrusion: you can’t fix it by pulling the paver and hacking the root out one time. The root regrows, usually thicker, and the same stone lifts again next season. Your options are to remove the tree, install a root barrier at the property line, or plan for periodic re-leveling as the roots do their work. On Yorba Linda properties with mature ficus, eucalyptus, or liquidambar near the driveway, we usually recommend the root barrier during any base re-excavation – the added cost at the front end is far less than resetting the same pavers every couple of years.
Does removing the tree damage the driveway further? Sometimes. Grinding a stump leaves a void that has to be filled and compacted, and the remaining roots decompose over years, causing more settlement. This is why root issues near a driveway are worth a professional assessment before you start cutting.
How to Lift, Re-Level, and Re-Set an Individual Paver
Resetting a single paver is a real skill, but it’s within reach for a careful homeowner on a small area – one paver up to a small cluster. The trick is to disturb only what needs to move and to re-establish the sand bedding underneath with the same care the original installer should have used. Following this sequence avoids cracking pavers and gives you a repair that holds:
- Score the joint sand first. Run a utility knife or a paver extraction tool along all four edges of the paver to break the sand bond. Skip this and you’ll chip corners.
- Use two flat pry bars or paver pullers. Work them under opposite edges, lift straight up, and slide out. Never pry from one corner – the paver will crack along the diagonal.
- Set the paver aside and inspect the hole. Look at the bedding sand depth (should be about 1 inch), the condition of the base below that, and whether the base under the paver is soft or solid.
- Correct the base if it’s the issue. If the base is soft, dig down 4 inches, refill with compacted crushed aggregate in 2-inch lifts, tamping each lift, then re-bed with fresh sand. If the base is solid and only the sand was thin, just top up and re-level.
- Dry-lay the paver back with the correct cross-slope. Use a straightedge and a 4-foot level across adjacent pavers to match the existing plane (pavers should drain at about 1 to 2 percent away from the house).
- Re-sand the joints. Sweep in polymeric or paver joint sand, tamp with a rubber mallet, top up, and lightly mist with water per the sand manufacturer’s directions.
- Keep traffic off for 24 to 48 hours. Sand needs to settle and lock before cars roll over it.
Where this really goes wrong is when the paver is reset on top of the same unstable base, or on top of the neighboring pavers that also moved. Reset one stone on a moving field and both will fail again. If you find yourself resetting the same section more than once, stop and call in a closer look at the base – the pattern is telling you something.
Efflorescence, Staining, and Spalling: Three Problems, Three Treatments
These three get lumped together because they all make a driveway look bad, but they have completely different causes and completely different fixes. Treating one as another wastes money and can damage the surface. Here’s the difference, and what actually works.
Efflorescence
Efflorescence is the white, powdery haze that appears on paver surfaces, usually within the first year or after a wet season. It’s mineral salts wicking up through the paver from moisture underneath and crystallizing on the surface as the water evaporates. Yorba Linda’s first rains after a dry summer are when we see the most of it. The right fix is patience plus chemistry: dry-brush it first, then apply a diluted efflorescence remover (mild acidic cleaner designed for pavers) and rinse. A breathable penetrating sealer stops recurrence after the salts are gone. Never seal a paver before efflorescence is resolved – you’ll lock the salt in.
Staining
Stains have many sources – iron oxide from fertilizer, oil drips, rust from fixtures, organic stains from leaves and berries. Each needs a specific treatment. Rust stains take an oxalic-acid-based cleaner, not a general soap. Oil takes a poultice of an absorbent powder (diatomaceous earth, kitty litter) left overnight before any scrubbing. Organic stains respond to diluted bleach or oxygen bleach. Test any cleaner on an inconspicuous paver first – aggressive acids can etch a concrete paver.
Spalling
Spalling is a genuine surface failure – the top layer of the paver flakes or pops off. It’s caused by freeze-thaw (rare in Yorba Linda), de-icing salt damage (more common if homeowners use rock salt), or moisture inside the paver expanding. There is no topical repair for spalling. The paver has to be replaced. Spalling across one paver is a bad paver; spalling across many is often a manufacturing batch issue, and a professional assessment is worth it before you replace the whole field.
Failed Edge Restraints and What They Mean for the Whole Field
Edge restraints are the hidden structural secret of a paver driveway. They’re the aluminum, steel, or concrete curb that runs along the outer perimeter and holds the field from spreading under load. When an edge restraint fails, the entire field loses its ability to stay tight, and no amount of joint sand will fix it – the sand drains out the loose edge within weeks of every refill.
Signs that edge restraints have failed on a Yorba Linda driveway:
- Pavers at the outer rows fanning out or separating from the field
- Visible gaps between the paver edge and the curb, or between pavers and the lawn
- Aluminum restraint lifted or bent upward, often where soil has shifted underneath it
- A wavy border that was straight when installed
- Lateral movement when you press on the outer row – pavers should not slide
Why this matters structurally: the pavers depend on each other to distribute loads. When the restraint gives way, each paver becomes a loose brick, and the joints open enough that rain drives straight into the base. Every problem we started this guide with – joint sand loss, base softening, dips – starts to appear in sequence. A paver driveway with a failed restraint is a system in slow collapse, not a cosmetic issue.
Fixing a failed edge restraint properly means pulling the outer two rows, re-setting the restraint (usually in a concrete footing, pinned and spiked per the manufacturer’s spec), re-compacting the edge base, and re-installing the rows with the correct bedding sand. This is beyond a DIY tweak in most cases because the restraint needs a solid attachment into the underlying material – usually a concrete curb runner that’s been properly set. When we see this pattern on a Yorba Linda driveway, we usually recommend fixing it as a unit before the interior field moves too.
If the driveway borders a wood or vinyl fence that’s also failing, we often handle the two together to fix the whole package – our fence installation in Yorba Linda service is set up for exactly that kind of paired work.
DIY Repair vs. Full Re-Excavation: The Honest Line
Here’s where we’re direct with homeowners because the wrong choice costs them real money. Most surface fixes are DIY-appropriate. Anything that requires digging down to fix the base, all the way to the subgrade, is not. Below is our honest line.
DIY territory:
- Topping up joint sand on a stable field
- Replacing one or two cracked pavers on a field that’s otherwise flat
- Cleaning efflorescence with the right cleaner
- Treating a stain with the correct product
- Lifting and resetting one paver where the base under it is confirmed solid
Professional territory:
- Any dip larger than about a 3-foot circle – that’s base movement, not sand loss
- Anything where the base is soft under a pulled paver
- Any sign of failing edge restraints (the footing has to be redone)
- Tree root intrusion beyond one isolated stone
- Widespread spalling or a field that has visibly spread at the edges
- Driveways over 15 years old that have never been inspected – the base is due for a look
A full re-excavation means removing pavers, scooping out the old base to the correct depth (typically 4 to 6 inches for a residential driveway, more in heavy-traffic or clay-heavy subgrades), installing fresh compacted aggregate in lifts, checking grade for positive drainage away from the house, and re-setting the pavers with a new joint sand and edge system. Done right, it solves base, restraint, and drainage problems in one pass – and it lasts. Done wrong, or done halfway, you’re paying again in two to three years.
The other variable: sometimes the honest answer is to re-pour. Yorba Linda has a mixed housing stock – many homes still have driveways the original builder installed with the house, and by year 20 or 25, the pavers themselves are fine but the base is done. That’s when the trade-off between repair and replacement is real and worth talking through honestly. If your broader property is also due for major work – an ADU over the garage, or a reconfiguration that changes the driveway approach – bundling the drive work with it saves money. Our home additions and ADU in Yorba Linda team handles that kind of combined scope often.
Common Mistakes to Avoid
- Resetting a sunken paver on the same bad base. This is the number one reason the same section fails again within 18 months. If the base under the paver is soft, replacing the stone restores nothing.
- Using play sand or bagged builder’s sand in joints. Play sand has rounded grains that don’t lock, and it washes out fast. Use a genuine polymeric or engineered paver joint sand, especially on Yorba Linda driveways that see hard rain after dry summers.
- Sealing a freshly installed or efflorescing driveway too soon. Concrete pavers need time to release moisture. Sealing before efflorescence has run its course traps the salts and locks the white haze in – the fix becomes expensive or impossible.
- Ignoring a wavy edge as “just how it looks.” A wavy border is a failed restraint, and it’s the first visible step in the field failing. Fixing it early costs a fraction of what fixing a spread field costs.
- Cutting roots without installing a root barrier. The root regrows, usually thicker, and the paver you reset this month lifts again next spring. Whack-a-mole with pavers is expensive.
- Skipping the drainage detail on a repair. Yorba Linda’s dry season hides grading mistakes; the first real rain exposes them. Any repair that changes the surface plane needs to maintain 1 to 2 percent slope away from the house and toward a controlled outlet.
- Assuming paver cracks mean bad pavers. In most cases, cracked pavers are reacting to movement underneath – base settling, edge failure, or a heavy vehicle that overloaded a section. Replacing the pavers without addressing the movement just moves the crack two rows over.
When to Call a Professional
Call a professional when the diagnosis points below the surface. A single sunken paver over a confirmed solid base is a homeowner job. A dip larger than a few feet, a soft base under a pulled paver, wavy edges, heaved rows from tree roots, or a field that’s spread at the perimeter – those need equipment most homeowners don’t own: plate compactors, laser levels, concrete saws for restraint footings, and the experience to grade drains correctly on the first try. You should also call when the driveway has surface damage over multiple areas at once, because at that point the repair math doesn’t favor piecemeal fixes – the correct move is to assess the whole system.
Groundwork Construction Co. of Yorba Linda offers free estimates in Yorba Linda – call (888) 255-9354. Our technicians have up to 12 years of experience, arrive in uniform and background-checked, and the work is backed by the 730-Day Done Right Promise: if it’s not done right, we make it right. Every estimate is upfront and itemized, so the number you see is the number you pay.
Frequently Asked Questions
Sinking in the same spot almost always means the base underneath was never corrected – the paver was reset on top of the same soft or poorly compacted sublayer that caused the first dip. Proper repair means digging down 4 to 6 inches, replacing the aggregate base in compacted lifts, and re-bedding the paver with fresh sand. If the base is soft and it’s just been topped up, the sink returns within one or two seasons, often within months. Call (888) 255-9354 for a free estimate to diagnose the base honestly before you spend money on another patch.
Yes for surface-level issues: joint sand refills, single-paver resets on confirmed solid base, efflorescence cleaning, and stain treatments are all genuine DIY jobs. No for anything that requires re-excavating the base, re-footing a failed edge restraint, or resolving tree root intrusion across multiple pavers. Those need compaction equipment a homeowner doesn’t typically own and grading skill that most homeowners want professional because fixing it wrong costs more than the original repair. Call (888) 255-9354 for a free estimate if the diagnosis points deeper than the surface.
White powdery haze on pavers is efflorescence, mineral salts that wick up from moisture underneath the paver and crystallize on the surface as the water evaporates. It’s not a stain so much as a symptom of moisture movement. Dry-brush first, then use a diluted acidic efflorescence remover designed for pavers, and seal with a breathable penetrating sealer only after all salts are gone – sealing too early locks the haze in. Call (888) 255-9354 if the efflorescence returns after two or three treatments because it can indicate a moisture problem in the base.
Driveway paver repair in Yorba Linda runs about $4 to $12 per square foot for re-sanding and joint work, $12 to $25 per square foot for localized base repair and reset, and $18 to $35 per square foot for full re-excavation with a new base and edge restraints. Costs climb if tree-root removal or an edge restraint footing rebuild is involved, since those add excavation and concrete work. Get a written itemized quote – not a verbal ballpark – so the number you see is the number you pay. Call (888) 255-9354 for a free estimate.
A well-installed paver driveway over a proper compacted base typically lasts 25 to 30 years or more, even in Yorba Linda’s dry-summer and wet-winter cycle. The pavers themselves often outlast the base, which is why the base is the deciding factor. Driveways installed with insufficient compaction or poor drainage will show surface symptoms within 5 to 10 years – dips, edge movement, joint sand loss – long before the stone is worn out. If your driveway is over 15 years old and showing symptoms, call (888) 255-9354 for a free estimate to inspect the base before more problems compound.
Not with Groundwork Construction Co. of Yorba Linda. We quote the work itemized with no-hassle upfront pricing – the number you see is the number you pay, unless you request a change in scope yourself. If we open up the driveway and find something unexpected under the surface (an old root, a buried utility trench, or deeper base damage), we don’t change the number mid-job – we walk you through what we’ve found and re-quote if the repair scope actually changes. That’s what the 730-Day Done Right Promise means in plain English: if it’s not done right, we make it right. Call (888) 255-9354 for a free estimate.
The Bottom Line
Almost every paver problem you’ll see on a Yorba Linda driveway is a system problem wearing a surface costume. Diagnose by pattern – broad dips mean base failure, sharp lifts near a tree mean roots, wavy edges mean a failed restraint, hollow joints mean sand loss – and fix the cause, not the stone. DIY your sand refills, single-paver resets, and surface cleaning. Call a professional for anything that involves the base, the edge restraints, or repeated failure in the same area. A driveway built on a proper base, drained correctly, and backed by a written guarantee is one you don’t think about for decades – and that’s what we build at Groundwork Construction Co. of Yorba Linda. Start with a free estimate, not a guess. Call (888) 255-9354.
If your project is part of a bigger plan for the property, look at our full range of work – visit our Groundwork Construction Co. of Yorba Linda home to see all seven service lines and the brand partners we build with.
Written by the team at Groundwork Construction Co. of Yorba Linda.
See the difference
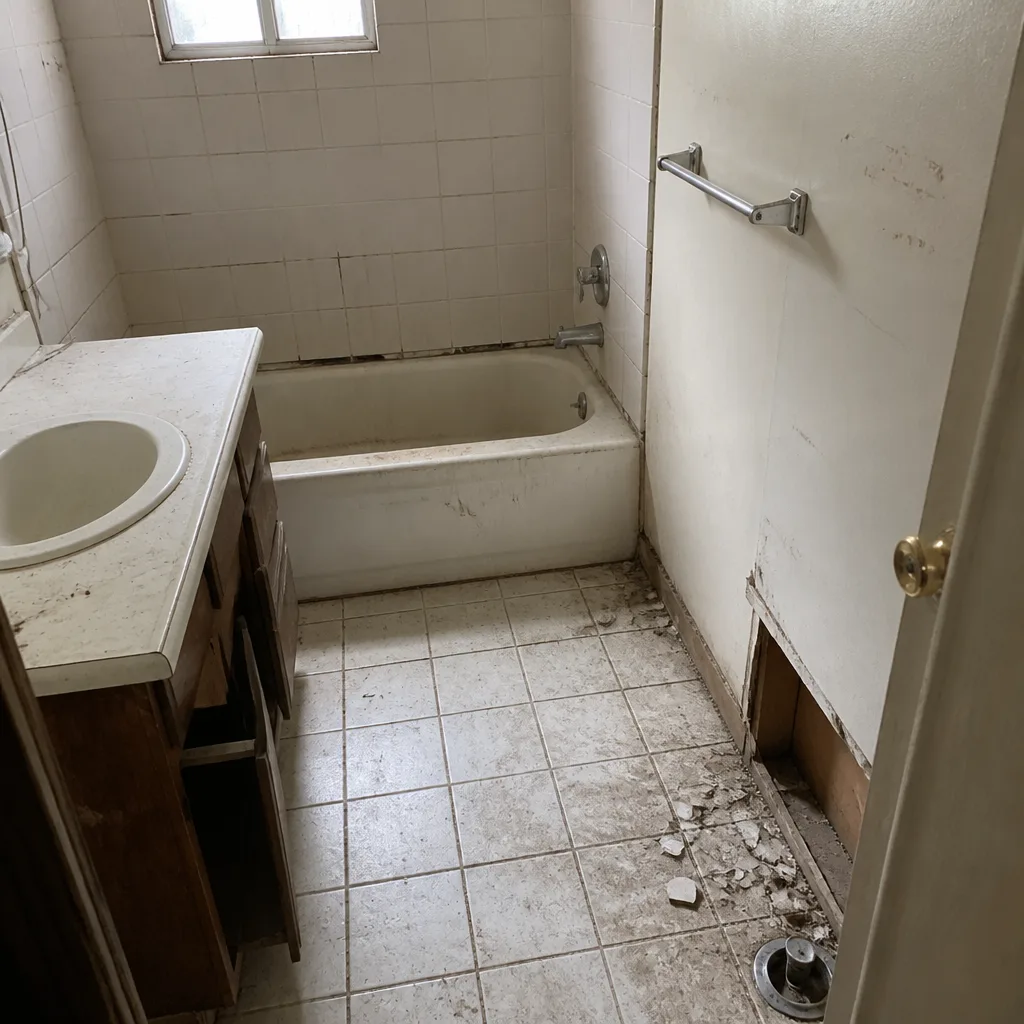 Before
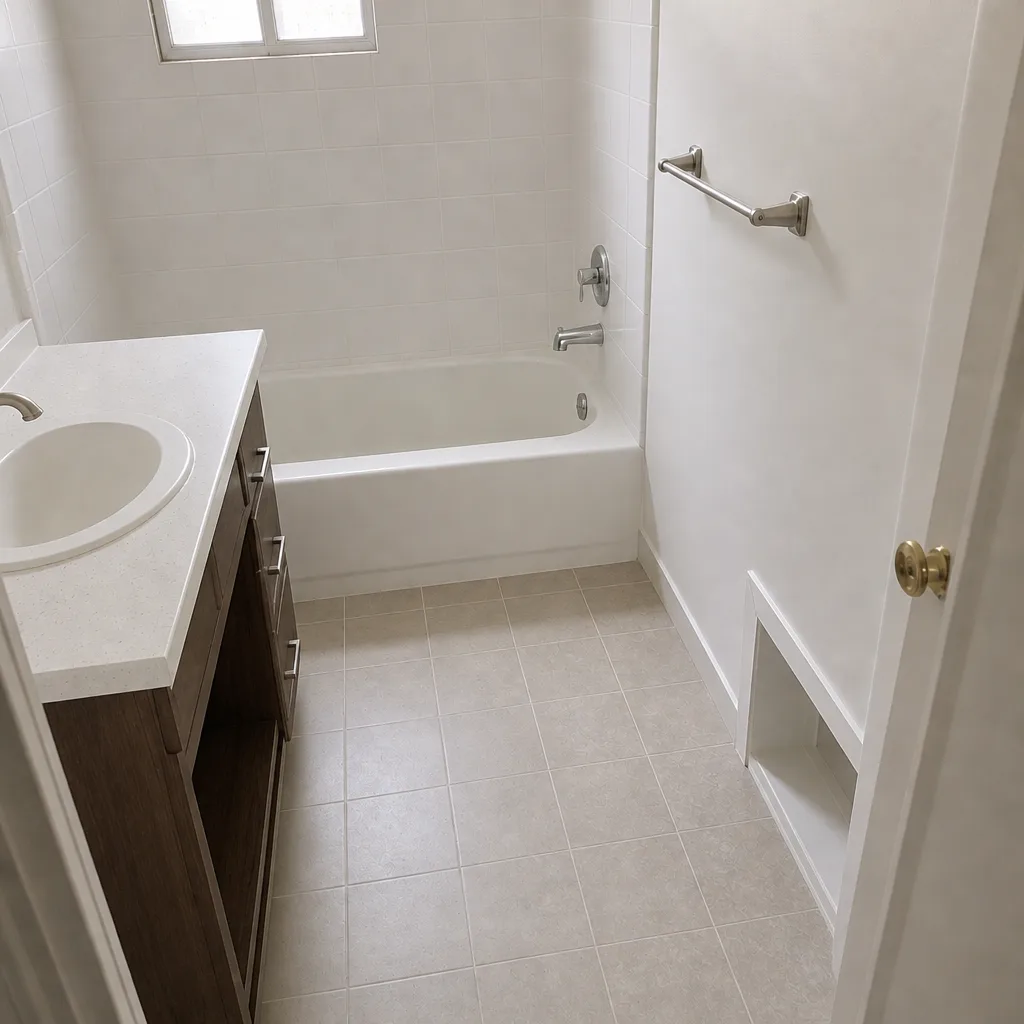 After
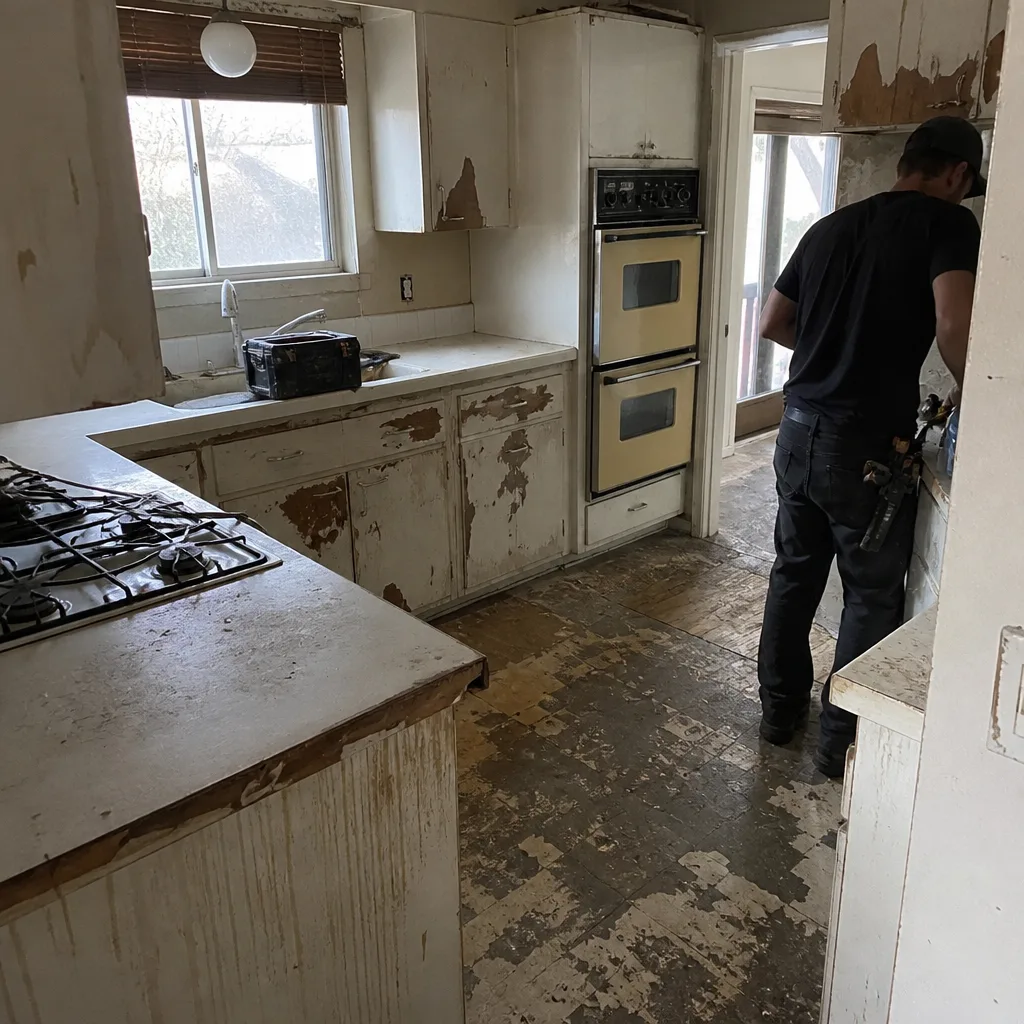 Before
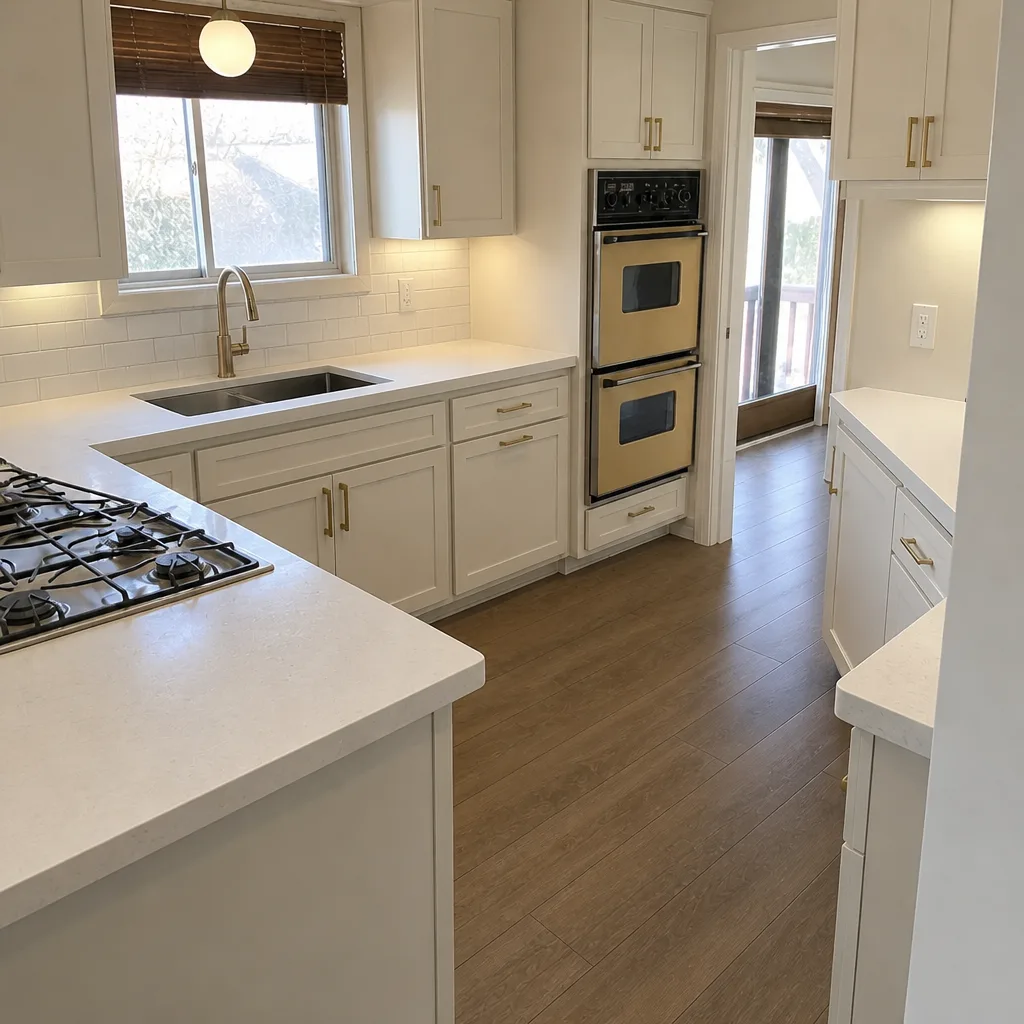 After
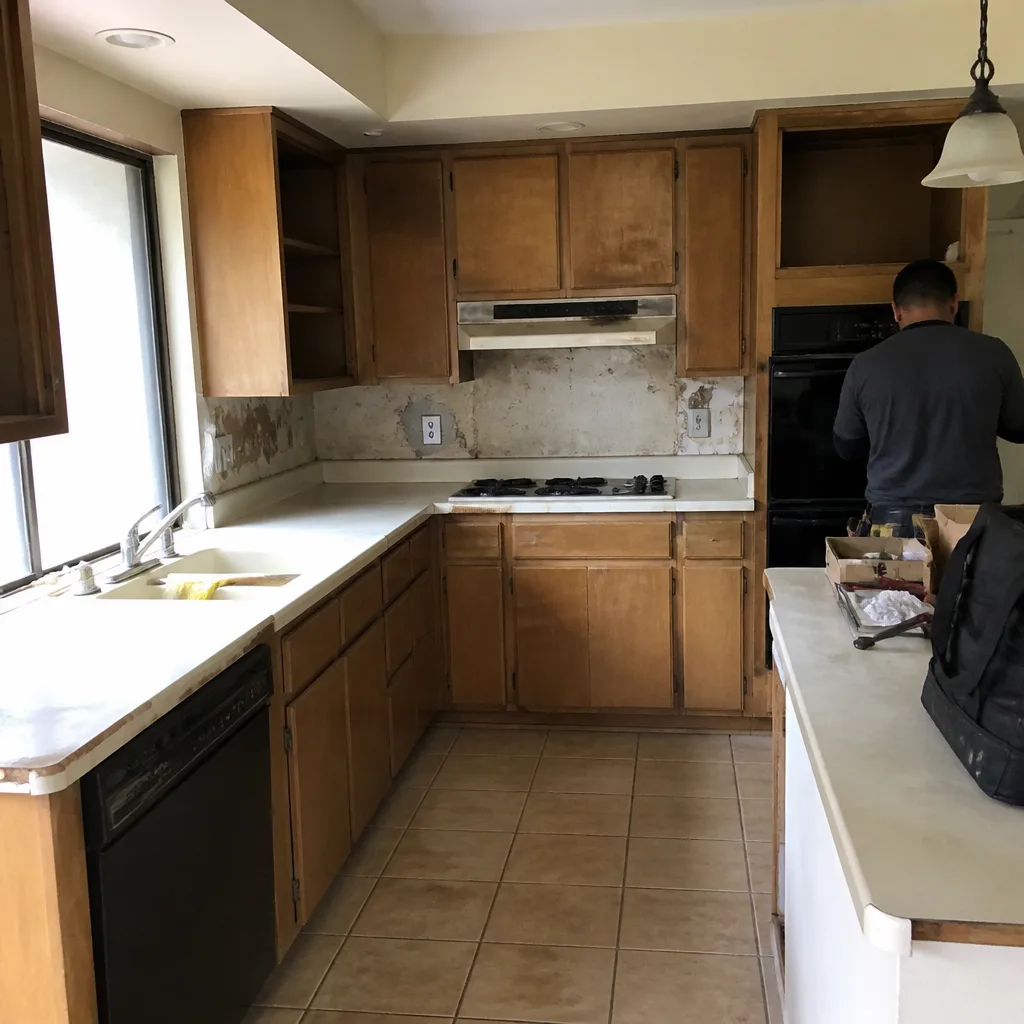 Before
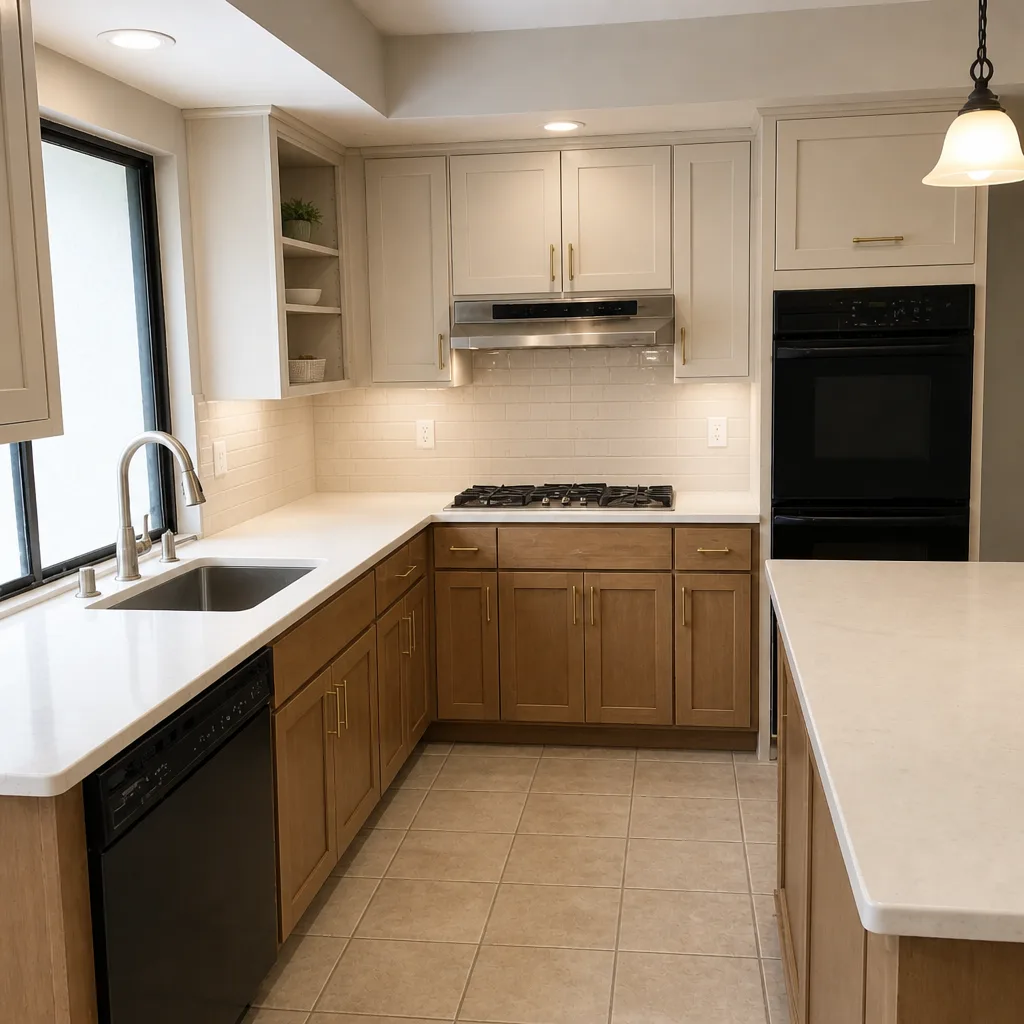 After