Last updated November 17, 2026
Free written scope consultation - allowances, timeline, and change-order rules on paper before a single trade is scheduled
Fence Installation Troubleshooting: Common Problems and How to Fix Them
A leaning fence post feels like a cosmetic problem until you realize the footing below it has cracked, and once water gets into that crack through winter rains, the freeze-thaw cycle finishes the job – even in Southern California. The post doesn’t fall because the wood got tired. It falls because the concrete under it moved first. In our experience installing and repairing fences across Yorba Linda, we’ve found that nearly every fence failure traces back to one of four root causes: post footing failure, wood rot at grade, hardware corrosion, or concrete heave. Each has its own repair path, and if you catch the problem early enough, none of them require tearing out the whole structure. This guide shows you how to diagnose which one you’re dealing with and fix the actual problem instead of the visible symptom.
Quick Answer
Most fence problems don’t need a full replacement – a leaning post usually means a failed footing, a rotted base means water is pooling at grade, sagging gates mean hinge or post movement, and warped boards mean a moisture and ventilation problem. Diagnosing the root cause first (footing, rot, corrosion, or heave) tells you whether you can stabilize the existing fence or whether a section needs to be rebuilt. Catching these early typically saves 60-80% of the cost of a full fence replacement.
Styles & brands we work with
- Kitchen remodeling
- Bathroom remodeling
- Home additions & ADU
- Roofing
- Windows & doors
- Driveway & pavers
- Fence
Table of Contents
- Why Is My Fence Post Leaning? (And Can It Be Fixed?)
- When a Footing Needs to Be Re-Poured vs. Stabilized
- How to Sister a Rotted Post at Grade Without Removing the Footing
- Why Fence Boards Warp and Cup (And How to Fix It Without Replacing Every Board)
- Stopping Hardware Corrosion Before It Compromises Structural Connections
- Gate Sag Diagnosis: Loose Hinge, Racking Post, or Frame Bracing
- Yorba Linda Conditions That Accelerate Fence Failure
- The Preventive Maintenance Calendar That Adds Years to a Fence
Why Is My Fence Post Leaning? (And Can It Be Fixed?)
A leaning fence post is almost never a wood problem – it’s a foundation problem. The wood above grade can look perfectly sound while the concrete footing below has shifted, cracked, or lost its grip on the soil. Before you start digging, you need to figure out which of three conditions you’re dealing with. Each has a different fix, and misdiagnosing it is the most common reason DIY fence repairs fail within a season.
Step 1: Check the base for rot. Push a screwdriver into the post at soil level. If it slides in easily or comes out with soft, stringy wood attached, the post itself is failing at grade. That’s a rot problem, and it has its own repair path covered in the sistering section below.
Step 2: Check for footing movement. Grab the post about chest height and rock it firmly. If the whole post and the concrete chunk at its base move together, the footing has lost its grip on the surrounding soil. If the post moves but the concrete stays put, the post has rotted or cracked free of the footing itself.
Step 3: Check for heave. Look at the ground line around the footing. If the concrete is sitting higher than the surrounding soil, or if the post is lifted and the bottom rail is now above the boards next to it, you’re dealing with concrete heave – the soil has expanded and pushed the footing up. This happens in Yorba Linda’s clay-heavy soils, especially on slopes and near irrigation lines.
Step 4: Decide on the fix. A post that’s only slightly out of plumb (less than 2 inches at the top) and still solid can often be re-plumbed and stabilized with a post base or a helical anchor. A post with a cracked, loose, or heaved footing needs the footing broken out and re-poured. A post that’s rotted at grade needs to be sistered or replaced.
Worth mentioning: a single leaning post in an otherwise healthy fence line is usually a localized problem. When two or three posts in a row lean in the same direction, the cause is more likely soil movement across the whole run, which usually means the footing depth was inadequate for the soil type. In Yorba Linda, fence footings on our local clay soils should be set below the frost line and below the active soil layer – typically 24 to 30 inches deep, not the 18 inches we see on older installations.
When a Footing Needs to Be Re-Poured vs. Stabilized
The decision between stabilizing a footing and re-pouring it comes down to three factors: how much the footing has moved, whether the concrete itself is cracked, and what’s happening to the surrounding soil. Getting this call right is what separates a repair that holds for a decade from one that fails again after the next rainy season.
Signs a Footing Can Be Stabilized
- The post is out of plumb by less than 2 inches at the top
- The concrete at the base is intact, with no visible cracks wider than a hairline
- The ground around the footing is firm and drains well
- The post itself is solid wood with no soft spots at grade
- The problem appeared recently and hasn’t gotten worse over multiple seasons
In these cases, a post stabilizer – either a metal bracket driven alongside the existing post or a helical ground anchor that ties the post to deeper, undisturbed soil – will often pull the post back to plumb and keep it there. This is significantly less expensive than a full re-pour and works well on individual posts where the surrounding fence is otherwise sound.
Signs a Footing Needs to Be Re-Poured
- The post is out of plumb by more than 3 inches at the top
- The concrete at the base is cracked, crumbled, or separated from the post
- The whole footing has lifted above grade (heave)
- Multiple posts in the same run are moving in the same direction
- Water pools around the base during rains
- The footing is undersized – less than 24 inches deep in our local clay soils
A re-pour means breaking out the old concrete, digging a new hole to the correct depth and width (a minimum of 24 inches deep and three times the post width in diameter, per standard practice), setting the post in fresh concrete with proper drainage gravel beneath, and bracing it plumb until the concrete cures. It’s a two-day job per post in most cases because of the cure time, and it’s the only reliable fix when the footing itself has failed.
For homes in the Yorba Linda hillside neighborhoods where grading and drainage are already a concern, we pay close attention to where the surface water runs during a storm. A footing that fails on the downhill side of a slope is a drainage problem as much as a concrete problem, and re-pouring without addressing the water will just fail again. If your fence installation in Yorba Linda is on a sloped lot, the footings should be set deeper and the grade around them should shed water away from the post, not toward it.
How to Sister a Rotted Post at Grade Without Removing the Footing
Wood rot at grade is the number one cause of fence post failure in Southern California, and it doesn’t have to mean a full post replacement. When the rot is confined to the bottom 12 to 18 inches of the post – which is the most common scenario – you can often sister a new post alongside the old one without ever touching the footing. This preserves the original installation, saves hours of digging, and keeps the repair cost down substantially.
When Sistering Works
Sistering is the right fix when the original post is still firmly set in its footing and only the above-grade portion has rotted. The structural connection to the ground is intact, and you’re essentially adding a second post alongside the first to take over the load above the rot line.
The Sistering Process
- Cut out the rot. Cut the rotted post off cleanly about 2 inches above the top of the rot line, using a reciprocating saw or a handsaw. The goal is a solid, square cut in sound wood.
- Select a replacement post. Use pressure-treated lumber rated for ground contact (UC4A or better), matched to the original post’s dimensions. Don’t substitute a thinner post – the new post carries the same load.
- Attach the new post to the old. Use a 12-gauge galvanized mending plate or, better, a specific post-splice bracket (Simpson Strong-Tie makes several models rated for this exact application) to join the new post to the sound portion of the old one. Through-bolts work better than screws here – a minimum of four bolts, staggered, with washers on both sides.
- Set the new post base. The bottom of the new post needs to sit on a proper post base above grade, not directly in the soil. A galvanized post base like the Simpson ABU or a comparable standoff base lifts the wood off the ground and is the single most important detail for long-term rot prevention.
- Tie the new post into the fence. Re-attach the rails and boards to the new post, or add a rail section that bridges both posts for extra rigidity.
- Treat the cut ends. Apply a copper-based wood preservative to every cut end, including the bottom of the new post and the top of the old cut. This is a small step that adds years to the repair.
The post base detail is the part most homeowners skip, and it’s the part that determines whether the repair lasts five years or fifteen. A post stuck directly in concrete wicks moisture up through the end grain, and that’s exactly why the original post rotted in the first place. Any repair that repeats the original mistake will fail the same way. Modern post bases lift the wood above the concrete and allow the bottom to dry out between rains – in Yorba Linda’s wet winters and dry summers, that drying cycle is the difference between a post that lasts and one that doesn’t.
For larger fence repairs that go beyond a single post – a whole run of posts that have reached end of life, or a fence that’s losing sections every season – the better investment may be a full replacement rather than repeated surgical repairs. For more extensive work along these lines, see Fence Installation in Yorba Linda.
Why Fence Boards Warp and Cupping Boards Don’t Need Full Replacement
Warped, cupped, or twisted fence boards are almost always a moisture and ventilation issue, not a wood quality issue. Wood moves as it absorbs and releases moisture, and if one side of a board stays wetter than the other, that side swells and the board cups. The fix is to address the moisture imbalance, not to replace every board on the fence.
What Causes Board Warping
- One-sided moisture exposure. A board that receives sun on one face and shade or irrigation overspray on the other will cup toward the wet side. This is why the boards closest to a sprinkler head fail first.
- Boards installed tight against each other. Fence boards need a small gap between them (typically 1/8 to 1/4 inch) so air can circulate and moisture can escape. Tight installation traps moisture on the hidden faces.
- Bark-side-out installation. Boards installed with the bark side facing the weather will cup more. The bark side should face out toward the weather, not in, which actually reduces cupping.
- Inadequate fastening. Boards attached with a single nail per rail can twist freely. Two fasteners per rail (one high, one low) lock the board flatter.
- Poor drainage at the bottom rail. The bottom rail sitting too close to grade keeps the bottom of the boards wet, and those boards cup from the bottom up.
How to Fix Cupped Boards Without Full Replacement
For mild cupping, the fix is often as simple as introducing airflow. Adding 1/8-inch shims between the cupped boards to create a consistent gap, and trimming vegetation and irrigation overspray away from the fence face, will let the boards dry out and settle back toward flat over a season. For boards that have cupped more severely, a gentle application of heat (a heat gun, not a torch) followed by clamping flat against the rail and re-fastening with two fasteners per rail will often bring the board back. Boards that have cracked along the grain from cupping are the ones that need replacement – those are the ones where the wood fiber has failed.
Replacing individual boards is a normal part of fence maintenance and doesn’t require touching the posts or rails. If you’re replacing a whole section because the boards have cupped beyond repair, the more important question is why they cupped – because if the moisture source isn’t addressed, the new boards will cup the same way. We always have the homeowner walk the fence line with us and identify the moisture sources before we quote a repair, because the visible board problem is only half the story.
Stopping Hardware Corrosion Before It Compromises Structural Connections
Corroded hardware is a structural problem, not just an appearance problem. A gate hinge that has rusted to the point of losing half its metal has also lost half its load capacity, and a post strap that’s corroded through is no longer tying the post to anything. The tricky part is that corrosion happens behind the scenes – a hinge that looks fine from the front can be corroded through on the side that faces the weather.
Where to Check First
- Gate hinges. The hinge is the highest-stress hardware on the whole fence. Look for rust trails, flaking metal, and looseness at the screw holes.
- Gate latches and self-closing springs. These move constantly and wear faster than anything else.
- Post-to-rail brackets. Especially on metal fences and on wood fences where the rails are tied with galvanized brackets.
- Post bases and caps. The fasteners holding a post base to the concrete are exposed to water pooling at grade.
- Through-bolts on repaired posts. Any repair that used through-bolts should have the bolts checked every year.
What Corrosion Looks Like at Each Stage
Stage 1 – surface rust. Orange discoloration on the surface of galvanized hardware. Cosmetic, still strong. Clean with a wire brush, apply a rust-inhibiting primer, and it’s fine.
Stage 2 – pitting. Small pits or flaking on the surface, with rust visible on edges. The hardware has lost some metal but is still load-bearing. Replace it in the next maintenance cycle.
Stage 3 – section loss. Visible chunks of metal gone, or the hardware moves when you grab it. Replace immediately – this hardware is no longer holding the load it was rated for.
How to Prevent It Without Replacing Everything
The single most effective step is to use the right hardware in the first place. Galvanized hardware is standard, but for a fence that faces wet winters like Yorba Linda’s, stainless steel or hot-dipped galvanized hardware on gates and latches will last dramatically longer than electro-galvanized. Our fence installation in Yorba Linda uses hot-dipped galvanized gate hardware as the baseline for that reason. If your existing hardware is already at stage 2, replacing it before it reaches stage 3 costs very little compared to the repair that follows a hinge failure that drops a gate.
One detail that matters more than most homeowners expect: mixed metals. Attaching a stainless steel bolt into a galvanized post, or using an aluminum latch on a steel hinge, creates a small electrical current between the metals that accelerates corrosion dramatically. Where possible, match the metal type of every fastener to the hardware it passes through.
Gate Sag Diagnosis: Loose Hinge, Racking Post, or Frame Bracing
A sagging gate can look like a hinge problem when it’s actually a post problem, and vice versa. Diagnosing it correctly the first time is the difference between a repair that holds and one that sags again next month. There are three distinct causes, and each has a different fix.
Cause 1: Loose Hinge
Push the gate up gently from the handle side. If the gate lifts smoothly and the hinge moves, but the post stays rock-solid, the hinge is the problem. Either the hinge screws have pulled out of the post, or the hinge itself is worn and needs replacement. The fix is usually to replace the screws with longer ones (3-inch minimum for a gate) and, if the holes have wallowed out, to fill them with hardwood dowels before re-driving the screws. In older gates, replacement hinges with adjustable tension are often the more durable fix.
Cause 2: Racking Post
Rock the gate side to side. If the post itself moves with the gate, the post has lost its footing, and the gate is pulling the whole post out of alignment. This is the most common cause we diagnose in Yorba Linda on fences that have been in place for more than fifteen years. The fix here is not to tighten the hinges – it’s to re-stabilize the post. A gate post carries significantly more load than an interior post, and it needs a deeper, wider footing than a standard post. If the footing is undersized, adding a second concrete anchor or re-pouring the footing at the correct depth is the durable fix.
Cause 3: Frame Needs Cross-Bracing
Swing the gate open and look at the frame from the side, then from the front. A gate frame that’s out of square – the top and bottom not aligning with the sides – will sag regardless of what you do to the hinges. It needs cross-bracing. Any gate more than 30 inches wide should have a diagonal brace from the bottom corner (opposite the hinges) to the top corner (hinge side) – or a tension cable running the opposite diagonal. Older gates often have neither. Adding a diagonal brace is a weekend repair that eliminates the sag at its source.
How to Tell Them Apart
- The gate sags but the post is solid = hinge problem
- The post moves when you rock the gate = footing problem
- The gate is out of square even before it’s hung = bracing problem
- Two or more of these together is common on older fences, and all three need to be addressed
For an installed gate that’s already reached the point where the post and the frame both need work, a full gate rebuild is often the more economical choice than a string of repairs. For larger-scale fencing projects where a gate is part of a wider rebuild, the driveway and paver work often happens in coordination – see Driveway & Pavers in Yorba Linda for how we sequence those projects so the gate and driveway meet correctly.
Yorba Linda Conditions That Accelerate Fence Failure
Fence problems aren’t universal – the specific conditions at a property determine which failures happen first and how fast. Yorba Linda has a few characteristics that shape fence repair work in ways that differ from coastal Orange County or the desert regions to the east, and knowing them helps you anticipate which problem your fence will develop and when.
Clay Soils and Post Heave
Yorba Linda sits on expansive clay soils in many areas, especially on the hillside neighborhoods. These soils swell when wet and shrink when dry, and that movement puts lateral pressure on fence footings that sandy soils don’t. Footings that were set 18 inches deep in this soil will often heave within a decade. Fence footings in this soil type should be deeper (24 to 30 inches) and wider, with compacted gravel beneath to allow drainage. If you’re in one of the hillside neighborhoods and your fence has heaved, the fix is a re-pour at the correct depth – a stabilizer will buy you time, but the soil movement will eventually win.
Winter Rains and Rot at Grade
Yorba Linda’s wet winters concentrate rainfall into short, intense events. Wood that stays wet for weeks at a time at grade rots dramatically faster than wood in a drier climate. The fix is post base detailing and drainage – posts lifted above grade on a proper post base, with gravel beneath to shed water. Any repair that sets the post directly in soil will fail within a handful of winters regardless of what treatment the wood has.
Wind Exposure on Exposed Slopes
Fences on exposed ridges and slopes in Yorba Linda take significant wind load, particularly from the Santa Ana wind events. Boards that are cupped or poorly fastened will pull free in high winds, and posts with undersized footings will be pushed out of plumb. Wind-rated installations use two fasteners per rail per board and a minimum of 4×4 posts at the correct spacing – properties on exposed lots benefit from 6×6 posts on corners and gate posts.
Sun and UV on Metal Hardware
The UV exposure in Yorba Linda is hard on metal hardware and on the wood finish. Powder-coated hardware fades and the coating degrades – when it does, rust starts underneath. Surface finishes on wood fences need re-application every 3 to 5 years in this climate, sooner on south- and west-facing sections. This is why we favor hot-dipped galvanized gate hardware for local installations – it handles UV exposure without relying on a coating that will eventually fail.
We’ve also learned that fence height and setback vary by Yorba Linda neighborhood and HOA, and it’s worth checking before a repair becomes a replacement. A change in fence height can require a permit in some areas, and a quick call to the city or a review of your HOA rules can save a headache during the repair process. Projects that combine fencing with a broader exterior upgrade often benefit from coordinating the schedule – see Home Additions & ADU in Yorba Linda for how we plan those larger scopes.
The Preventive Maintenance Calendar That Adds Years to a Fence
Most of the repairs in this guide can be avoided or delayed by a simple maintenance routine. The goal is not to spend weekends working on the fence – it’s to spend an hour or two a season on the small problems before they become expensive ones. Here’s the calendar we recommend to Yorba Linda homeowners.
- After every significant rainstorm – check for pooling. Walk the fence line and look for water standing at the base of any post. Pooling is the single biggest predictor of future rot, and addressing the drainage now is far cheaper than a post repair later.
- Spring – check for rot at grade. Push a screwdriver into each post at soil level. Any post that gives easily needs attention before the dry season bakes the rot in.
- Spring – check for footing movement. Rock the gate and each corner post. Any post that moves at the base needs to be addressed before the next rainy season.
- Summer – inspect hardware. Look at every hinge, latch, bracket, and post base. Clean surface rust, replace hardware that’s at stage 2 or beyond.
- Fall – check board flatness. Look down the fence line for cupped or twisted boards. Address moisture sources now so the boards have the dry season to settle back.
- Fall – test the gate swing. Open and close each gate fully. Any drag or sag is much easier to fix in October than in February.
- Annually – re-seal exposed wood. In Yorba Linda’s UV environment, a quality penetrating sealer or stain every 3 to 5 years on exposed wood adds years to the boards, and it lets you inspect the wood closely while you’re doing it.
The logic behind the calendar is that fence repairs are staged – the failures that drain your budget are the ones that compound. A little rot that gets caught in spring is a sistering fix. The same rot caught two years later has usually spread to the rails and the adjacent boards. The footing that moves half an inch this year will be a full re-pour in three.
Common Mistakes to Avoid
- Replacing the post without checking the footing. A new post in a failed footing will fail exactly the way the old one did, often within a season. Diagnose the footing before you touch the post.
- Setting the new post directly in concrete. This is the single most common cause of premature rot we see. A galvanized post base lifts the wood above grade and lets it dry between rains – skipping this step turns a fifteen-year repair into a five-year one.
- Using electro-galvanized hardware on gates. Electro-galvanized hardware will show rust within a year in Yorba Linda’s winters. Hot-dipped galvanized or stainless steel on gates and latches is the durable choice.
- Tightening hinges when the post is the problem. If the post is racking, no amount of hinge tightening will fix the sag. Rock the post to confirm before you start.
- Patching cupped boards without fixing the moisture. New boards installed on a fence with the same irrigation overspray or drainage problem will cup the same way. Fix the source first.
- Ignoring drainage on the downhill side of a slope. Yorba Linda hillside properties with fences on slopes need the grade around the footing to shed water away, not toward, the post. A re-pour that doesn’t address the grade will fail again.
- Mixing metal types on hardware. Stainless steel fasteners in a galvanized post create galvanic corrosion and accelerate the very rust you’re trying to prevent. Match the metal types.
See the difference
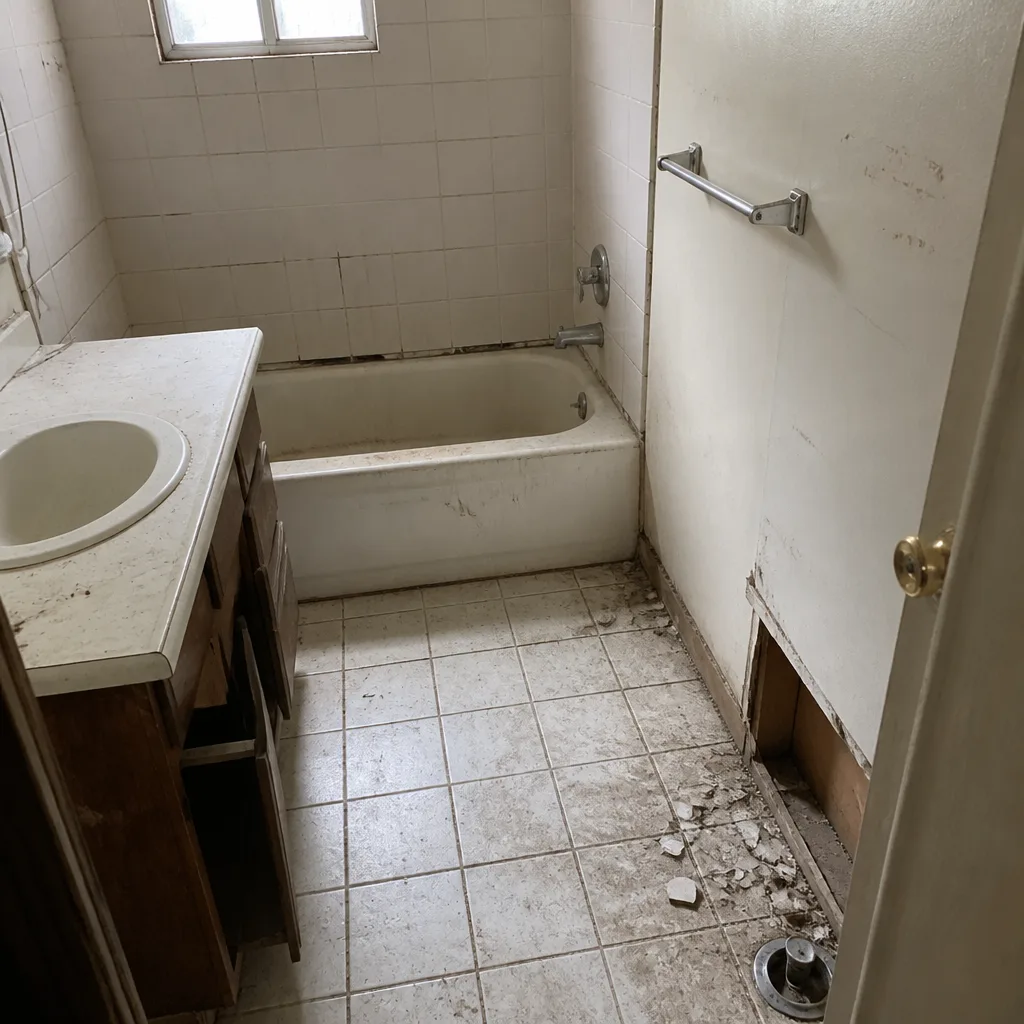 Before
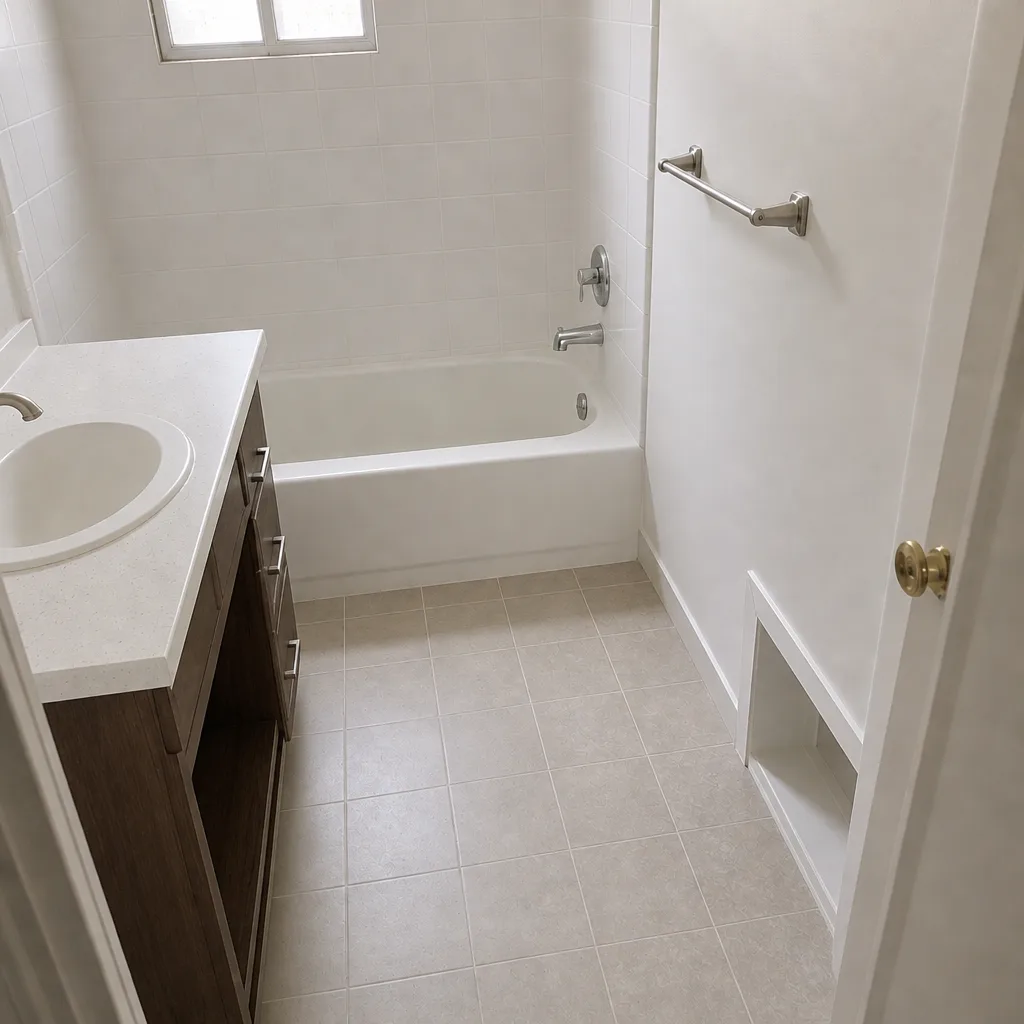 After
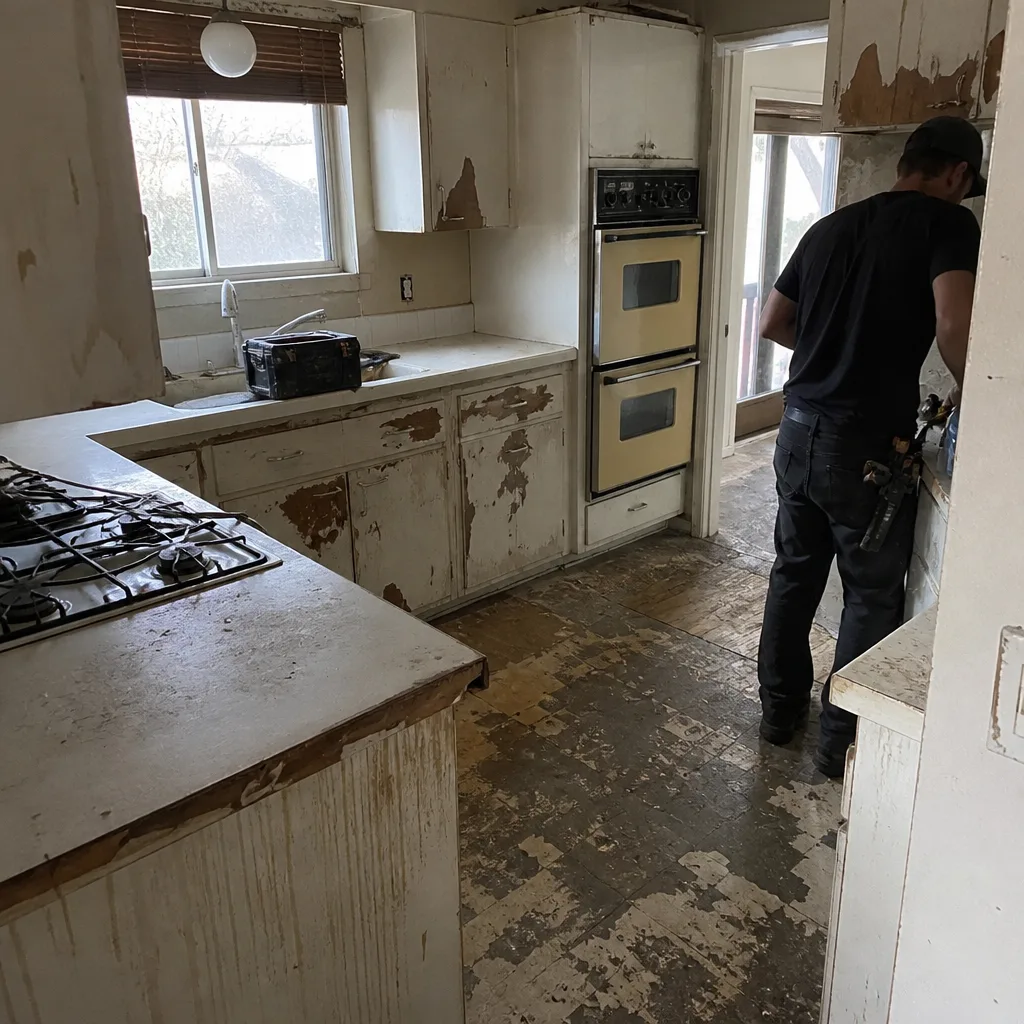 Before
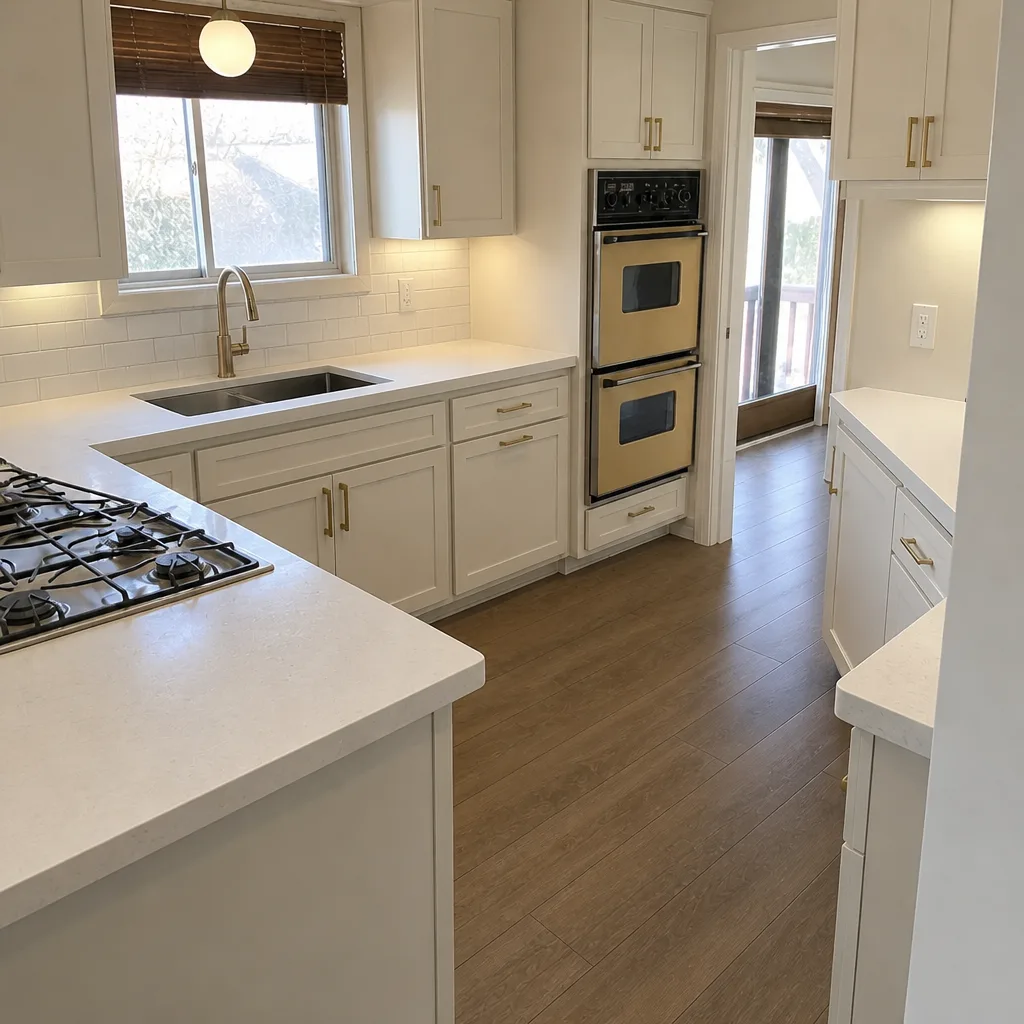 After
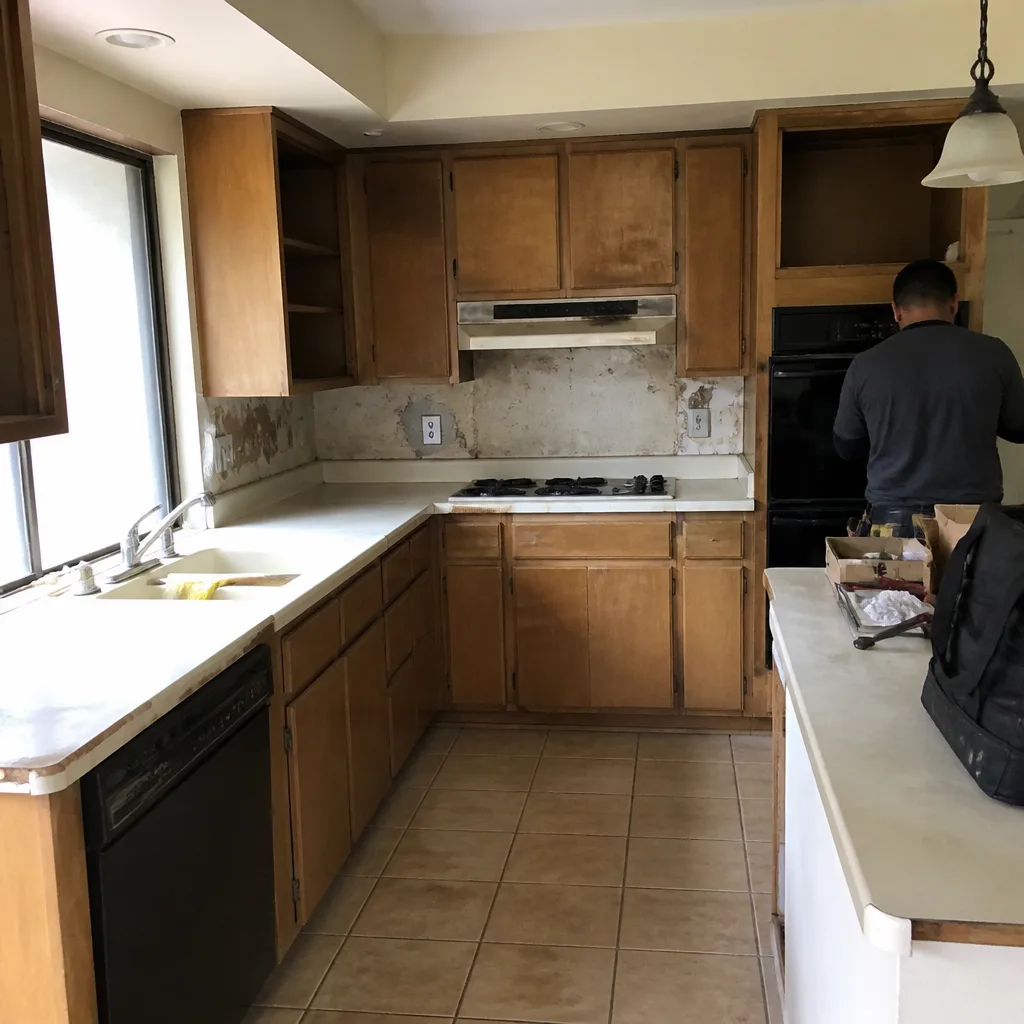 Before
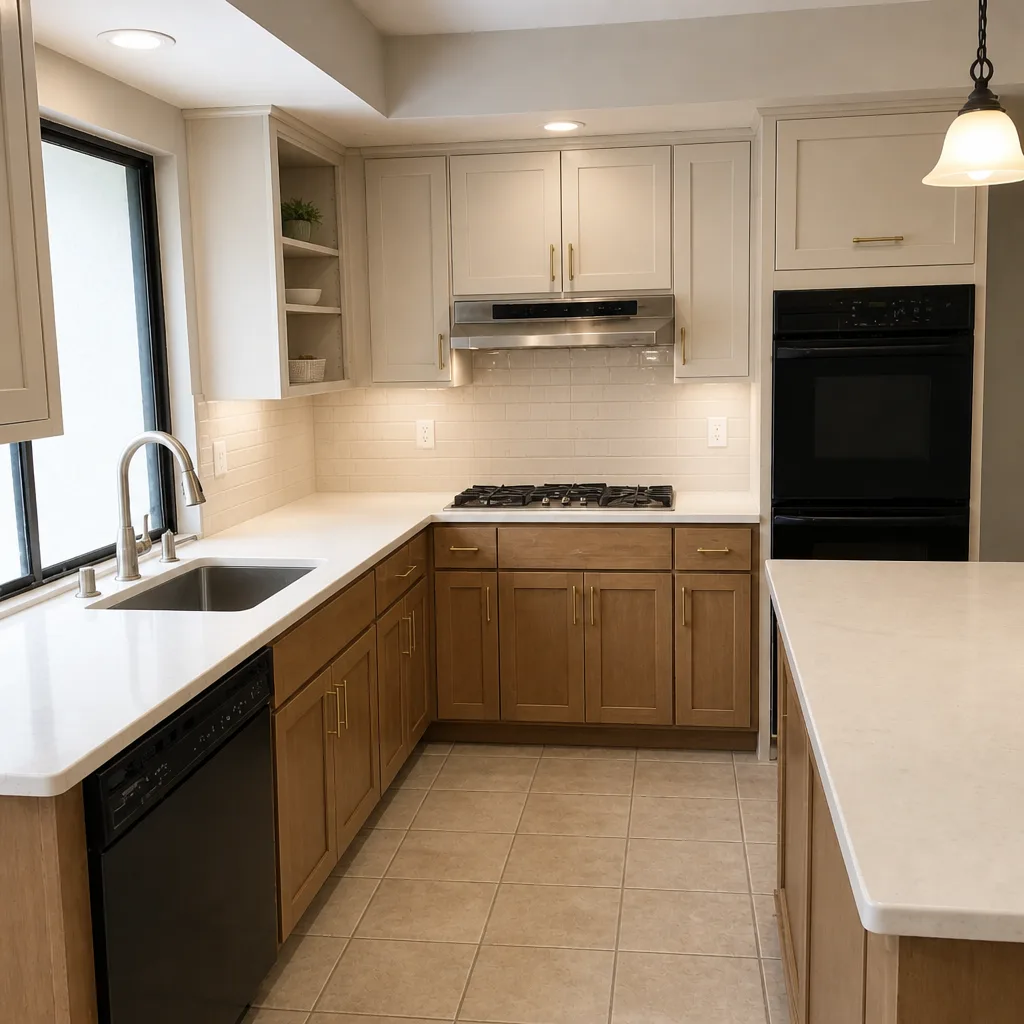 After
When to Call a Professional
Some fence repairs are genuinely weekend work – a single loose hinge, a cupped board, a gate brace. But several of the fixes in this guide are worth handing to a professional: any full footing re-pour (concrete work, cure time, and proper base depth are easy to get wrong), any repair where multiple posts in a run have moved together (which usually means the original installation was undersized for the soil), any gate rebuild involving a post that’s racking, and any installation that requires a permit. Fence work also involves real risk – digging near buried utility lines, heavy posts, working on ladders – and a professional crew carries the insurance and training to handle that safely. Groundwork Construction Co. of Yorba Linda offers free estimates in Yorba Linda – call (888) 255-9354 to schedule a walk-through and get a written line-item quote on whichever repair path fits your fence.
Frequently Asked Questions
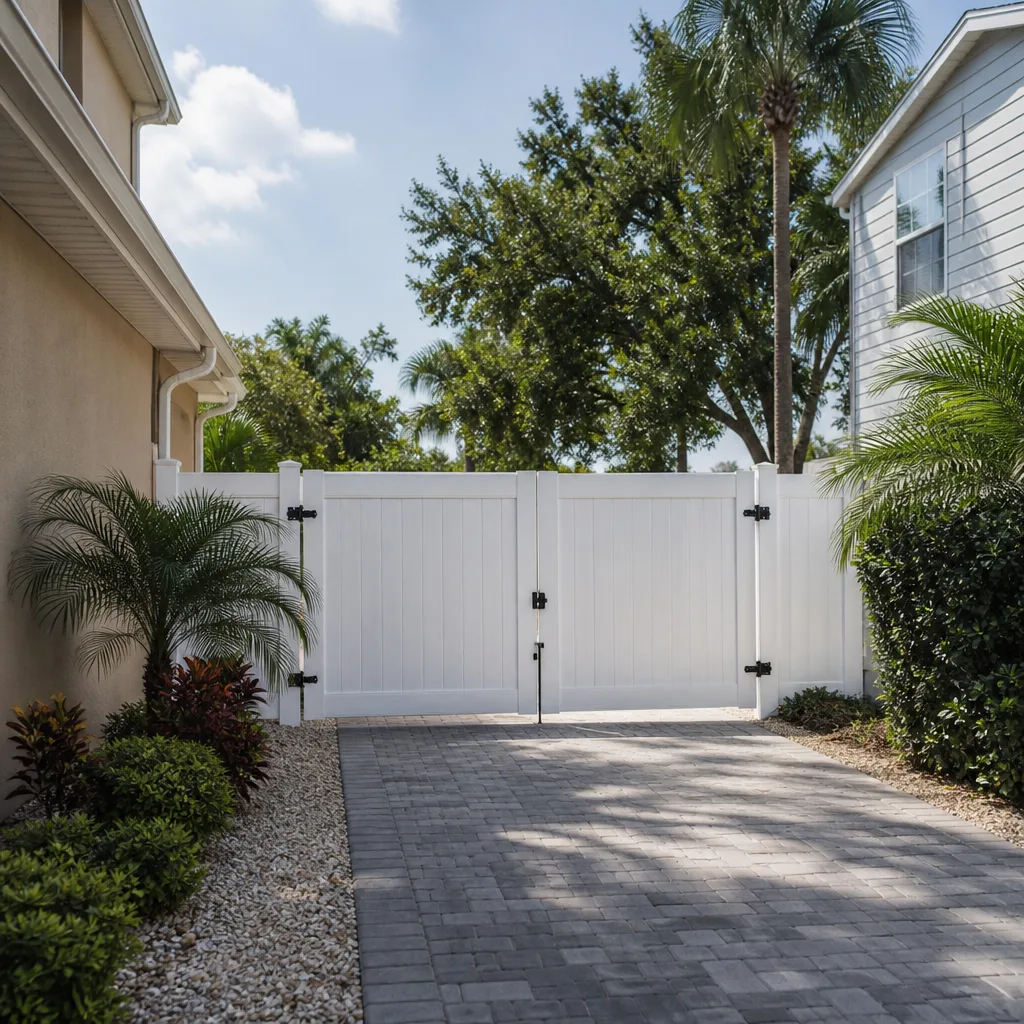
Fixing a single leaning fence post in Yorba Linda typically ranges from about $175 to $450 depending on the repair path – a post stabilizer runs toward the low end, while a full footing break-out and re-pour with proper base depth and hardware runs toward the high end. Multiple posts in a single visit usually cost less per post than isolated repairs, since the crew setup and site prep are shared. Call (888) 255-9354 for an exact quote – estimates are free.
Yes, in most cases. A post that’s out of plumb by less than 2 inches with an intact footing can often be re-plumbed and stabilized with a post anchor or bracket, and a post rotted only at grade can be sistered with a new post base and splice bracket without ever touching the original footing. A full section replacement is only necessary when the rails and adjacent boards have also failed. There’s no reason to replace workable fence just because one post moved.
Cupping is a moisture and ventilation problem, not a wood problem, so replacing boards without fixing the moisture source means the new boards will cup the same way. The usual culprits are irrigation overspray on one face, boards installed too tightly together with no gap for airflow, or a bottom rail sitting too close to grade. Fix the moisture source and the ventilation gap first; the boards will then stay flat much longer.
Not with our upfront pricing – the number you see in the written quote is the number you pay. We inspect the fence in person, diagnose the root cause, and quote the full scope, including hardware, post bases, and any concrete work, before the crew arrives. If we open up a footing and find a problem deeper than the original diagnosis, we stop and talk to you before doing any additional work – no surprise charges.
Repairs generally don’t require a permit, but a full fence replacement – and in some cases a change in fence height – can require one depending on your neighborhood, HOA, and the property line. The correct call is to check with the City of Yorba Linda before starting work, and any reputable installer will handle the permit process for you. If your project requires a permit, we pull it and schedule the inspection.
Most fence repairs are completed in a single visit – a single post sistering, a gate repair, or a hardware replacement typically takes 2 to 4 hours. A footing break-out and re-pour is a two-day job per post because of the concrete cure time. A full run replacement or a large gate rebuild runs longer, and we’ll give you the timeline in writing before we start so you can plan around it.
The Bottom Line
Most fence failures trace back to four root causes, and the repair path for each is different. Footing failure needs a re-pour or a stabilizer. Rot at grade needs a sistered post with a proper base. Hardware corrosion needs staged replacement before it reaches structural failure. Concrete heave needs a deeper footing with drainage addressed. Board cupping needs a moisture and ventilation fix, not a replacement. Catching these early typically saves 60 to 80 percent of what a full replacement would cost, and the repairs that use the right hardware and proper post bases will hold for a decade or more. The location-specific risk factors – Yorba Linda’s clay soils, winter rain concentration, UV exposure, and wind on exposed slopes – determine which problems will show up first. When a repair reaches the point of a full footing re-pour or a whole-section rebuild, that’s the point to bring in a professional.
Groundwork Construction Co. of Yorba Linda is the full-scope construction partner for homeowners who want the work done right and backed in writing. Every project carries our 730-Day Done Right Promise – if it’s not done right, we make it right – and every quote is upfront pricing with no surprises. Calls are answered by a live person, 24/7, and our technicians have up to 12 years of experience on fence and exterior construction. We work with trusted material partners across every category, and we stand behind every repair the way we stand behind every new build. For a free estimate on your fence repair or replacement, call (888) 255-9354. For more on how we handle larger exterior projects alongside fencing, see our Groundwork Construction Co. of Yorba Linda home page.
Written by the team at Groundwork Construction Co. of Yorba Linda.