Last updated November 17, 2026



Free written scope consultation - allowances, timeline, and change-order rules on paper before a single trade is scheduled
Driveway & Pavers Warning Signs Every Homeowner Should Know
A rocking paver that shifts under foot traffic isn’t a loose stone. It’s evidence that the bedding sand beneath it has migrated, and wherever sand migrates, water follows. Wherever water pools under a base, you’re watching a structural failure unfold in slow motion. Most Yorba Linda homeowners walk past these signals for years because the vocabulary is missing, not the eyesight. A $400 repair today becomes a $12,000 full replacement once the base gives out. This guide translates nine specific visual warning signs into plain decisions: what to monitor, what to repair soon, and what means calling a professional now.
Quick Answer
The most serious driveway paver warning signs are spreading sections of settlement, pavers creeping outward past a failing edge restraint, and grass or weeds sprouting from joints, because all three point to water reaching the base. Single, stable imperfections like a small chip or one sunken stone are usually cosmetic or isolatable. Any pattern that spreads, or any hint that the base layer is wet, calls for a professional inspection before it turns into a tear-out and rebuild.
Styles & brands we work with
- Kitchen remodeling
- Bathroom remodeling
- Home additions & ADU
- Roofing
- Windows & doors
- Driveway & pavers
- Fence
Table of Contents
- The Nine Warning Signs at a Glance
- The Pattern of Displacement: What Shifting Tells You
- Failed Edge Restraints and the Outward Creep
- Weeds in the Joints: Joint Sand Failure, Not Just a Weed Problem
- Cosmetic Spalling vs. Structural Delamination
- Standing Water, Efflorescence, and Yorba Linda Drainage
- The Three-Tier Triage: Monitor, Repair Soon, Call Now
- Common Mistakes to Avoid
- When to Call a Professional
The Nine Warning Signs at a Glance
Before we break each signal down, here’s the full vocabulary in one place. Homeowners who can name what they’re seeing tend to get faster, cheaper resolutions, because they describe the problem accurately on the phone instead of guessing. In our experience evaluating paver driveways across Yorba Linda, most major failures announce themselves through at least two of these signals first.
- Rocking or wobbling pavers under foot or tire.
- Sunken sections that collect water or catch tires.
- Spreading settlement, where the depression widens season after season.
- Edge rollout, with pavers creeping outward at the driveway’s perimeter.
- A failing edge restraint, visible as a separated or tilted border.
- Weeds and grass in the joints, which means joint sand is gone.
- Missing or washed-out joint sand between pavers.
- Surface pitting, flaking, or white bloom (spalling and efflorescence).
- Efflorescence that returns after cleaning, a sign moisture is moving through the pavers from underneath.
Each of these maps to a different root cause. A single sunken paver usually traces to one spot of poorly compacted base or a localized chip of bedding sand. A spreading wave of settlement points to a drainage problem or a base that was never built to spec. Edge rollout is nearly always a restraint failure, and it’s the most contagious of the group. Signal six is the one homeowners dismiss most often, and it’s the one that lets water into the base fastest. We cover each in detail below, with the Yorba Linda conditions that make certain signals show up sooner here.
The Pattern of Displacement: What Shifting Tells You
The pattern of movement tells you more than the movement itself. A paver that rocks in isolation is telling you one thing; a wave of pavers that settles in a line across the width of the driveway is telling you something else entirely. Understanding which pattern you’re looking at is the difference between a spot repair and a base reconstruction.
- A single sunken section: One paver or a small cluster drops while the surrounding field stays level and solid. Most often this is a local failure – a pocket of bedding sand that was thin, un-compacted, or washed out by a concentrated drip from a downspout or a hose bib. Repairs are usually limited to lifting and re-bedding that section.
- A spreading wave of settlement: The depression grows in one direction, typically toward the low side of the driveway or the street. This is a base or drainage failure. Water is getting under the pavement and carrying the bedding sand with it. Spot repairs hold briefly and then fail again because the source of the water was never addressed.
- Edge rollout: The pavers along the border creep outward and tilt, leaving a gap or a raised lip. This is a restraint problem, and it’s the most urgent of the three patterns because once the interlock at the edge is gone, the whole field can begin to migrate.
Yorba Linda’s grading matters here. Many homes sit on lots that slope down from the street, and driveways often carry runoff from the surrounding landscape during the occasional heavy winter storm. If your driveway’s low point is against the house or in the middle of the field, settlement will show up there first. We see it repeatedly on driveways in neighborhoods like Vista Del Mar and Travis Ranch, where mature trees drop leaf litter that clogs drainage channels and pushes water onto the pavement. If movement is confined to one stable spot and hasn’t grown in a season, monitor it. If the wave is spreading, you’re past monitoring territory.
Failed Edge Restraints and the Outward Creep
The edge restraint is the unsung hardware of a paver driveway. It’s the strip of concrete, aluminum, or steel that locks the outermost course of pavers in place and prevents the whole field from spreading outward like a deck of cards. When it fails, the failure is often visible long before it becomes obvious – a subtle outward creep you can walk past for years without noticing.
Here’s how to spot it before it takes the field with it:
- Walk the perimeter. Follow the edge of the driveway and look for the outer row of pavers tilting or leaning outward. The tilt is subtle at first, a few degrees.
- Look at the gap. A healthy edge restraint sits tight against the pavers. A visible gap between the border and the driveway’s edge, or a line where soil has pushed up between them, means the restraint has started to give.
- Press the border pavers. Wobble or movement at the very edge, without movement in the field, points to restraint failure rather than a base problem.
- Check the outside face. The outer face of the restraint is often buried in soil or buried under turf. If the visible top of the restraint is separated from the pavers, the whole thing has moved.
- Look for the curb. Concrete restraints that have cracked or tipped outward, or aluminum restraints that have lifted, are no longer doing their job.
Why is this the most contagious signal? Because pavers rely on each other for strength. If the edge is free to move, the outer row pushes into the next row, and the effect ripples inward. In Yorba Linda’s warm, dry months, the soil shrinks slightly and can let a restraint loosen. Then the winter rains send water into the gap, and the cycle accelerates. A failing edge restraint is not usually something a homeowner fixes by pushing the pavers back. It needs the restraint reset or replaced, and that’s a job for someone with the right tools and a compacted base.
Weeds in the Joints: Joint Sand Failure, Not Just a Weed Problem
Grass and weeds growing in the joints of your driveway are not a weed problem, they’re a joint sand problem. The sand that fills the narrow gaps between pavers is the first line of defense against water reaching the base. Weeds can only take root if that sand has been lost – washed out, blown away, or never topped off. Once the joints are open, surface water and rain infiltrate freely, and the base slowly loses the bedding sand that supports it.
The fix is not a spray bottle of weed killer. Killing the visible weed does nothing to protect the base, and the next storm water finds its way into the open joint regardless. The real fix is to clear the joint, refill it with the correct joint sand, and compact it in. That’s the reason a proper re-sanding is one of the cheapest preventive maintenance items you can do for a paver driveway – and one of the most effective.
In our experience, joint sand loss shows up faster here than in much of the country. Yorba Linda’s dry summer heat pulls moisture from the pavers and the sand, and light winds move sand out of the joints gradually. Then a single heavy winter rain carries it further. The pattern we see is a driveway that looks fine in August and shows a network of green joints by February. If your joints are weeds and not sand, that’s the signal. We recommend a re-sanding every few years depending on exposure and traffic, and always after a repair or when the joints are visibly shallow. A qualified paver crew will re-sand, use the right sand for the joint width, and compact it back into the gaps rather than spreading it on top and calling it done.
If you’re seeing joint failure alongside a fence line that’s leaning or a landscape walking path that’s settling, the same moisture is at work. Fence Installation in Yorba Linda addresses how we build fence posts to stay true through the same soil and rain cycle.
Cosmetic Spalling vs. Structural Delamination
Spalling and delamination are frequently confused, and the distinction decides whether you’re patching one paver or eyeing a replacement. Both show up as surface damage on the paver, but they mean different things about what’s happening beneath.
Cosmetic spalling is surface-level. The top face of the paver flakes, pits, or scales, usually because of sun exposure over time or from deicing salt applied in winter (less common in Yorba Linda, but it happens after the occasional cold snap). A cosmetic spall is shallow. You can see the aggregate near the top and the paver still does its structural job. The fix is often nothing – or a replacement of the affected paver or two if the appearance matters to you.
Structural delamination is a problem inside the paver. The top layer separates from the body of the stone, sometimes with a visible ledge or a thin layer peeling up. It can look like a crack that runs horizontally. This means the paver itself is failing, and the fix is replacement, not patching. Delamination also sometimes signals that the base is moving and flexing the pavement – the pavers break before the base does.
The short test: press a fingernail into the flaked edge. A thin, flaky scale that comes away easily is cosmetic. A deeper separation where the top layer lifts as a unit is structural. If multiple pavers in one area show delamination, treat it as a structural warning sign and have the base evaluated, not just the surface.
Standing Water, Efflorescence, and Yorba Linda Drainage
Water is the engine behind almost every paver failure, and your driveway shows you where it’s going. Standing water in low spots after a storm, a chalky white bloom (efflorescence) on the surface, or moisture that keeps returning after a cleaning all point to water moving through the pavement rather than off it.
Standing water in the middle of the field is a grading and drainage problem. Either the base wasn’t built with the right slope toward the street, or the pavers have settled into a bowl. A shallow puddle that clears in an hour is usually fine. A puddle that stays for a day or more, or that returns with every rain, is loading water into the base and needs to be looked at.
Efflorescence is the whitish, powdery bloom that appears on concrete and clay pavers when mineral salts are pulled to the surface by water. A one-time bloom after installation is normal. A bloom that returns after you clean it, especially repeatedly, means water is still coming through the pavers from the base. That’s a moisture problem, not a cosmetic one – and it’s common in Yorba Linda where driveways sit below the surrounding landscape and receive runoff.
Watch the edges of the driveway too. Water should run off the surface at a sensible pitch, and it should not pool against the house or under the garage door. When we evaluate a driveway in Yorba Linda, we often pull back the mulch or check the grade at the front edge to see where the water is meant to go, because a correct slope is part of the fix, not an afterthought. If the same water is also undermining your fence posts, our Driveway & Pavers in Yorba Linda page explains how we build both the pavement and the grade to work together.
The Three-Tier Triage: Monitor, Repair Soon, Call Now
You don’t need to call a pro for every small blemish, and you shouldn’t wait on the ones that matter. Use this three-tier triage to sort what you’re seeing into a decision.
Monitor
- A single small chip or a surface spall that hasn’t changed in a year.
- One stable sunken paver that doesn’t wobble and doesn’t collect water.
- A light, one-time efflorescence bloom after a wet winter that cleans off and stays off.
- A single weed in a joint that comes out easily, with joint sand still visible nearby.
Repair Soon
- Loose or wobbling pavers in a small, contained area.
- Joint sand that’s shallow or missing across a visible stretch of the driveway.
- Weeds or grass returning in the joints after clearing.
- A gap at the edge restraint that isn’t growing.
- Efflorescence that returns after cleaning.
Call a Professional Now
- Settlement that’s spreading across the driveway.
- Outward creep or tilt in the border pavers, or a visibly separated edge restraint.
- Standing water that doesn’t drain within a few hours after rain.
- Delamination (the top layer lifting off the paver) in more than one place.
- Any movement that’s getting worse month over month.
The rule of thumb: a signal that stays the same is a monitor; a signal that spreads is a repair; and a signal that’s moving the whole field is a call. If you’re unsure which category fits, an evaluation is the cheapest way to find out – and it prevents the $12,000 rebuild.
Common Mistakes to Avoid
- Weed killer instead of joint sand. Spraying the weed kills the visible plant but leaves the open joint. Water still gets in. The correct fix is re-sanding the joint.
- Treating one sunken paver as the whole problem. If one paver is sinking, the base under it moved. Reset the paver, but check the neighboring pavers for settlement too, or you’ll be back in a year.
- Ignoring the edge until it’s obvious. The outward creep at the border is subtle for a long time. Walk the perimeter every spring and look at the gap before it becomes a full field failure.
- Power-washing at the wrong angle. A high-pressure blast into the joints can strip the joint sand right out. Wash with controlled pressure and re-sand afterward if the joints look shallow.
- Waterproofing or sealing a driveway that’s still wet underneath. A penetrating sealer applied over a moisture problem traps the water in. Diagnose the water first, then seal.
- Assuming a paver driveway on a Yorba Linda grade drains like a flat one. Sloped driveways move water toward the house or the street, and where it goes determines what settles. Look at where water is meant to exit before deciding there’s a drainage problem.
- Waiting for a small repair to become a tear-out. The most expensive scenario is the one where a $400 fix was available and the base got wet for two more seasons. If a spreading signal shows up, price the repair before you price the replacement.
See the difference
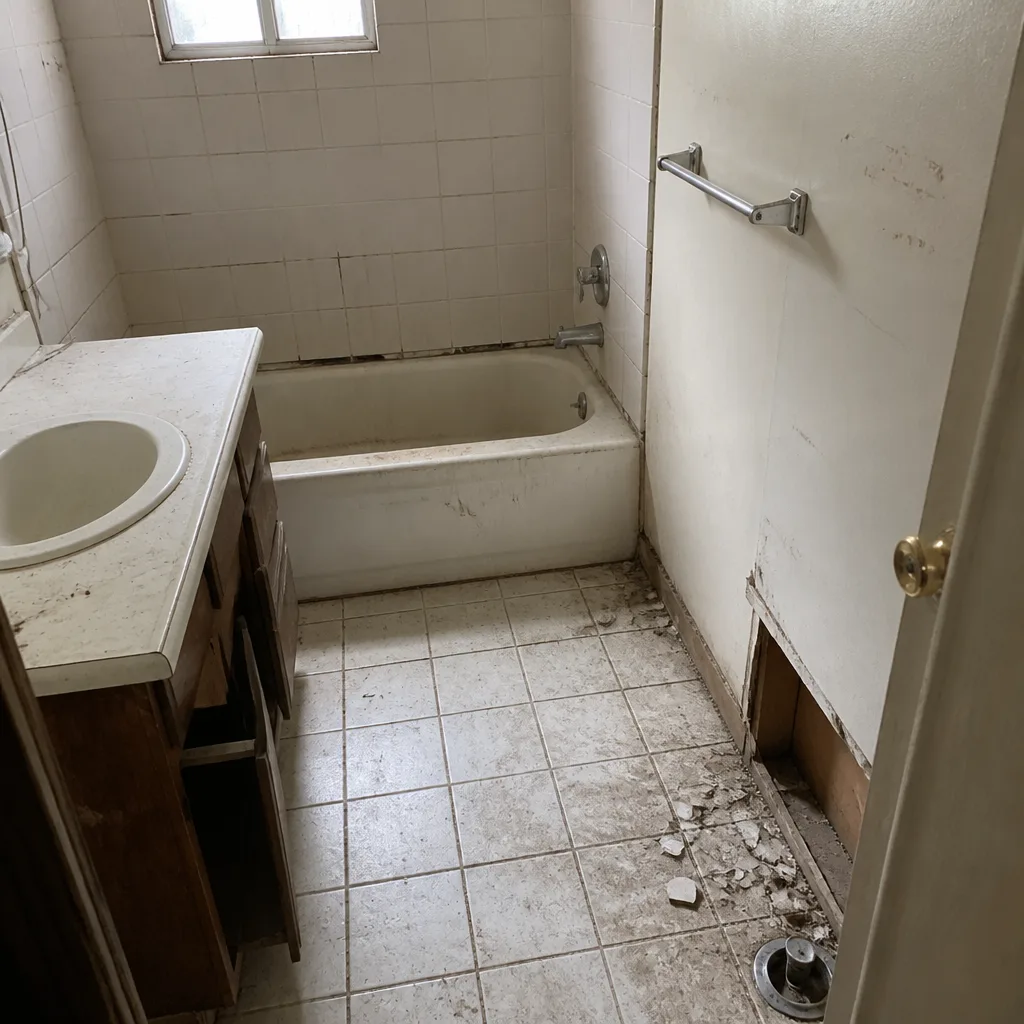 Before
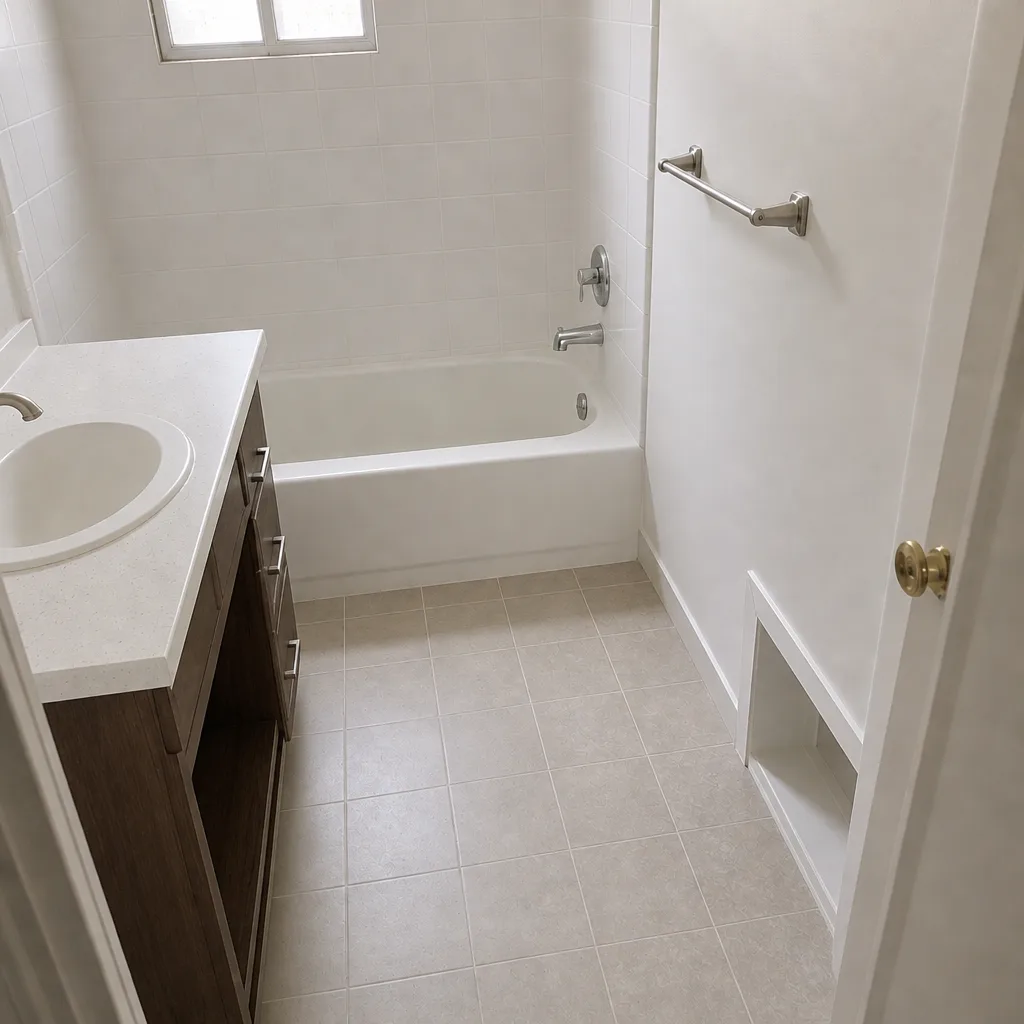 After
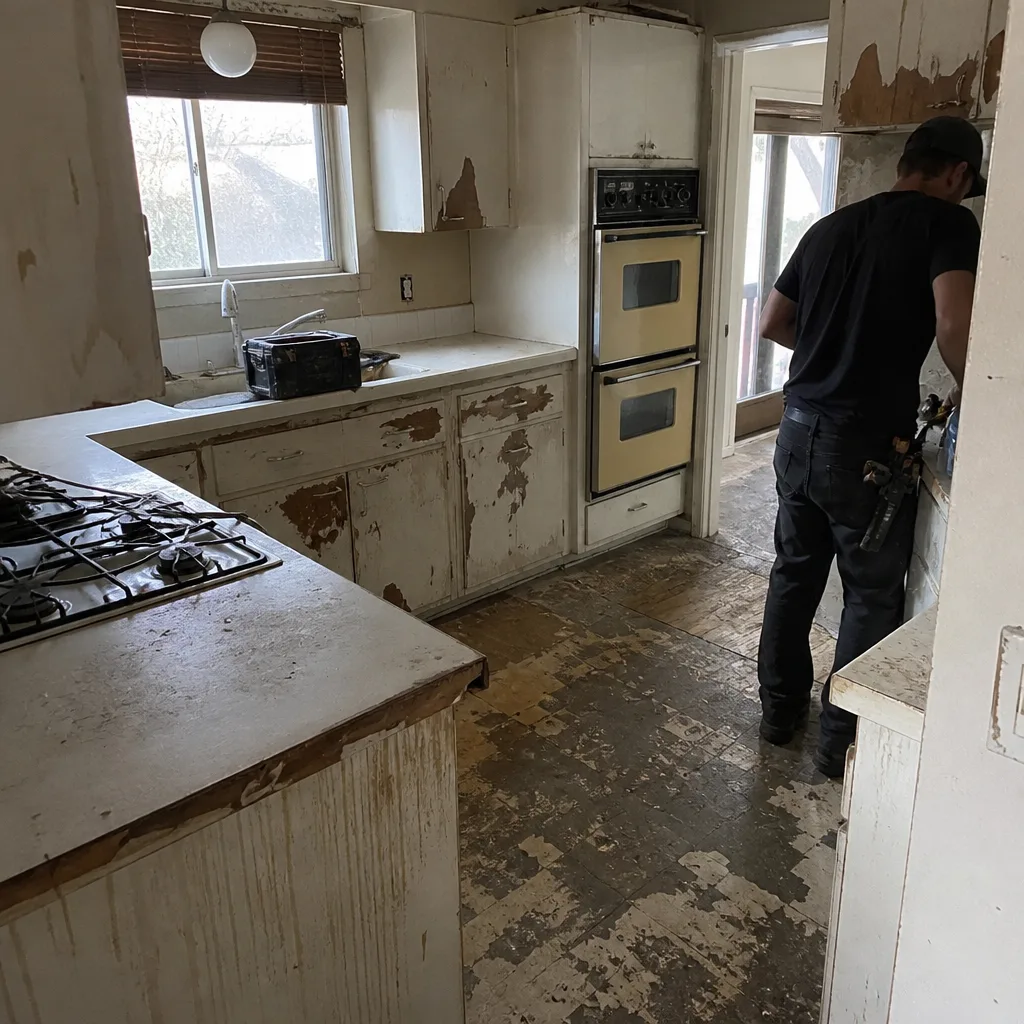 Before
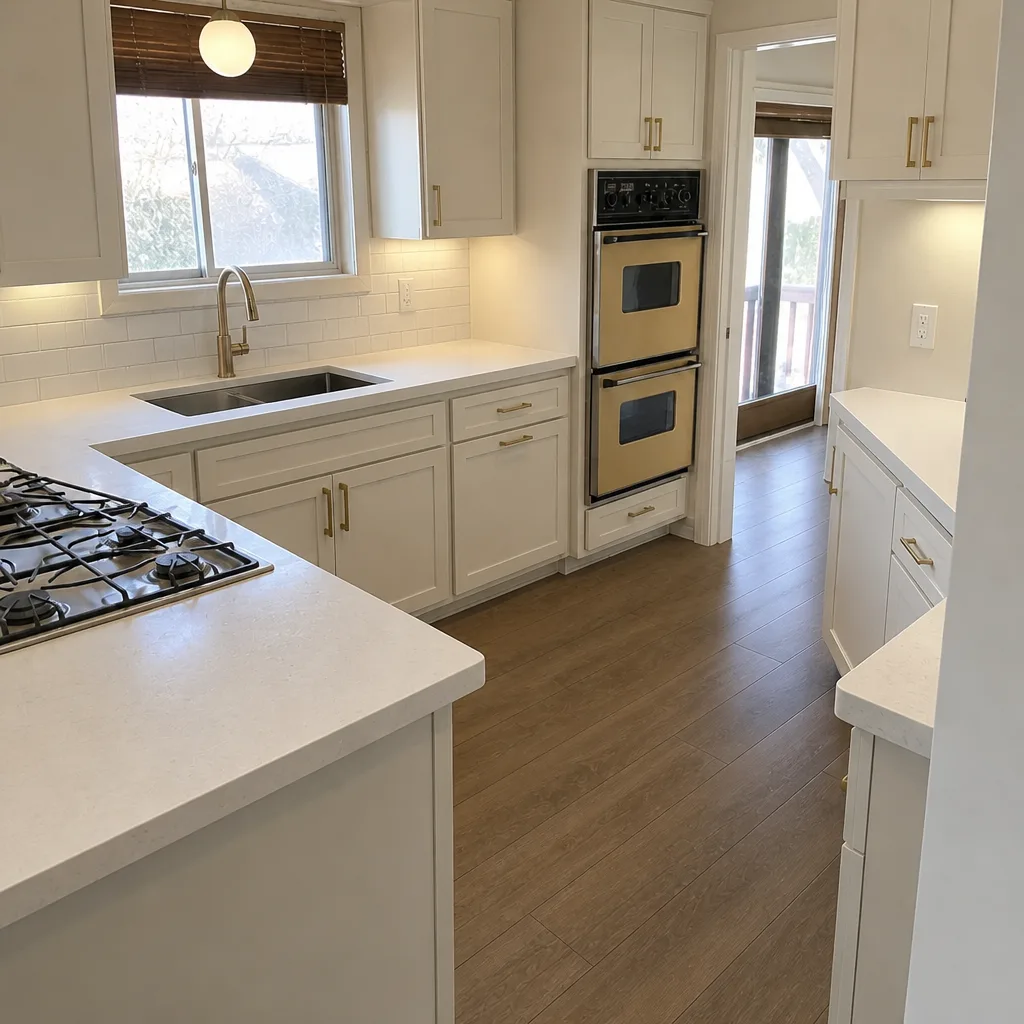 After
 Before
 After
When to Call a Professional
Call a professional when you see a spreading pattern, a failed edge restraint, standing water that won’t drain, or delamination in several pavers. These are the signals that mean the base is compromised, and the fix usually needs the field lifted, the base re-compacted, and the pavement reset – not a patch over the surface. A trained crew also verifies the grade and the drainage before re-bedding anything, because putting new pavers on a wet base just restarts the clock. Groundwork Construction Co. of Yorba Linda offers free estimates in Yorba Linda – call (888) 255-9354 to book one. Our technicians have up to 12 years of experience, and every project is backed by our 730-Day Done Right Promise: if it’s not done right, we make it right. If you’re also planning an addition or an ADU over the driveway, that’s a different scope and a different plan, and Home Additions & ADU in Yorba Linda walks through how we sequence that work with the pavement and drainage.
Frequently Asked Questions
Most small repairs – re-bedding a few loose pavers or re-sanding the joints – run a few hundred dollars, while base or drainage repairs that involve lifting a larger section run higher. The exact number depends on how much area is affected and whether the base is wet. The cheapest path is always to catch the signal before the base fails. Call (888) 255-9354 for an exact quote – estimates are free.
You can reset a single rocking paver if you have joint sand and a hand tamper, but the reason it’s rocking is what matters. If the bedding sand under it has migrated because water is getting in, resetting the top paver just puts it back over the same problem. Have it evaluated if any other paver in the area is also moving, or if water pools nearby.
Weeds grow in paver joints because the joint sand has been lost, washed out, or was never topped off. The weed itself is a symptom. Left alone, open joints let surface water into the base, which is where real damage starts. Clearing the joint and re-sanding is the correct fix, not spraying the weed.
That’s efflorescence – mineral salts brought to the surface by water moving through the paver. A single bloom after installation or a wet winter is normal. A bloom that keeps coming back after cleaning means moisture is still moving through from the base, and it should be looked at before it undermines the pavement.
Pavers themselves handle hot, dry weather well. The risk isn’t heat cracking the pavers – it’s the soil shrinking and warming under the base, which can loosen edge restraints and open gaps for water. That’s why the perimeter check every spring matters here more than in colder climates. If you see movement at the edge, don’t wait for the winter rains to make it worse.
Many paver repair and replacement projects don’t require a building permit, but driveway widening, changes to the connection at the public street, and work that affects the grade near a slope often do. We confirm what your project requires before we start, and we pull it if it’s needed. A written, line-item quote makes that scope clear up front. Call (888) 255-9354 for a free estimate and we’ll tell you exactly what your project needs.
The Bottom Line
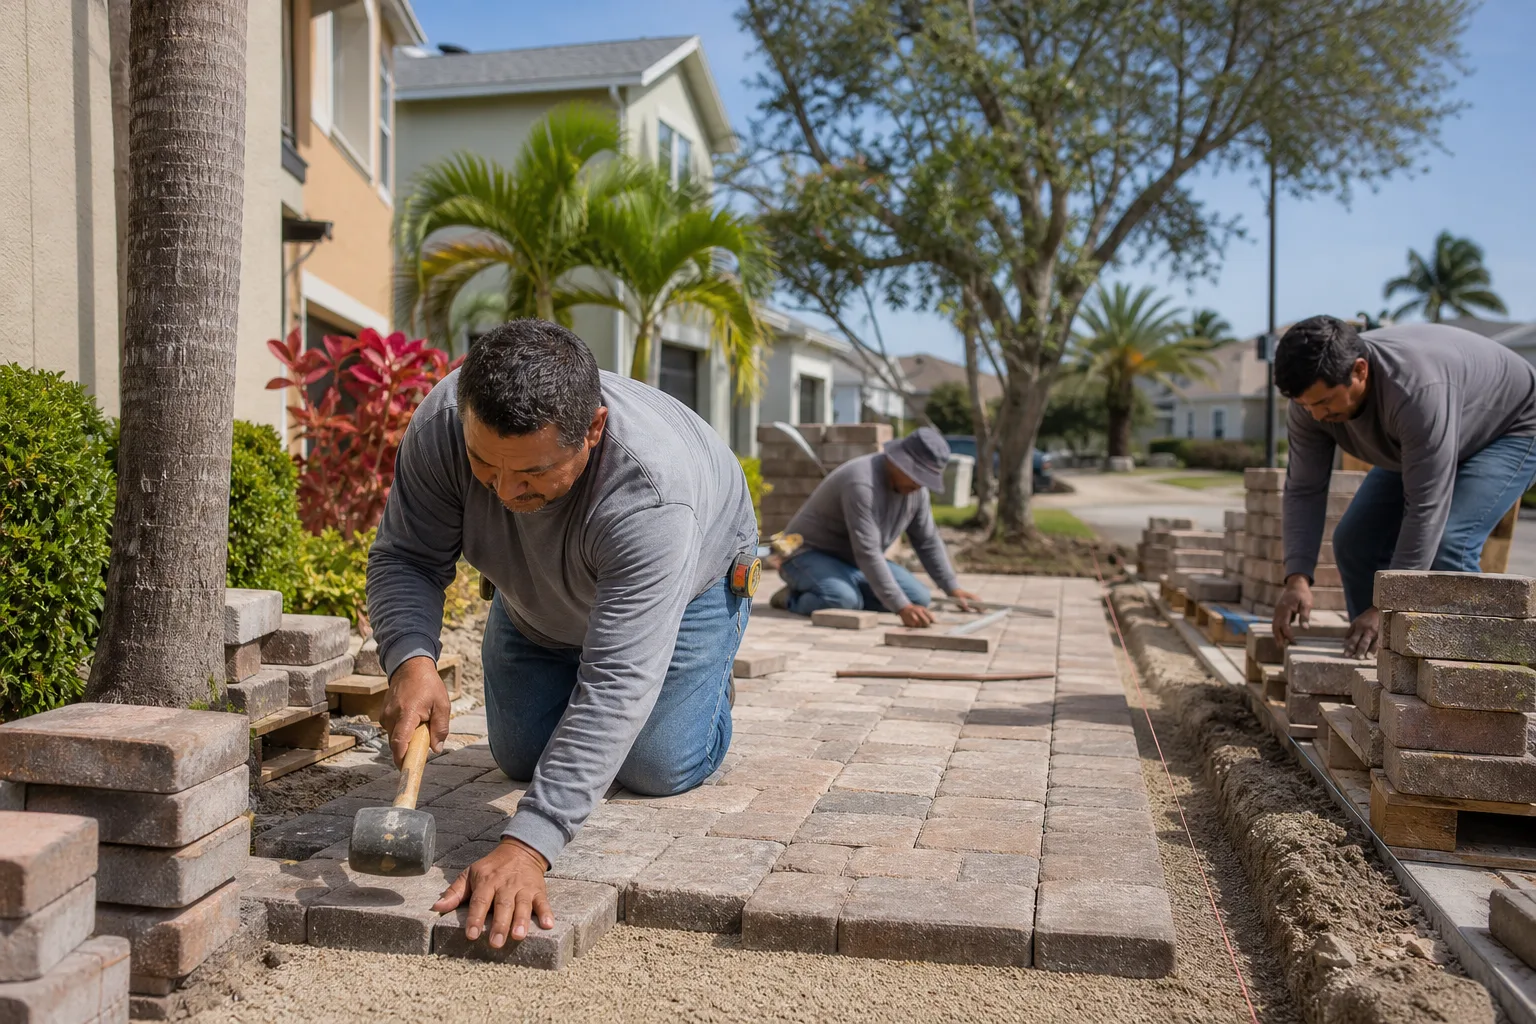
Your driveway is telling you what’s wrong before it fails – you just need the vocabulary. A single stable imperfection is a monitor. A pattern that spreads, a border that creeps outward, or weeds in the joints is a repair. Standing water, delamination, and field-wide movement mean the base is compromised and it’s time to call a professional. Catch the signal early and you keep a repair in the hundreds, not the thousands. For a free estimate on paver repair or replacement, Groundwork Construction Co. of Yorba Linda is ready – call Groundwork Construction Co. of Yorba Linda home or (888) 255-9354. We stand behind every job with our 730-Day Done Right Promise, our technicians have up to 12 years of experience, and every technician who comes to your property is background-checked and in uniform.
Written by the team at Groundwork Construction Co. of Yorba Linda.