Last updated November 17, 2026

Free written scope consultation - allowances, timeline, and change-order rules on paper before a single trade is scheduled
Driveway & Pavers Maintenance Checklist for Yorba Linda Homeowners
The number-one cause of paver failure in Yorba Linda isn’t freeze-thaw damage like you’d see in colder climates. It’s polymeric sand washout – the combination of infrequent but intense rain events and neglected joint resealing that turns a solid install into a weed-filled, shifting mess inside three years. We’ve walked more Yorba Linda driveways than we can count, and the pattern is always the same: a beautiful install in year one, a few popped joints by year two, and a full re-set by year three that could have been avoided with a couple of weekends of work. This guide gives you the maintenance rhythm most installers never bother to leave behind, calibrated to Yorba Linda’s actual weather, soil, and landscaping. You’ll learn what to check each month, how to spot polymeric sand failure before it spreads, which trees in your yard are quietly working against your base, and how to document your upkeep so you keep your warranty intact.
Quick Answer
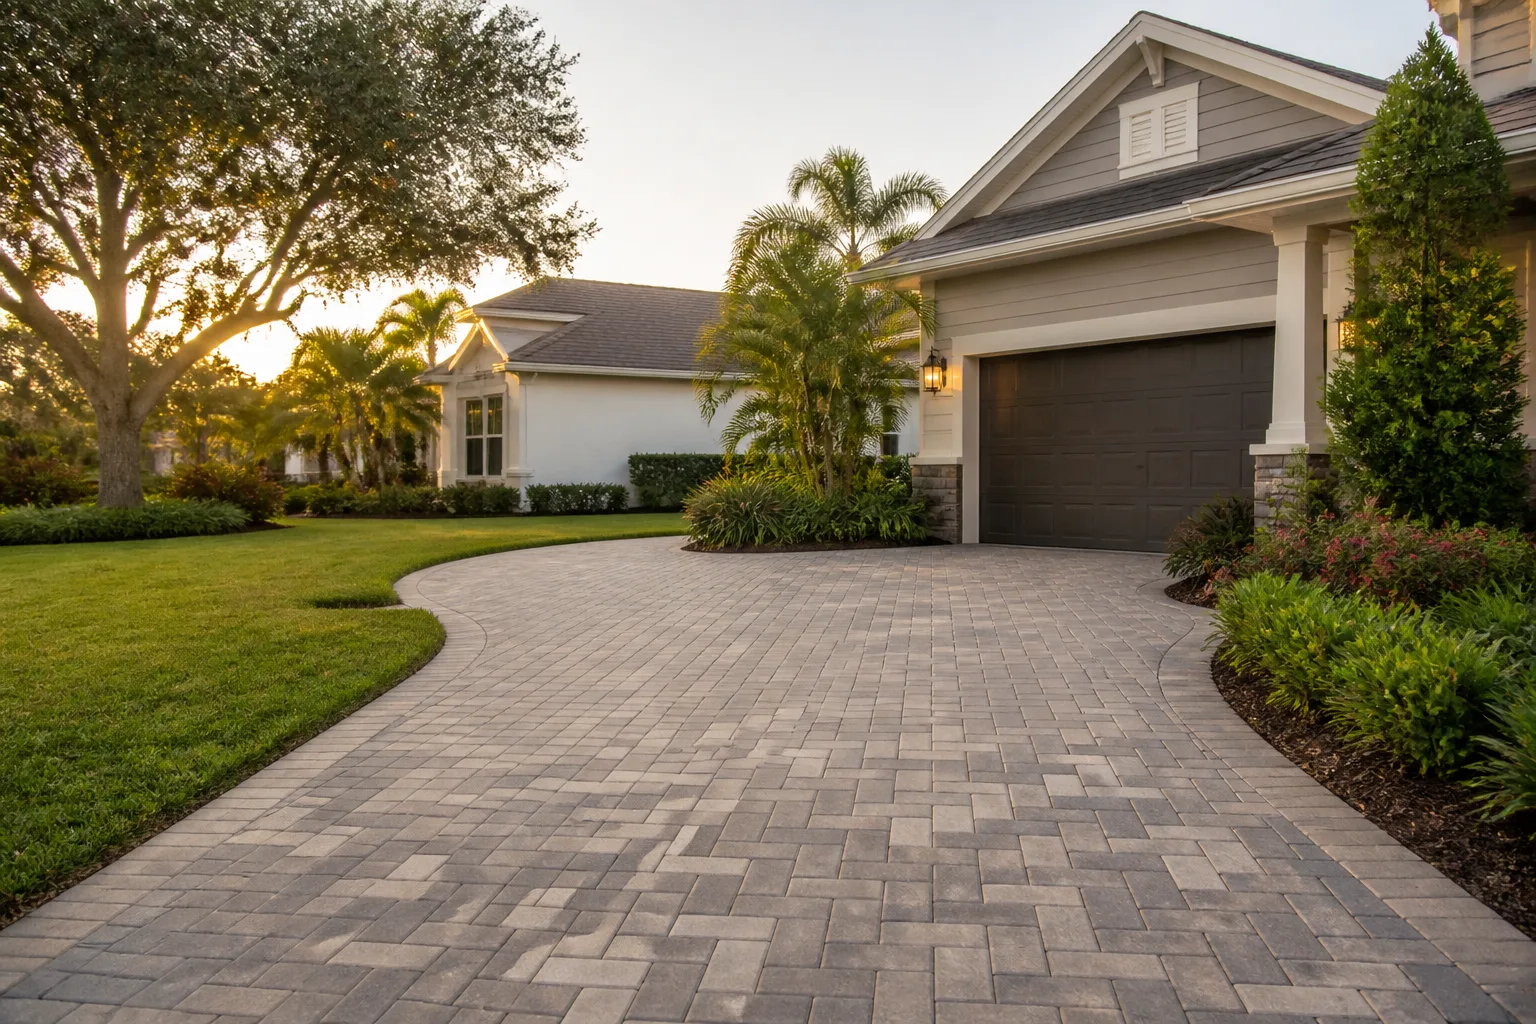
Driveway paver maintenance in Yorba Linda comes down to three habits: re-sanding joints with fresh polymeric sand every 2-3 years, re-sealing with a UV-stable sealer every 3-5 years, and inspecting for root intrusion and settling after every significant rain. Do those three things on schedule and a properly installed paver driveway will hold its appearance and structure for 20 years or more. Skip them and Yorba Linda’s sun and seasonal downpours will undo a five-figure install faster than any cold-climate winter.
Styles & brands we work with
- Kitchen remodeling
- Bathroom remodeling
- Home additions & ADU
- Roofing
- Windows & doors
- Driveway & pavers
- Fence
Table of Contents
- Why Yorba Linda Paver Drives Fail Differently
- The Month-by-Month Paver Maintenance Calendar
- Identifying Polymeric Sand Failure Early
- Choosing and Timing the Right Sealer
- Root Intrusion: The Trees Working Against Your Driveway
- Protecting Your Paver Warranty with Documentation
- Drainage, Slopes, and Yorba Linda’s Storm Patterns
- Common Mistakes to Avoid
- When to Call a Professional
- Frequently Asked Questions
Why Yorba Linda Paver Drives Fail Differently
Yorba Linda sits in a pocket of Southern California with a specific microclimate: inland enough to hit the high 90s and occasionally low 100s in late summer, but close enough to the coast to catch marine layer mornings and the occasional foggy stretch. That swing from cool, damp mornings to hot, dry afternoons is the engine behind paver wear. The pavers themselves expand and contract across a much wider daily temperature range than coastal cities like Huntington Beach or Newport Beach. Over years, that cycling loosens the joint sand, opens hairline gaps, and lets water in where it shouldn’t be.
Then comes the rain. Yorba Linda gets roughly 13-15 inches of precipitation a year, but almost none of it falls in a gentle, soaking pattern. What we see instead is a handful of intense storms between November and March, often dropping an inch or more in a few hours. That water hits a slightly sloped driveway, rushes the joints, and if the polymeric sand has lost its bond, it scours the aggregate out completely. Housing tracts across the city – from the older ranch neighborhoods near Imperial Highway to newer builds up around Fairmont Boulevard and the Yorba Linda Town Center area – each have their own drainage quirks, but the joint-sand washout pattern repeats everywhere.
The third factor is the landscaping. Yorba Linda yards are famously mature. Big sycamores, liquid ambers, ficus hedges, and eucalyptus are common. Those roots are strong and thirsty, and paver bases – which are set on compacted aggregate – sit right in their path. Add up UV, rain intensity, and root pressure and you get a maintenance calendar that looks different from what a San Diego installer would hand you.
The Month-by-Month Paver Maintenance Calendar
Here’s the calendar we hand Yorba Linda homeowners after a fresh install. It’s built around the local rain window (November through March) and the summer UV peak (June through September). Most of this is an afternoon of work per quarter, not a weekend every month.
- January – Post-storm inspection. After each significant rain, walk the driveway and look for standing water or sand trails at the edges. Those trails are your early warning of joint washout.
- February – Root and edge check. Look for pavers lifting or tipping near trees, especially within 10 feet of a trunk. Mark any that feel loose underfoot.
- March – Pre-summer joint top-off. Top off any joints that have settled below roughly 1/8 inch from the surface with fresh polymeric sand before the dry season starts.
- April – Clean before sealing season. Power-wash at low pressure (no more than 1,500 psi on concrete pavers) to remove winter grime and let the surface dry for 48 hours.
- May – Evaluate sealer condition. Pour a small cup of water on the driveway. If it beads, your sealer is holding. If it soaks in within 30 seconds, it’s time to reseal this year.
- June – Seal if due. Apply UV-stable sealer in the early morning when the surface is below 85°F. Yorba Linda summer afternoons are too hot; the sealer will flash-dry and haze.
- July – Weed patrol. Pull any weeds within 24 hours of appearing. A weed left for two weeks has already loosened the joint sand it grew through.
- August – Expansion joint inspection. Check the perimeter expansion joints that separate the pavers from the garage slab or a fixed wall. If the filler is cracked or missing, replace it.
- September – Pre-rain sweep and re-sand. Sweep every joint clean, then apply a light coat of polymeric sand to any that look shallow or sandy. You want the joints full when the first storm hits.
- October – Drainage review. Clear gutters, downspouts, and yard drains so roof runoff isn’t funneled onto the driveway.
- November – Storm readiness. Recheck that the driveway’s slope still directs water toward the street or a drain, not toward the garage. Note any new ponding.
- December – Photo documentation. Take dated photos of the full driveway. This is your warranty paper trail and helps you spot changes year to year.
The month-by-month categories are a guide, not a religion. Some years you’ll re-sand twice; others you’ll skip it. The key is a rhythm that puts you ahead of the rain rather than cleaning up after it.
Identifying Polymeric Sand Failure Early
Polymeric sand is a mix of fine aggregate and a polymer binder. When you wet it after installation, the binder activates and locks the joints into a flexible, weather-resistant seal. In Yorba Linda, that seal gets hit with triple-digit UV for four months and then storm-blasted for three. It has a working life of roughly 2-4 years before it needs refreshing, and most failures start in a predictable order.
Here’s what to look for, in the order failure usually progresses:
- Stage 1: Surface sand in the wash water. After a rain, you see a light film of sand on the driveway near a downslope edge. The joint is breaking down at the surface only.
- Stage 2: Joints visible down to the base. You can poke a screwdriver 1/4 inch or more into the joint with no resistance. Washout is underway.
- Stage 3: Small weeds and moss in joints. Once a joint is deep enough to hold organic material, weeds find it within a season.
- Stage 4: Ant mounds or insect tunnels. Insects only colonize joints that have already lost their seal. This is what we’d call “failed sand.”
- Stage 5: Paver edge chipping and joint migration. The pavers are starting to shift laterally because they’re no longer interlocked. This is where it stops being maintenance and becomes a re-set.
The fix depends on which stage you’re in. In stages 1 and 2, a proper re-sand and re-wet brings you back to full function. In stage 3, you’ll need to dig out the failed sand to a consistent depth (usually 1 inch below the surface) before re-sanding. Stage 4 or 5 means we’re looking at lifting pavers, repairing the base, and re-laying that section. That’s the difference between a $200 afternoon and a $2,000 repair.
How to Re-Sand a Yorba Linda Driveway
- Do this in dry weather with at least 24 hours of no rain on the forecast. Yorba Linda rain windows matter here.
- Remove shallow or failed sand with a screwdriver or a joint-cleaning tool, going at least 1 inch deep.
- Sweep the driveway clean and wash out dust so the new polymeric sand can bond to the paver sides.
- Pour the sand over the driveway and sweep it into the joints with a wide push broom, working in sections.
- Compact the sand with a plate compactor (yes, this is real – it helps vibrate sand into voids).
- Re-sweep to remove surface sand, then mist the joints gently with a hose until they’re saturated but not flooded. Do not over-wet; you’ll get a hazy film.
- Let it cure for 24 hours. No driving on it during that window.
Choosing and Timing the Right Sealer
There are three main sealer families and only two are right for Yorba Linda. A good sealer does four things: blocks UV from breaking down the pavers themselves, repels water at the surface, locks the joint sand in place, and provides some stain resistance. The wrong sealer will haze, yellow, or peel within 18 months.
- Acrylic sealer (water-based): Best choice for most Yorba Linda concrete pavers. It’s UV-stable, breathable, and goes on with a roller. Reapply every 3-5 years for typical traffic.
- Solvent-based acrylic: Stronger and glossier, but goes on hot and can yellow in Yorba Linda’s UV load if it isn’t high-grade. Reapply every 4-6 years. Avoid if you have clay or travertine pavers.
- Penetrating sealer: Sinks into the paver and doesn’t build a film. Great for travertine and clay, no gloss effect. Reapply every 2-3 years for maximum protection.
Timing matters as much as product. Apply sealer when the surface temperature is between 55°F and 85°F and rain isn’t in the forecast for 24 hours. In Yorba Linda, that means June mornings or late September, not August at noon. If you’re sealing a highly visible driveway in a tract like the ones off Bastanchury Road, choose a matte or low-sheen finish; high gloss on stamped pavers looks wet all the time and shows every dust motes.
One more thing: sealers need to be reapplied on schedule, not on appearance. A Yorba Linda driveway can look fine at year 4 and still be losing its protective bond. The water-bead test in the calendar above is the fastest way to know.
Root Intrusion: The Trees Working Against Your Driveway
Yorba Linda yards are beautiful, and that’s half the problem. Mature trees send roots laterally in search of water and nutrients, and a paver base – compacted aggregate and sand over native soil – is exactly the kind of loose, drained material roots seek. The trees we see cause the most driveway trouble in Yorba Linda:
- Sycamore: Fast-growing, aggressive near-surface roots. Excellent shade but hard on pavers within 15 feet.
- Liquid amber: Popular yard tree. Roots stay relatively deep until the tree matures, then surface roots sprawl. Watch them after 10 years.
- Ficus hedge: The silent troublemaker. Ficus roots run far, run shallow, and lift whatever’s in their way. Many Yorba Linda medians are lined with ficus.
- Eucalyptus: Deep anchor roots are fine, but shallow feeder roots can lift pavers along a drip line.
- Olive and citrus: Less aggressive than ficus or sycamore but still capable of nudging pavers next to the trunk.
How to Detect Root Intrusion Early
You don’t have to dig up a driveway to know. Look for these signs:
- Pavers that rock slightly underfoot in a line radiating from a tree.
- A slight hump or dip in the paver surface – even 1/4 inch matters.
- Joints that open wider on one side of the driveway than the other, usually near the tree side.
- Any paver that’s popped up during a wet season. Nine times out of ten, a root is lifting the base sand.
If you catch it early, a root barrier installed along the driveway edge (a 24-inch-deep high-density polyethylene panel) can stop further spread. We’ve also seen homeowners have a professional root-prune the offending tree – but you need a certified arborist to decide whether that’s safe for the tree. Don’t do it yourself on a mature tree; you can destabilize it.
Protecting Your Paver Warranty with Documentation
Most people don’t read the maintenance clause in their paver warranty until it matters. Then they discover that skipping resealing for five years or pressure-washing at 3,500 psi technically voids coverage. Here’s what typically voids a warranty, and here’s how to build a maintenance file that protects you.
What Voids Most Paver Warranties
- Pressure-washing above the manufacturer’s recommended PSI (typically 1,500-2,000 for concrete pavers).
- Failing to reseal within the recommended interval (often 3-5 years).
- Using non-polymeric joint sand, or refilling with regular mason’s sand.
- Not re-sanding failed joints within 6 months of visible failure.
- Applying a non-approved sealer that reacts with the paver surface.
- De-icing salts, which are rare in Yorba Linda but sometimes used after a hail event.
- Driving heavy equipment (RV, dump truck, delivery trucks over 10,000 lb) unless the driveway was engineered for it.
How to Document Your Maintenance
- Keep a dated photo log – one shot per season of the entire driveway from a fixed angle.
- Save receipts for all sealer and polymeric sand you buy. It ties your application history to specific dates.
- Note any professional maintenance you have done with a service record.
- Photograph any distinct issue (a lifting paver, a crack) as soon as you see it, with a timestamp.
- Store the original warranty document and installation invoice together.
Look, we get it – this sounds like homework. But we’ve watched homeowners win five-figure warranty claims with a simple file of receipts and photos. The maintenance file is the cheapest insurance you can buy.
Drainage, Slopes, and Yorba Linda’s Storm Patterns
Even the best-installed paver driveway will fail if it doesn’t drain. Yorba Linda sits on gently rolling terrain, and the standard spec is a minimum 1-2% slope away from the garage – meaning 1/8 to 1/4 inch of fall per foot of driveway. That slope is your primary defense against water intrusion, either through the pavers or along the garage threshold. If the slope is off, no sealer or polymeric sand will save you long-term.
After any storm of half an inch or more, watch for:
- Ponding: Water that sits 30 minutes after the rain stops. It means a low spot or a blocked drain.
- Sheet-flow away from the garage: The runoff should sheet toward the street or a catch basin, not pool against the garage slab.
- Downspout discharge: If a roof downspout drops onto the driveway instead of away, that concentrated flow is scouring sand from the joints under it.
A simple fix for most Yorba Linda homes: add a splash block or extend a downspout 4-6 feet out into the yard so roof runoff doesn’t hammer the pavers. If ponding persists after that, you may need to add a channel drain or re-grade the driveway edge. That’s usually a professional call because re-sloping a paver surface means pulling up the affected section, adjusting the base, and re-installing.
Do I Need a Permit to Change My Driveway?
In Yorba Linda, most paver driveway resurfacing without a change in footprint doesn’t require a building permit, but changes that affect grading, drainage, or the public right-of-way (like a driveway apron at the sidewalk) generally do require City of Yorba Linda Public Works approval. Ask before you demo – a permit pulled in advance is far cheaper than a stop-work order.
Common Mistakes to Avoid
- Pressure-washing at maximum PSI. That 3,000 PSI gas unit strips the polymeric sand straight out of the joints and can pit the paver surface. Stay at or below 1,500 PSI on a wide fan nozzle.
- Topping off joints on a wet day. Polymeric sand applied to damp joints won’t activate correctly. In Yorba Linda, wait for a dry stretch in spring or early fall.
- Sealing in August. Yorba Linda summer surface temps can hit 130°F on concrete pavers by noon. The sealer flashes and hazes before it bonds. Seal in the morning of a mild day.
- Planting right against the driveway edge. Any tree or shrub within 3 feet of the paver edge is a future root problem. Leave room for air and dry soil, or install a root barrier at the edge.
- Ignoring a single lifted paver. A lifted paver is the tip of a root, base, or drainage problem below. Left for six months, it becomes five lifted pavers.
- Skipping resealing “because it still looks fine.” The most expensive repairs we do are on driveways that looked fine on top and had been losing protective sealer for years underneath.
- Forgetting the perimeter expansion joint. The joint between the driveway and garage slab needs to stay flexible. Grouting it solid creates a cracking point.
When to Call a Professional
Most of this checklist is DIY-friendly. But some jobs need to be done by a pro, and a few are simply too risky to skip. Call us when:
- The driveway has a noticeable hump, dip, or dip-then-rise pattern in any 10-foot span – that’s base failure, not a joint issue.
- Any part of the driveway slopes toward the garage after a heavy rain.
- You have a root problem that requires root-pruning a mature tree.
- Polymeric sand or sealer has failed on more than 30% of the driveway area. It’s more cost-effective to strip and re-do than to keep patching.
- You’re within the manufacturer’s warranty window and something failed – documentation matters, and a professional inspection report helps.
Our Driveway & Pavers service in Yorba Linda is built around the same maintenance philosophy in this guide: install it right, hand the homeowner a maintenance calendar, and stand behind the work. If you need a professional evaluation, we offer free estimates across Yorba Linda – call (888) 255-9354 and a trained technician will look at the base, the joints, the drainage, and the roots and give you a written line-item quote. No surprises, no upselling.
If your driveway project is part of a larger home improvement – say, a new paver drive paired with a home addition or ADU, or landscaping tied into a new fence line – we can coordinate those as one project so the trades don’t trip over each other. See our Driveway & Pavers in Yorba Linda service page for the install side, or look at Home Additions & ADU in Yorba Linda and Fence Installation in Yorba Linda for related scope.
Frequently Asked Questions
Re-sand your paver driveway in Yorba Linda every 2-3 years, or sooner if you see washout in a wet season. The dry, hot summers here break down polymeric sand faster than in cooler climates, so the joint top-off schedule is slightly more aggressive than what a coastal San Diego installer would recommend. Call (888) 255-9354 for a free estimate if we need to re-sand the full driveway.
June or late September are the best months, when surface temperatures hold between 55°F and 85°F and rain isn’t in the forecast. Avoid July and August – Yorba Linda pavers heat up too fast and the sealer hazes. Call (888) 255-9354 for a free estimate if your driveway is overdue.
Yes, but stay at or below 1,500 PSI with a wide fan nozzle and keep the wand moving. Anything higher – especially gas pressure washers built for concrete – will strip the polymeric sand from the joints and can pit the paver surface. If you’re not sure your unit is rated low enough, hand-scrub with a stiff brush and a pH-neutral cleaner. Call (888) 255-9354 for a free estimate if the joints need re-sanding after washing.
A few pavers that rock underfoot in a line near a tree, or a slight hump in an otherwise flat surface, are the earliest signs of root intrusion. Left unaddressed, roots lift the base sand and cause joint separation, which then turns into washout. Call (888) 255-9354 for a free estimate and we’ll check the base at no charge.
Most manufacturer warranties cover material defects, not settling or washout caused by missing maintenance. That’s why documenting your resealing and re-sanding history matters – a file of receipts and dated photos proves you held up the maintenance side. If a failure looks like an installation issue, call (888) 255-9354 for a free estimate and we’ll inspect the base and provide a written report.
A well-installed paver driveway with proper maintenance lasts 20-30 years in Yorba Linda. The pavers themselves can last decades longer, but the joints, base, and sealer are what determine the real lifespan. Keep up the maintenance calendar in this guide and you’ll get the full 20+ years out of the investment. Call (888) 255-9354 for a free estimate if you’d like us to inspect an existing driveway or plan a new install.
The Bottom Line
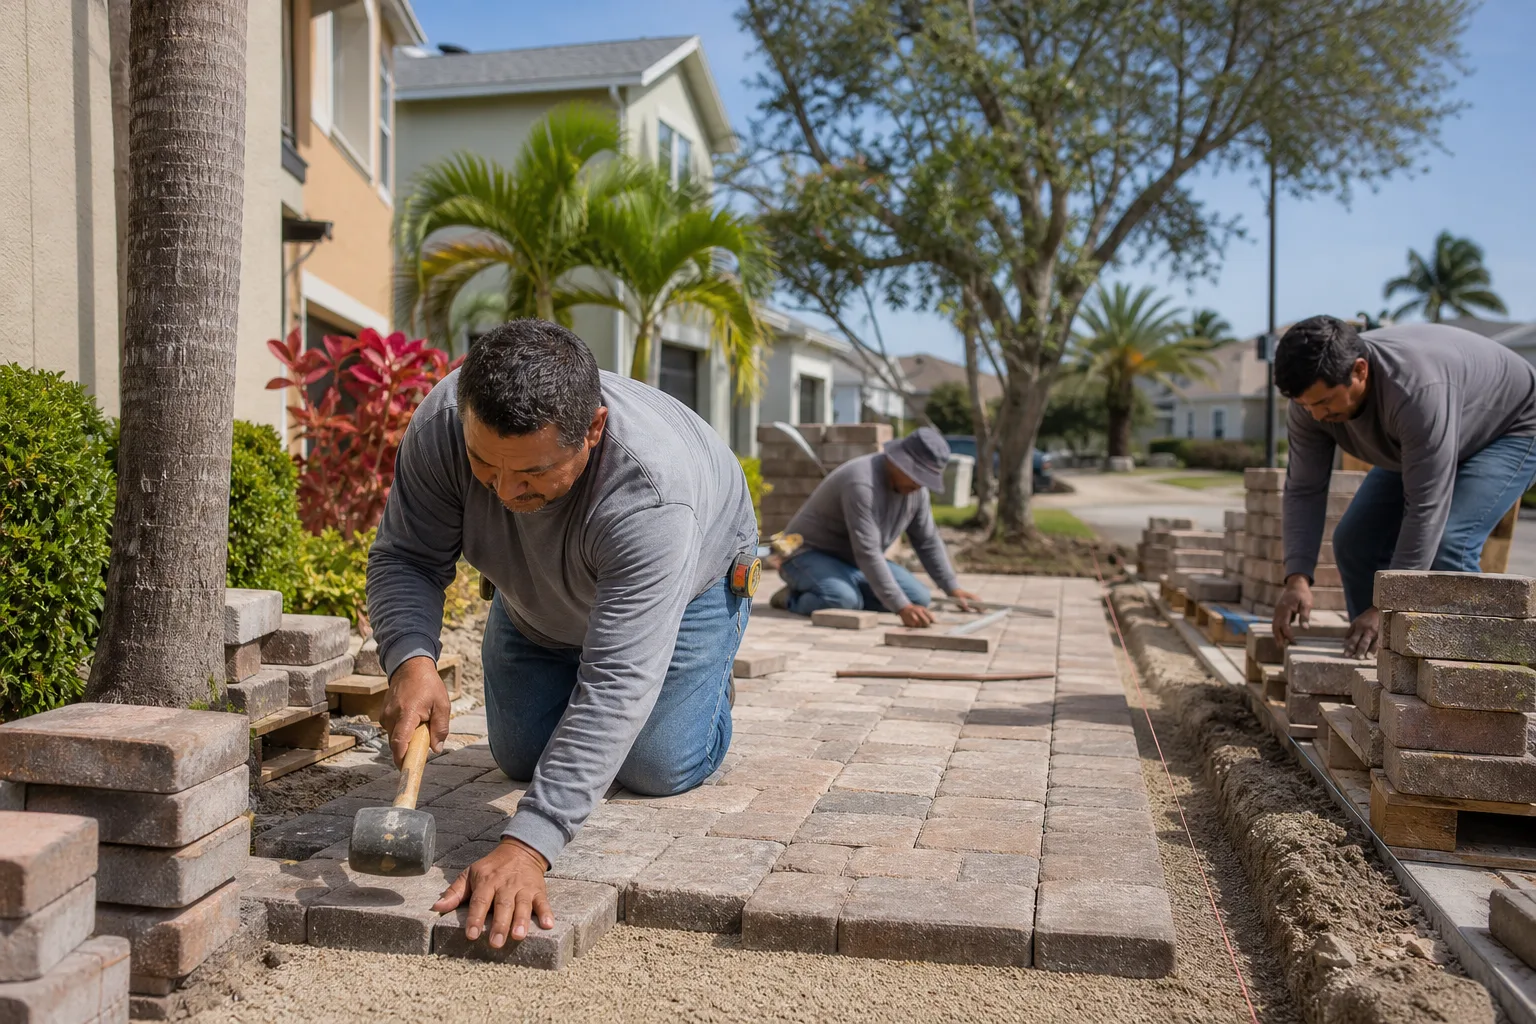
Yorba Linda pavers live in a specific pressure zone – UV-heavy summers, flash-flood winters, and aggressive landscaping roots – and the maintenance that keeps them looking new for two decades is built around those three factors, not generic Southern California advice. Re-sand every 2-3 years, reseal every 3-5 on a well-timed spring or fall day, inspect after every storm, watch the roots, and keep a simple file of receipts and photos to protect the warranty. That’s the whole system. The homeowners who follow it end up with a driveway that looks like the day it was installed twenty years later. The ones who don’t end up replacing a driveway they thought was “fine.” If you’d rather hand the maintenance rhythm to a trained crew, Groundwork Construction Co. of Yorba Linda home is here for that – with a 730-Day Done Right Promise on the workmanship, live-person answers 24/7, and background-checked technicians on every visit. Call (888) 255-9354 for a free estimate.
Written by the team at Groundwork Construction Co. of Yorba Linda.
See the difference
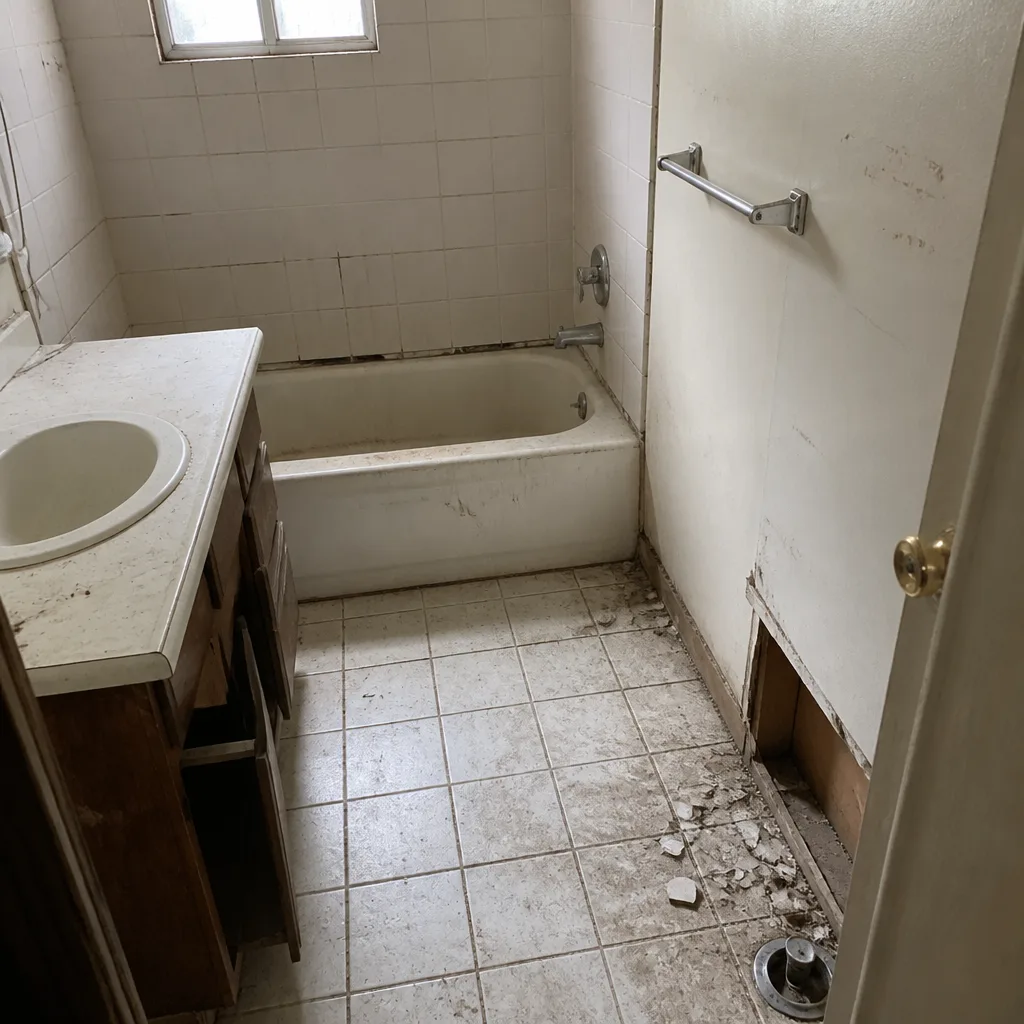 Before
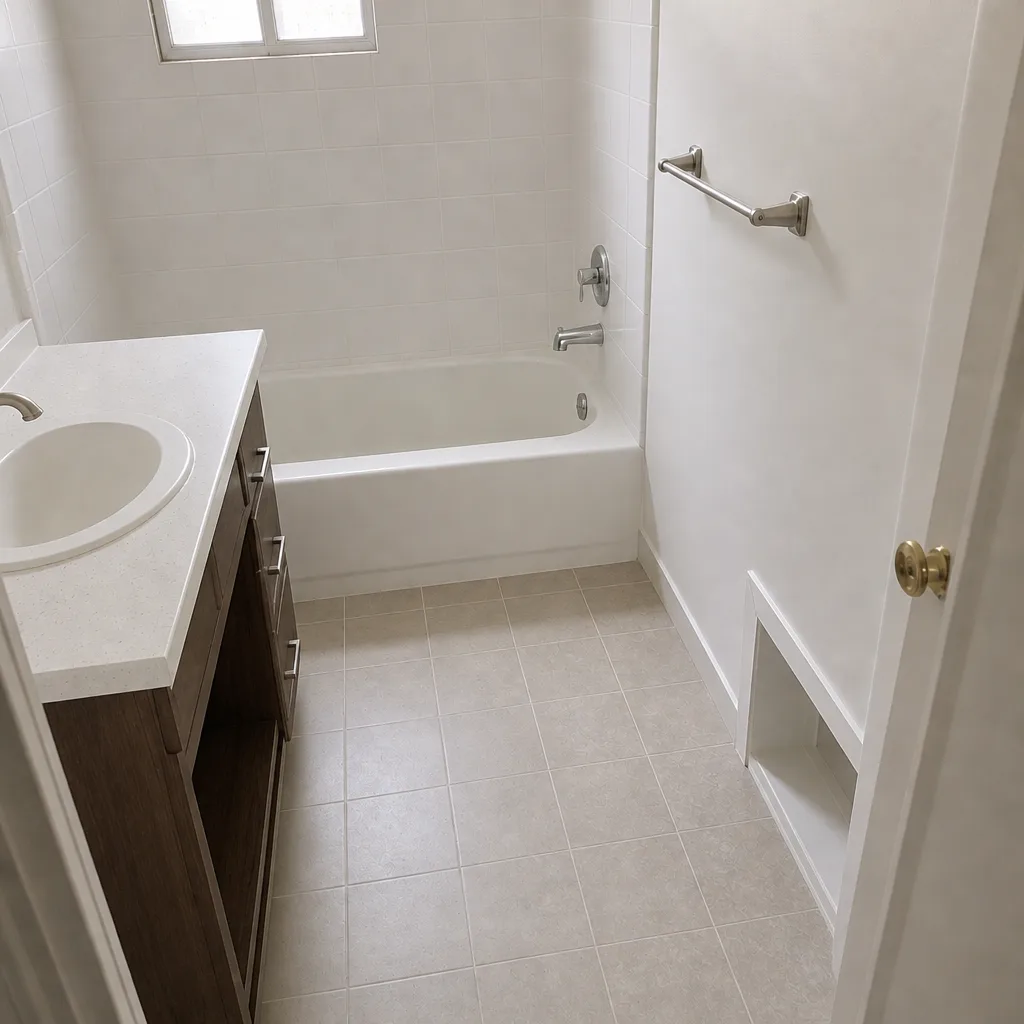 After
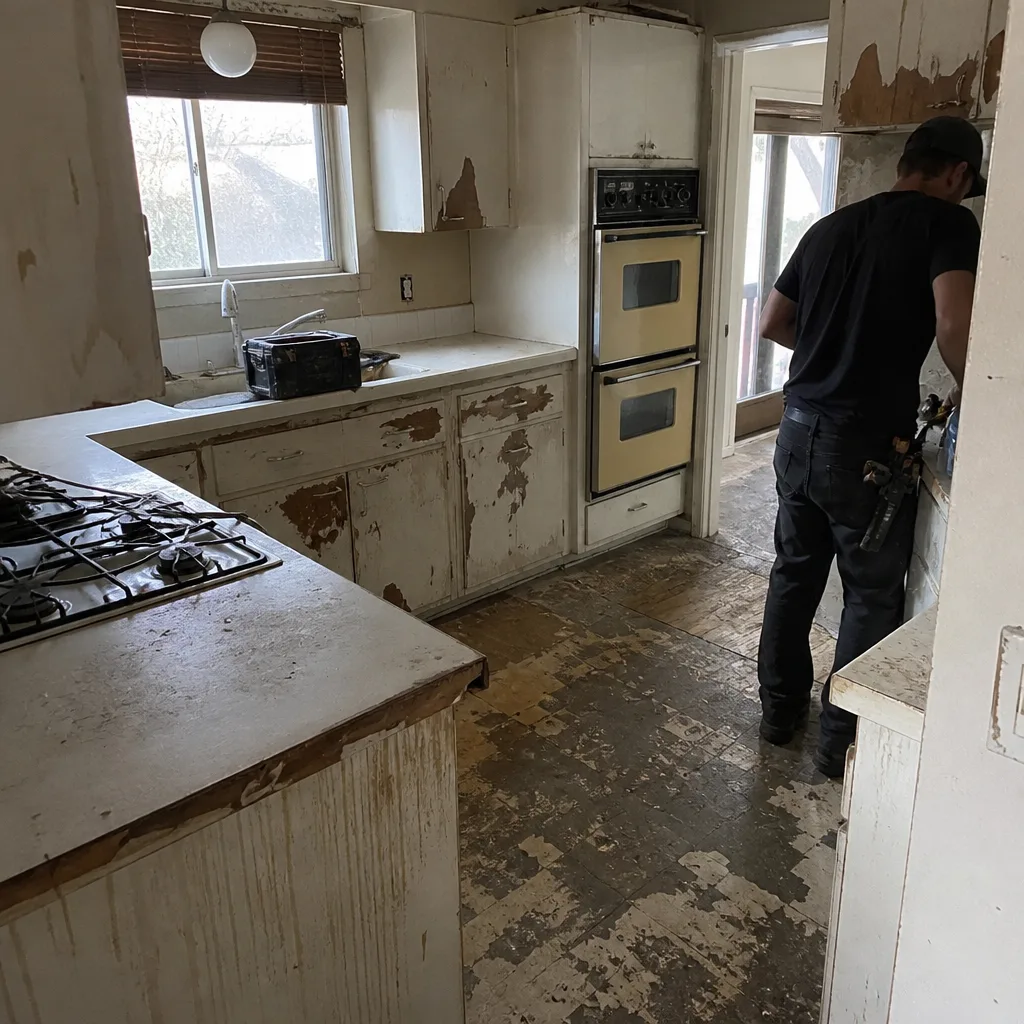 Before
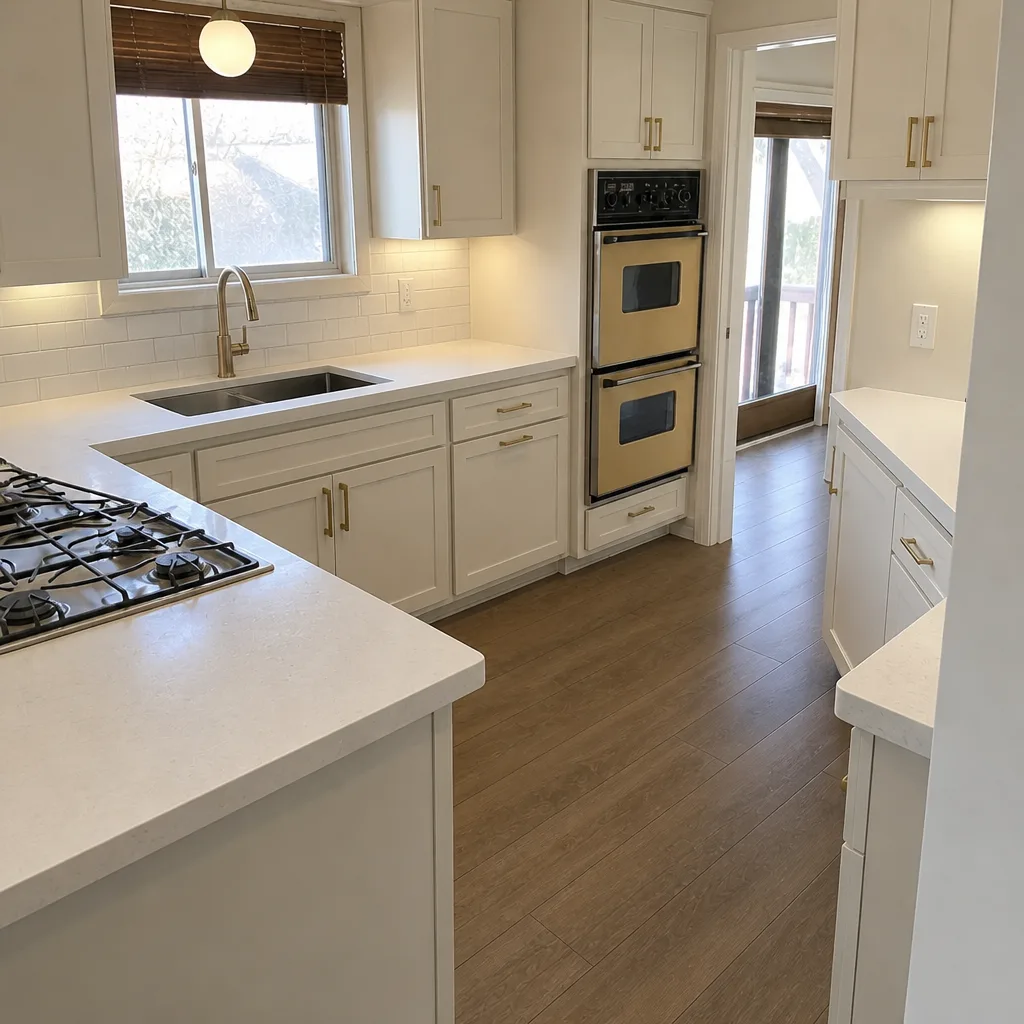 After
 Before
 After