Last updated November 17, 2026

Free written scope consultation - allowances, timeline, and change-order rules on paper before a single trade is scheduled
Home Additions & ADU Maintenance Schedule: What to Do and When
Most homeowners maintain their addition the same way they maintain the rest of their house. That’s the mistake. A new structure bonded to an older one isn’t simply “more house” – it’s a separate system grafted onto an existing one, with its own transition points, its own settling clock, and its own connections into your electrical, plumbing, and roof. When those two systems are treated as one, small issues become expensive repairs. This guide gives your addition its own maintenance calendar: what to check, when to check it, and how to document it so your warranty stays intact. We’ve built and serviced additions across Yorba Linda, and the failures we see are almost always predictable – which means they’re preventable.
Quick Answer
Your addition or ADU needs a full inspection at the 6-month and 12-month marks, then an annual deep check every fall before the rainy season. The highest-priority items are the three transition zones where new meets old – the roof connection, the foundation joint, and the exterior cladding seam – plus any dedicated electrical panel, sub-meter, HVAC unit, or plumbing cleanout the addition runs. Calendar the dry-season caulking in late spring and the wet-season drainage check in October.
Styles & brands we work with
- Kitchen remodeling
- Bathroom remodeling
- Home additions & ADU
- Roofing
- Windows & doors
- Driveway & pavers
- Fence
Table of Contents
- Why Transition Zones Are Your Highest-Risk Areas
- The First-Year Settling Checklist: 6-Month and 12-Month Marks
- Roof Connection Inspections: The Annual Review
- Foundation Joints and Cladding Seams: What to Watch
- ADU-Specific Systems: Panels, Sub-Meters, HVAC, and Cleanouts
- The Southern California Seasonal Calendar: Dry Season vs. Wet Season
- Which Maintenance Failures Void Warranty Coverage – and How to Document
- When to Call a Professional
Why Transition Zones Are Your Highest-Risk Areas
A well-built addition is engineered to move. Wood expands and contracts with humidity, concrete cures and shrinks over years, and new framing settles at a different rate than a house that’s already been sitting for decades. The problem isn’t the movement – it’s what happens where two structures move against each other.
There are three transition zones that demand your attention every single year:
- The roof connection. Where the addition’s roof ties into the original structure, you have a valley, a cricket, or a wall flashing that has to shed water perfectly. This is the single most common source of interior water damage in additions we’ve inspected.
- The foundation joint. The seam where the new slab or crawlspace meets the original foundation. Differential settling shows up here first – a hairline crack that widens over a year tells you the two footings are moving apart.
- The exterior cladding transition. Where new James Hardie siding or stucco meets an older wall, the joint needs a properly bedded sealant that stays flexible. When it dries out and cracks, water wicks behind the cladding and rots the framing behind it.
In Yorba Linda, these zones get tested hard. The long dry season pulls moisture out of wood framing and hardens sealants; the wet season dumps concentrated rain on the same connections. A joint that would last a decade in a mild climate can fail in three or four seasons here if you never look at it. That’s why we recommend inspecting each of these three zones at least once a year – ideally in October, before the first real storm.
For a baseline on how these junctions are built correctly in the first place, our Home Additions & ADU in Yorba Linda page walks through the sequencing from foundation to finish line.
The First-Year Settling Checklist: 6-Month and 12-Month Marks
New construction settles most in its first year. That’s not a defect – it’s physics – but it means the first twelve months are the most important window for catching and correcting minor issues before they’re locked in. Schedule two inspections, one at six months and one at twelve. Here’s exactly what to run at each mark.
At the 6-Month Mark
- Photograph every interior corner and ceiling line where the addition meets the original house. Note any new cracks, especially stair-step cracks in drywall near door frames.
- Check every exterior caulk joint at the cladding transition and around windows and doors. Run a finger along the joint – if it’s hard or gapping, it needs re-sealing.
- Look inside the attic or roof cavity where the addition ties in. Any staining, dampness, or daylight means the flashing needs attention.
- Test every door and window on the addition. Sticking doors are the earliest sign of settling you can catch with your hands.
- Check the foundation joint for visible cracking. A hairline is normal; a crack wider than a credit card is not.
- Confirm drainage moves water away from the new foundation – check gutter downspouts and grade.
At the 12-Month Mark
- Repeat all six of the above. Side-by-side comparison with your 6-month photos tells you whether cracks are stable or growing.
- Open the electrical panel for the addition and check for any scorching, corrosion, or tripped GFCI outlets that keep resetting.
- Flush or check every plumbing cleanout associated with the new structure – see the ADU systems section.
- Change the HVAC filter and have the dedicated unit serviced if it’s had a full cooling season on it.
- Re-seal the transition joints with flexible exterior sealant. Most manufacturers rate their sealant for one year of full sun exposure; Yorba Linda’s June-through-September sun will find the weak spots.
Document each inspection with dated photos. This record becomes your warranty evidence if you ever need it – more on that below.
Roof Connection Inspections: The Annual Review
Every fall, before the first significant rain, the roof connection is the first place we look. This is where the addition’s roof meets the original structure, and it’s where the geometry is most complicated: a valley where two roof planes meet, a cricket on the uphill side to divert water around a chimney or dormer, and wall flashing that has to be stepped correctly against the siding.
What your annual roof review should cover:
- The valley and cricket. Look for debris (live oak leaves, in this part of Yorba Linda, are relentless), cracked sealant, and lifted shingle tabs. A clogged valley diverts water straight under the shingles.
- Wall flashing. Check that the step flashing is still tucked under the siding or stucco and that the counter-flashing hasn’t pulled away. If any sealant is cracked, water gets in behind it.
- Penetrations. Vents, pipe boots, and any skylight on the addition need their rubber seals checked for cracking or shrinkage.
- Granule loss on shingles. If you can see the mat showing through, the roof – or at least that section – is nearing replacement. GAF and Owens Corning shingle warranties are specific about what counts as normal wear versus defect.
- Attic-side inspection. Get in the attic with a flashlight after the first real rain. Any staining on the underside of the roof deck near the tie-in is the clearest signal the connection needs professional attention.
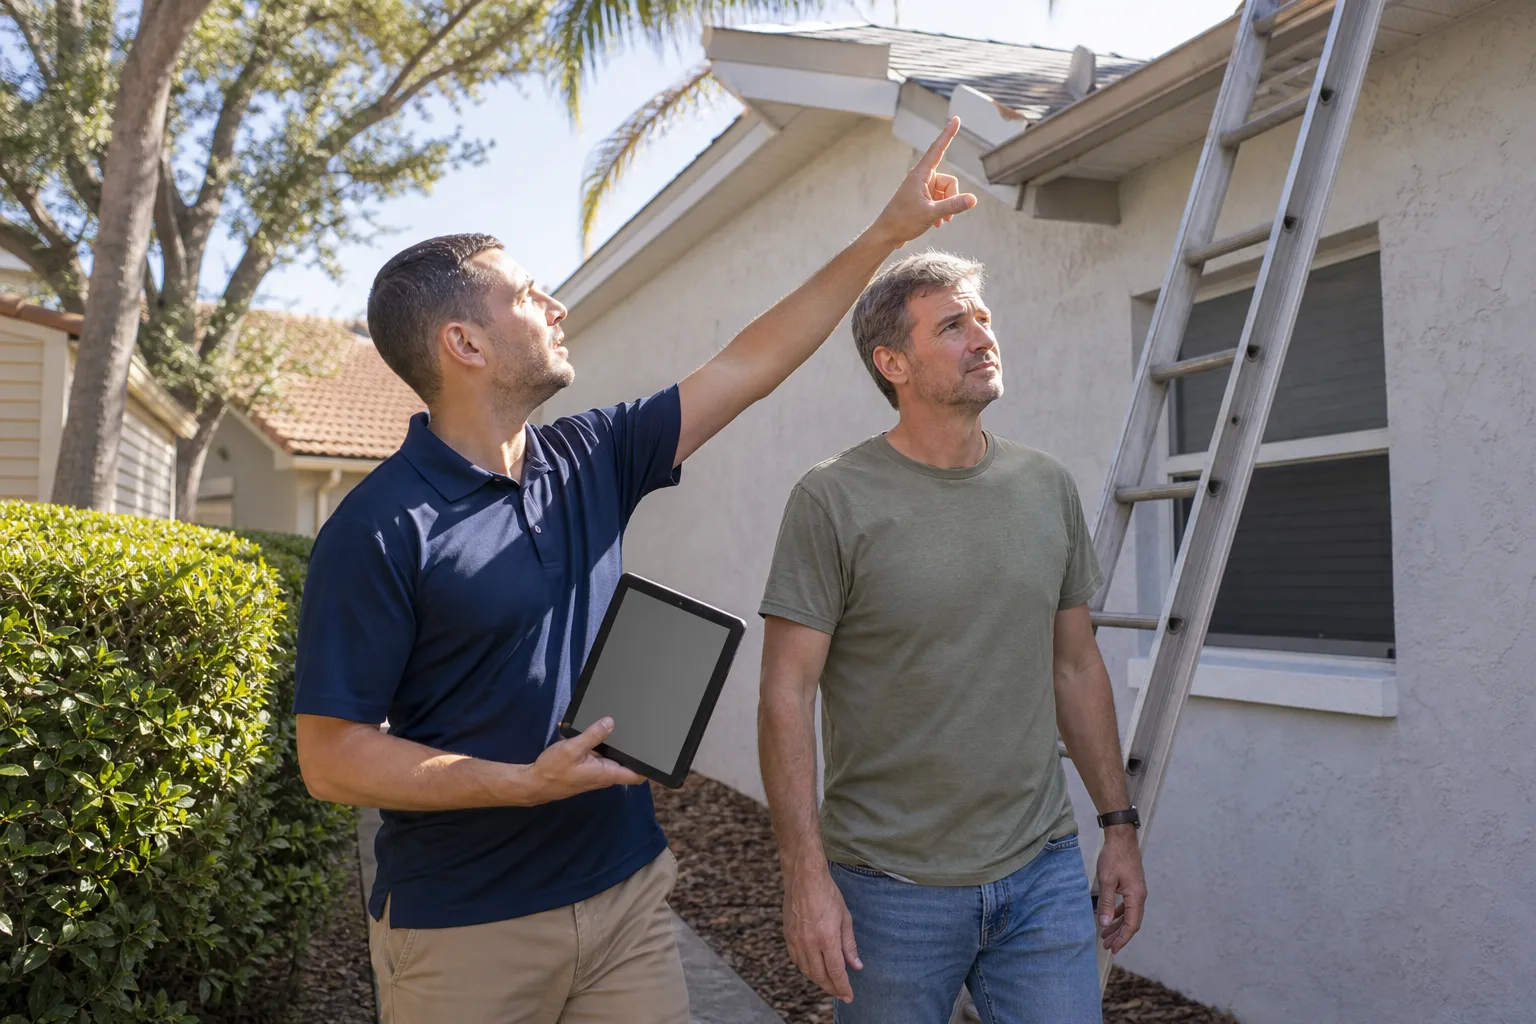
Safety note: Roof walking is genuinely dangerous, and the inside valley of an addition roof is one of the least forgiving places on any home to walk on. We strongly recommend leaving the extension-ladder and roof-surface work to a trained professional. You can inspect the attic side and the ground-level transitions yourself; let a pro handle anything above eave line.
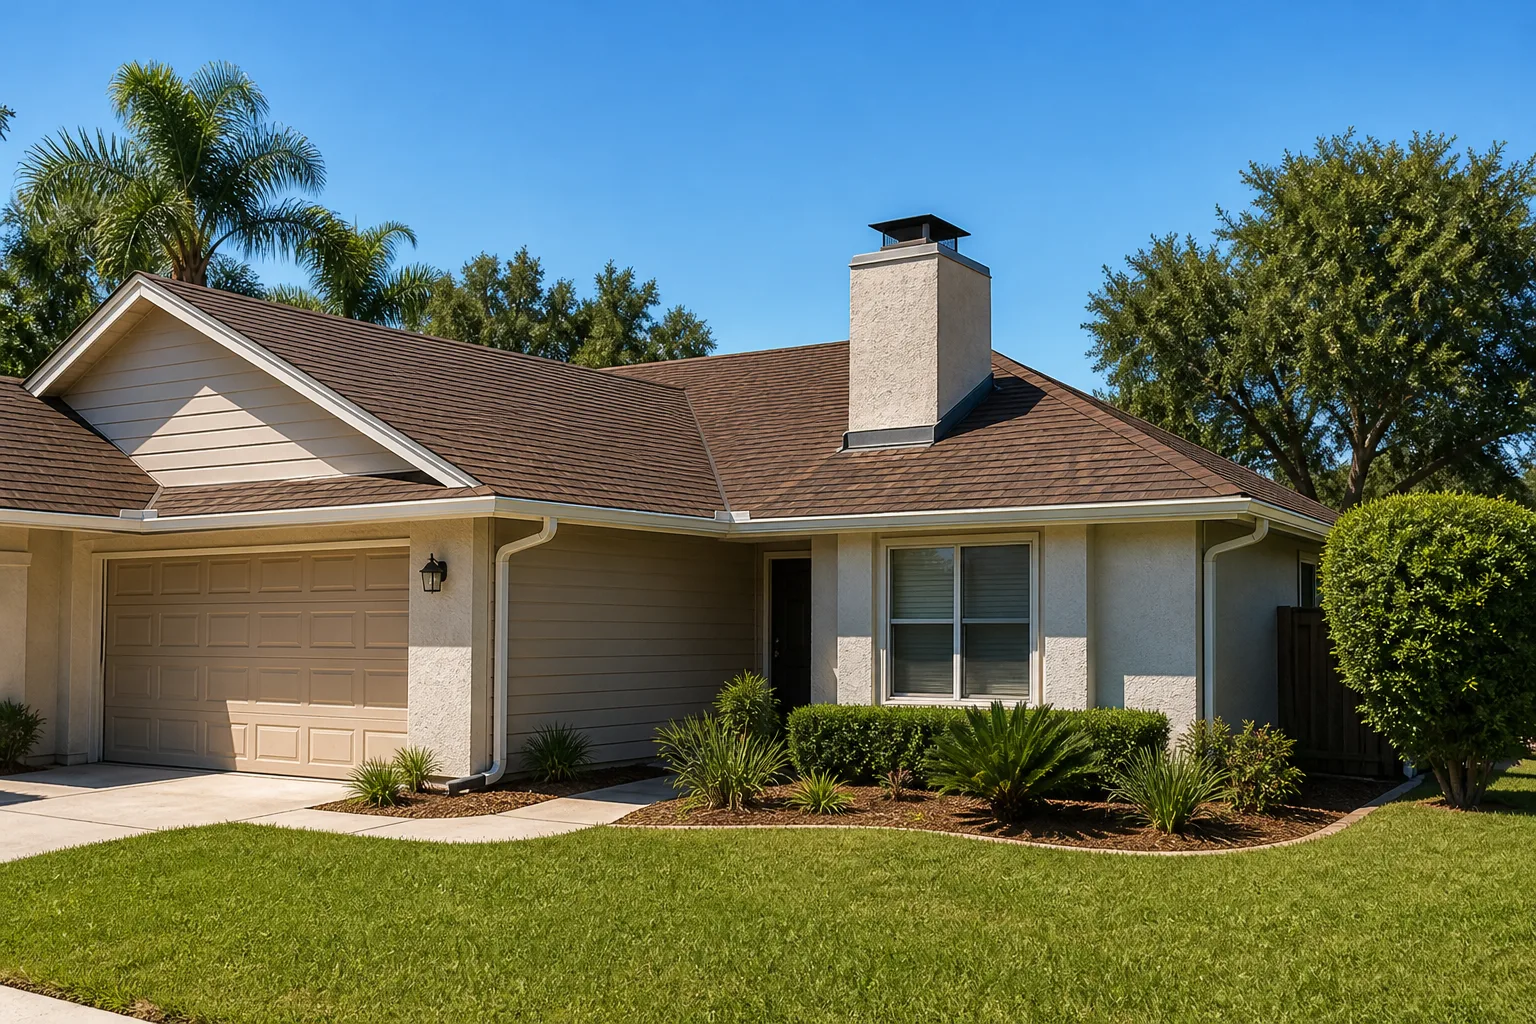
If the inspection turns up a roof past its service life, our team handles roofing and full-scope construction as a Yorba Linda contractor – one call can cover both the assessment and the replacement.
Foundation Joints and Cladding Seams: What to Watch
Your foundation joint and cladding transition work together more than most homeowners realize. Water that gets past the cladding seam finds its way to the foundation joint, and settling at that joint opens the cladding seam wider. Fix one without the other and you’re chasing the problem around the house.
Foundation Joint Inspection
Walk the exterior perimeter of the addition once a year and look at the seam where the new foundation meets the original. Record the width of any crack with a pencil line and a date. What matters isn’t the crack’s presence – hairline cracks in concrete are normal – it’s whether the crack is growing. A crack that widens noticeably between two annual inspections is telling you the two footings are moving at different rates and needs a structural assessment.
Also check that grading slopes away from the foundation on all sides. In Yorba Linda, where many lots sit on graded hillside, poor drainage can pool water against a new foundation wall and accelerate settling. Six inches of fall over the first ten feet is the target.
Cladding Seam Inspection
The cladding transition at the addition’s exterior wall is where water most often finds a way in. On James Hardie fiber cement siding, the joint should have a properly bedded flexible sealant and correct lap sequencing. On stucco, check the caulk at the transition for shrinkage and cracking. Probe gently – if it feels soft or spongy, water has been getting behind it. Repair is straightforward if you catch it early; if it goes a season too long, you’re replacing sheathing.
ADU-Specific Systems: Panels, Sub-Meters, HVAC, and Cleanouts
An ADU is a full dwelling unit under one lot, which means it has its own systems. That’s the part that gets forgotten. The main house gets maintained; the ADU’s dedicated components quietly go uninspected for years because the owner doesn’t think of them as separate from the main house’s systems.
Here’s what to put on your ADU-specific checklist:
- Separate electrical panel. Label every breaker clearly and check it at the annual inspection for corrosion, scorching, or a breaker that keeps tripping. Any burning smell or scorch mark is a stop-and-call-a-professional situation.
- Sub-meter. If the ADU has its own sub-meter for billing or separate service, note the reading monthly to spot unusual consumption that might indicate a leak or a failing appliance.
- Dedicated HVAC unit. Change the filter every 60-90 days. Have the unit serviced once a year, ideally in spring before cooling season – inland Yorba Linda summers push a heat pump harder than coastal climates do.
- Plumbing cleanouts. Every addition and ADU has cleanout access points for the drain lines. Locate them, mark their locations so they can be found again, and have them snaked proactively every two to three years – especially if the ADU has its own kitchen with a garbage disposal.
- Water heater. If the ADU has a dedicated tank or tankless unit, flush it annually to prevent mineral buildup. Yorba Linda’s water runs moderately hard, so scale is a real issue.
- Smoke and CO detectors. Test monthly, replace batteries annually, replace the units every ten years. Both the ADU and the main house meet the same California code requirements.
Treat the ADU as a separate maintenance account from the main house. Calendar its service dates, keep its receipts together, and it’ll never become the forgotten half of your property.
The Southern California Seasonal Calendar: Dry Season vs. Wet Season
Generic national maintenance advice – “winterize in fall, check AC in spring” – was written for climates that freeze. Yorba Linda doesn’t freeze. What we get is a long, intense dry season and a compressed wet season that arrives fast, usually late October through March. Your maintenance schedule should reflect that reality, not a generic national checklist.
Dry Season (April through September)
- Late spring (May): Re-seal all transition joints and cladding seams while the weather is dry. Sealant applied to a wet joint won’t bond.
- June: Service the ADU’s HVAC unit before peak heat. Clear anything stacked against the exterior condenser.
- Mid-summer: Check the roof for sun damage, particularly on south- and west-facing slopes, which degrade fastest in our climate.
- September: Clear debris from the roof valley now, before leaf drop and the first rain hit together.
Wet Season (October through March)
- Early October: Walk the gutters, downspouts, and drainage away from the foundation. The wet season’s first major storm will find every clog.
- November through February: Inspect the attic-side of the roof connection after the first big rain. Watch interior drywall corners for new cracks or water stains.
- Late each winter: Check the foundation joint after the season’s rain, when differential settling is most likely to show up.
This schedule aligns the maintenance to the actual stress cycles a Yorba Linda addition experiences: baking dry, then suddenly wet. It’s the same logic that governs fence installation in Yorba Linda – materials and joints get chosen for how they’ll handle our specific dry-then-wet pattern, and the same discipline applies to your addition.
Which Maintenance Failures Void Warranty Coverage – and How to Document
Builder warranties cover defects. They don’t cover neglect. That’s the line that catches homeowners off guard: when a warranty claim comes in for water intrusion or settling damage, the first thing a reputable builder will ask is whether routine maintenance was performed and documented. If the answer is a shrug, the claim gets far harder to win.
These are the maintenance failures that most commonly jeopardize warranty coverage on an addition:
- Failed sealant that was never renewed. Exterior caulk is a wear item. Its replacement falls on the homeowner, not the builder, and failure to maintain it typically voids water-intrusion warranty claims.
- Blocked or improper drainage. If water pools against the addition because gutters were never cleared or the grade was never maintained, the resulting water damage is generally a maintenance issue, not a construction defect.
- Deferred HVAC filter changes. Appliance and mechanical warranties frequently require evidence of routine servicing.
- Unreported early signs of settling. If a crack was visible at six months and ignored for two years, the argument that it’s a defect becomes much harder.
- Unauthorized modifications. Homeowner-built pergolas, added skylights, or DIY header changes can void portions of the warranty on both the addition and the original structure.
How to Document Your Inspections
- Date-stamp every photo (phone photos record this automatically).
- Keep a simple log – what you inspected, what you found, what you repaired.
- Keep receipts for any professional service: HVAC maintenance, roof inspections, plumbing snaking.
- Re-shoot the same transition zones every year from the same angle. Annual comparison is your strongest evidence that a problem was reported early.
Groundwork Construction Co. backs every project with our 730-Day Done Right Promise – if it’s not done right, we make it right. That promise is real, and the best way to keep it fully in force on your addition is to run the documented maintenance schedule above. When a real defect shows up, the record proves it was a defect, not a miss.
Common Mistakes to Avoid
- Treating the addition as “just more house.” It isn’t. It’s a separate structure with its own settling timeline and its own transition points, and skipping its inspections is how a $300 sealant job turns into a $9,000 water-damage repair.
- Skipping the 6-month inspection. First-year settling is most visible in the first six months. If you wait a full year, you’ve missed the window when a minor fix is a five-minute caulk touch-up rather than a drywall repair.
- Caulking in the wet season. Sealant applied to a damp joint won’t bond. In Yorba Linda, that usually means it’s peeling off by February and you’re redoing it in spring anyway.
- Forgetting the ADU’s electrical panel and sub-meter. Because the ADU is on the same property, its dedicated panel and meter get mentally folded into the main house’s systems. Inspect them separately, or they go uninspected for years.
- Clearing gutters only after the first rain. By the time the first storm hits, the damage is done. Clear them in early October, before the rain, and inspect the drainage away from the foundation at the same time.
- Never photographing anything. Without photos, you can’t prove a crack is stable versus growing, and you can’t prove the problem was reported early. Photo documentation is your warranty insurance.
- DIY-ing roof-connection work. Roof flashing and valley repairs look simple and aren’t. The fall risk and the likelihood of making the leak worse both argue for hiring a professional.
See the difference
 Before
 After
 Before
 After
 Before
 After
When to Call a Professional
You can handle caulking, filter changes, gutter clearing, and photographing the transition zones yourself. Call a professional for anything involving the roof surface, the electrical panel, or a crack that’s growing between annual inspections. In particular: any water staining on the roof deck near the tie-in, any crack wider than a credit card or wider than it was last year, any scorching or repeated tripping at the ADU panel, and any soft or spongy cladding. Those four signs are the early indicators of a repair that gets expensive if it waits.
Groundwork Construction Co. of Yorba Linda offers free estimates in Yorba Linda – call (888) 255-9354. Our technicians have up to 12 years of experience, calls are answered by a live person 24/7, and every project is backed by our 730-Day Done Right Promise. If the inspection turns up work that needs doing, you’ll get upfront pricing with no surprises – the number you see is the number you pay.
While you’re planning, take a look at how driveway and pavers in Yorba Linda integrate with addition drainage and grade, since your new structure’s grading has to work with your hardscape, not against it.
Frequently Asked Questions

Once a year, ideally in October before the rainy season, with extra inspections at the 6-month and 12-month marks during the first year. Transition zones – roof connection, foundation joint, and cladding seam – are where water and settling cause the most damage, and they need the most frequent looking-at. Anything on the roof surface should be handled by a professional.
The exterior transitions where the ADU meets the main house, followed closely by the ADU’s dedicated electrical panel. The transition joints are where water gets in; the panel is where the most serious safety issue could develop. Check the panel at the annual inspection for corrosion, scorching, or repeated breaker trips, and call a professional immediately for any of those signs.
That depends on whether it’s a defect or differential settling. The promise covers defects in workmanship for 730 days; a crack that appears within that window is absolutely worth documenting and reporting. Call (888) 255-9354 with photos of the crack and its width, and we’ll assess whether it’s covered. The 730-Day Done Right Promise – if it’s not done right, we make it right – is our commitment on every project, and documented maintenance keeps your coverage in full force.
Yes, and it’s more important, not less. A tenant will report failures but won’t maintain the caulk or filter schedule, so the burden is entirely yours as the property owner. Put the HVAC filter change, the water heater flush, the annual panel check, and the plumbing snake on a service calendar, and have a professional service ADU systems annually – much the same as you’d handle a rental property’s maintenance.
Compare the current crack width to last year’s photos. Normal settling produces hairline cracks that appear once and stabilize. Serious settling produces cracks that grow year over year, doors and windows that bind more tightly each month, or visible separation at the foundation joint. Any of those signs, and it’s time to call a professional for a structural assessment.
Failed exterior sealant that’s never renewed, blocked drainage that damages the foundation, deferred HVAC service, and unauthorized modifications are the four big ones. Caulking, gutter-clearing, filter-changing, and annual inspections are the tasks that keep your warranty fully in force. Keep dated photos and service receipts for every inspection – that record is what protects your coverage if a defect ever shows up.
The Bottom Line
Your addition is a separate structure, and it deserves a separate maintenance schedule. The three transition zones – roof connection, foundation joint, cladding seam – need annual inspection, and the first year needs the 6-month and 12-month settling checks. The ADU’s panel, sub-meter, HVAC, and cleanouts go on their own calendar. The dry season is for caulking and the wet season is for drainage. Photograph everything, keep the receipts, and your warranty stays in full force – and the small stuff stays small. Groundwork Construction Co. of Yorba Linda is here when the work needs doing, backed by the 730-Day Done Right Promise and calls answered by a live person 24/7.
Built to last, backed in writing. Call (888) 255-9354 for your free estimate – upfront pricing, no surprises.
Written by the team at Groundwork Construction Co. of Yorba Linda.