Last updated November 17, 2026




Free written scope consultation - allowances, timeline, and change-order rules on paper before a single trade is scheduled
DIY vs Professional Windows & Doors: What’s Safe to Do Yourself
Window replacement has one of the highest rates of improper DIY installation of any home improvement task, and unlike a bad paint job, you won’t see the water damage it causes for two to five years. By then the warranty conversation is over, the subfloor is soft, and the “money you saved” is sitting inside a wall cavity as rot. We’ve pulled windows in Yorba Linda that looked perfectly fine from the living room and found sheathing stained black behind the flashing. This guide draws the line honestly: which window and door jobs a careful homeowner can genuinely handle, which ones look easy but hide real risk, and why the difference usually isn’t skill. It’s what’s buried in the wall.
Quick Answer
Weatherstripping, hardware swaps, caulk touch-ups, and screen or threshold repairs are safe DIY projects for most homeowners. Full window and door replacement, flashing, and anything that changes a rough opening is professional work, because the failure mode is hidden water intrusion rather than a visible mistake. In Yorba Linda, a replacement that changes the opening size or glazing area also triggers permit and energy-code requirements most homeowners aren’t equipped to navigate.
Styles & brands we work with
- Kitchen remodeling
- Bathroom remodeling
- Home additions & ADU
- Roofing
- Windows & doors
- Driveway & pavers
- Fence
Table of Contents
- Why the Real Risk Is Hidden in the Wall
- Insert Replacement vs. Full-Frame Replacement: The DIY Line
- Flashing: The Step Where DIY Projects Fail
- Yorba Linda Permits and Energy Code: What Triggers a Pro
- What’s Genuinely Safe to Do Yourself
- How a Bad Install Voids a 20- to 30-Year Warranty
- Doors Are a Different Animal
- Yorba Linda Climate and Why It Punishes Bad Installs
Why the Real Risk Is Hidden in the Wall
A window that’s installed wrong usually looks installed right. The frame sits flush, the sash opens, the lock catches. What you can’t see is whether the sill pan slopes the right direction, whether the flashing tape laps over the nail fin in shingle fashion, or whether the rough opening was shimmed so the unit isn’t racked. Those details decide whether the wall stays dry for the next 25 years or starts growing mold behind the drywall in year three.
That delayed feedback loop is the whole problem with DIY window work. A homeowner who builds a crooked deck shelf knows it’s crooked the moment they step back and look. A homeowner who installs a window without a proper sloped sill pan gets no signal at all until water has been quietly wicking into the framing through a few rainy seasons. By the time a soft spot shows up near the baseboard, the repair is no longer a window job. It’s drywall, insulation, sheathing, and sometimes framing.
The systems approach matters too. A window is one component of a wall assembly that includes the weather-resistive barrier, the flashing, the drainage plane, and the interior air seal. Andersen and Marvin both publish detailed installation instructions for their units, and those instructions assume the installer understands how the window ties into that whole assembly. Installing the window correctly and installing it into the wall correctly are two different skills, and the second one is where DIY work most often comes apart.
None of this is meant to scare you off a screwdriver. It’s meant to be honest about where the risk actually lives. It isn’t in the visible finish. It’s in the layers you’ll seal up and forget about. If you want a broader sense of how we approach the full scope of a home project, our Groundwork Construction Co. of Yorba Linda home page lays out the trades we handle and how they connect.
Insert Replacement vs. Full-Frame Replacement: The DIY Line
Nearly every “can I DIY my windows?” argument falls apart because two people are talking about two different jobs. Insert replacement and full-frame replacement are not the same project, and they sit on opposite sides of the DIY line.
Insert (Pocket) Replacement
An insert replacement keeps the existing window frame in the wall and slides a new sash-and-frame unit into it. The exterior trim and interior casing usually stay put. It’s faster, less invasive, and cheaper. In theory, a handy homeowner with the right measurements could attempt one on a simple single-hung unit in a bedroom.
In practice, insert replacements still fail on the details. The new unit has to sit level, plumb, and square inside a frame that’s often been settling for 30 or 40 years. The perimeter seal has to be continuous. And the old frame has to be sound enough to carry the new unit, which is not something you can judge from a paint sample. When the existing frame is out of square, the insert inherits the problem.
Full-Frame Replacement
Full-frame replacement removes the entire window, frame and all, down to the rough opening. The opening gets inspected, repaired if needed, re-flashed, and the new unit is set and tied into the weather barrier. This is where you find out what 20 years of sun and rain did to the framing.
Full-frame work is not a homeowner project. It requires removing interior and exterior finishes, working with the structural opening, and rebuilding the water management system around the new unit. On a home in Yorba Linda built in the 1970s or 1980s, this is often the moment we discover the original flashing was a strip of builder-grade felt stapled in the wrong direction. That’s not a defect you can fix with a tube of caulk.
- Insert replacement: keeps the existing frame; the DIY temptation is real but the failure risk is still high.
- Full-frame replacement: removes the frame to the rough opening; not a DIY job at any skill level.
- Rule of thumb: if the job touches the rough opening, the flashing, or the wall assembly, it’s professional work.
Flashing: The Step Where DIY Projects Fail
If we had to point to the single step that causes the most long-term water damage on DIY window jobs, it’s flashing. Flashing is the system of membranes and tapes that routes water around the window and back out to the exterior. Done right, it’s invisible and boring. Done wrong, it’s the reason a homeowner finds rot behind a window that “never leaked.”
Water doesn’t need a hole to get in. It needs a path. The most common flashing failures we see on DIY and handyman-installed windows:
- No sill pan or a flat sill. The sill must slope to the exterior so water drains out. A dead-flat or back-sloped sill traps water against the frame.
- Reversed laps. Flashing tape has to lap in shingle fashion, upper layers over lower. When the bottom piece sits over the top, water finds the seam.
- No back dam. The sill flashing needs an upturned back edge so water can’t travel inward toward the interior wall.
- Corner gaps. The bottom corners of the rough opening are where tape has to be folded and sealed carefully. They’re also where most installers rush.
- Caulk used in place of flashing. Caulk is a sealant, not a drainage system. It fails within a few years in Yorba Linda’s sun.
Here’s why this matters so much in a place like Yorba Linda. We don’t get a lot of total annual rainfall, but we do get intense, short-duration storms, and they often arrive after months of dry weather. That first big rain hits a wall that hasn’t been tested in a while. A window with a marginal flashing job will pass a light sprinkle and fail a two-inch storm. The intermittent pattern makes the failure easy to miss and easy to dismiss until it’s done real damage.
We’ve opened walls in Yorba Linda where the flashing had been installed backward for years and the homeowner had no idea. The window itself looked perfect. The framing around it did not.
Yorba Linda Permits and Energy Code: What Triggers a Pro
This is the part of the DIY decision that most guides skip entirely, and it’s the part that can cost you the most if you get it wrong. Window replacement in Yorba Linda isn’t just a construction question. It’s a permit and energy-code question, and the answer changes depending on what you’re doing.
When a Permit Is Typically Required
Straightforward like-for-like window replacement (same size, same opening, same operation) often doesn’t require a permit. But the moment your project changes the size of the opening, adds or removes a window, changes the glazing area, or alters the egress path on a bedroom window, you’re into permit territory. Bedroom egress is the one homeowners miss most often. California has specific requirements for the clear opening size of an emergency escape window, and a “simple” replacement that shrinks that opening can fail inspection or, worse, create a real safety problem.
Yorba Linda’s building department reviews these applications against the current California Building Code and the California Energy Code. That energy code requirement is why a window swap isn’t purely cosmetic anymore. Replacement windows have to meet U-factor and solar heat gain coefficient thresholds, and the permit process is how that gets verified. A homeowner ordering windows online based on measurements alone has no way to confirm the units meet the applicable code for their specific project.
What That Means for DIY
If your project is a pure like-for-like swap on an existing opening and doesn’t trigger a permit, the code question is mostly settled by the existing configuration. If your project changes anything about the opening or the glazing, you’re filing for a permit, coordinating an inspection, and confirming the units meet energy code. That’s a process most homeowners would rather not run solo, and it’s one we handle as a matter of course on every window job.
The Short Version
- Measure your existing windows and confirm the operation and opening match exactly.
- Check with Yorba Linda’s building department on whether your specific project triggers a permit.
- Confirm the replacement unit meets California Energy Code for your project if a permit is required.
- If the project changes the opening, size, or glazing area, plan on a professional installation and an inspection.
We’d rather tell you honestly that the permit process is manageable than pretend it’s a wall. It’s not. But it does add a step that a DIY plan usually doesn’t include, and skipping it doesn’t make the requirement go away.
What’s Genuinely Safe to Do Yourself
We’re not going to tell you everything requires a contractor. Plenty of window and door maintenance is well within reach of a careful homeowner with basic tools, and doing it yourself actually extends the life of the units you have. Here’s where we draw the line, and how to do these jobs well.
Weatherstripping Replacement
Worn weatherstripping is one of the most common causes of drafts and higher energy bills, and it’s a genuinely safe DIY fix. On doors, you’re replacing the foam, felt, or bulb seal in the jamb and the sweep at the bottom. On windows, you’re usually replacing the pile weatherstrip in the sash channel. The tools are simple: a putty knife to remove the old material, a clean rag, and the right replacement profile. The one rule is matching the profile. Weatherstripping comes in dozens of shapes and thicknesses, and grabbing the wrong one from a big-box store is the most common reason a DIY weatherstripping job doesn’t actually seal. Measure the gap and match it. If you’re replacing a door sweep, check that the new one clears the threshold without dragging.
Hardware Replacement
Locks, handles, latches, sash locks, and window cranks are all fair game. These are mechanical parts held by a few screws, and swapping them doesn’t touch the weather seal or the wall. Two cautions. First, don’t oversize or reuse stripped screw holes with bigger screws; if the hole is stripped, fill it with a wood filler or a toothpick-and-glue plug and re-drill. Second, on a multi-point door lock, don’t try to adjust the mechanism unless you understand how the strike plates align. That’s a job where a five-minute call to a pro saves an hour of frustration.
Caulk Touch-Ups (With an Honest Caveat)
Re-caulking around a window or door frame is a reasonable DIY task. Cut out the old caulk completely, clean the surface, let it dry, and apply a high-quality exterior sealant. Here’s the caveat. Caulk is maintenance, not repair. If you’re re-caulking a window every year because the seal keeps failing, that’s a symptom of a bigger problem, usually water getting in somewhere the caulk can’t reach. If the caulk around one window fails twice in two years, stop re-caulking and get the install checked.
Screen and Minor Repair
Re-screening a window or patio door, replacing a broken sash balance on a single-hung window, and re-setting a loose lock strike are all jobs a homeowner can do. The threshold we use: if it involves the frame, the opening, or the wall, it’s not in this category.
How a Bad Install Voids a 20- to 30-Year Warranty
Window warranties are longer than most people expect, often 20 to 30 years on the frame and glass, and shorter on the hardware and finish. They’re also conditional in ways the marketing materials don’t lead with. The manufacturer’s warranty covers defects in the product. It does not cover the installation.
That distinction matters enormously, because most of the failures homeowners actually experience are installation failures, not product failures. Fogged glass is usually a product issue. Rot around the frame, water stains at the sill, and warped sashes are almost always install issues. When those show up, the manufacturer’s first question is who installed the unit and how. If the answer is “the homeowner, with no documentation and no idea what flashing was used,” the warranty claim doesn’t go far.
The installation instructions are the hinge. Andersen and Marvin both require their windows to be installed per their published instructions, and following those instructions is often an explicit condition of coverage. Those instructions require a properly flashed rough opening, a level and plumb setting, correct shimming, and a continuous perimeter seal. A DIY install that skips any of these can void the warranty on a premium unit. On a job that runs into five figures in materials across a house full of windows, that’s the risk we’re most focused on.
This is also why we’re particular about the brands we use on window jobs. When we install Andersen or Marvin, the warranty story is documented from the moment the unit goes in. If you ever need to make a claim, the record of how it was installed is on our side. That’s part of what we mean when we say a window job is covered by our 730-Day Done Right Promise. If it isn’t right, we make it right, and the manufacturer’s coverage isn’t in jeopardy because of how we installed it.
Doors Are a Different Animal
Exterior doors get folded into the “windows and doors” category, but the risk profile isn’t identical. A front door or patio door is a much heavier unit, and the opening has to carry more load and more traffic. The most common DIY door failure isn’t water intrusion, it’s racking: the door is slightly out of square in the opening, and then it drags, or the three-point lock won’t align, or the weather seal opens on one corner.
Here’s what usually causes it. The rough opening has to be checked for plumb and square, and in an older Yorba Linda home that opening is rarely square. A door installed without shimming correctly will rack over the first year as it takes traffic. Racking opens gaps at the corners, and if the door happens to be one of the two that lead outside, that gap becomes a moisture path. We’ve seen doors whose install was fine on day one fail by year two simply because nobody checked the opening first.
Interior door replacement is a different conversation. Replacing a pre-hung interior door on an existing, square opening is a manageable DIY job that many homeowners do well. Exterior doors that lead outside the envelope, patio sliders, and any door that changes the opening size belong with a professional. The same rule applies: if it touches the envelope or the opening, it’s pro work. Our Home Additions & ADU in Yorba Linda work regularly involves new exterior doors as part of a larger build, and the door install is only as good as the opening behind it.
Yorba Linda Climate and Why It Punishes Bad Installs
Window failures in Yorba Linda don’t look like the failures in cold, wet climates. We don’t have snow load or months of freezing. What we have is sun, heat, and the occasional hard storm, and that combination is surprisingly hard on exterior assemblies. Here’s how the local climate changes the calculus.
The most direct factor is UV exposure. Yorba Linda homes take serious sun, often on south and west faces, and that breaks down sealants, weatherstripping, and window frame finishes faster than in milder climates. A caulk joint that would last five years in a shadier spot might last two on a west-facing wall. That’s why we recommend checking exterior seals annually on the sun-blasted sides of a house, not just when you notice a draft. It’s also why we favor exterior caulk rated for high UV exposure on these elevations.
The second factor is the summer heat itself. Thermal expansion and contraction moves windows and doors slightly every day, and the framing around them has to accommodate that movement without opening a gap. A window that’s snugged too tight, or shimmed in a way that pinches the frame, can accumulate small gaps over years of this daily cycle. In cooler climates, that stress is gentler and more seasonal. Here, it’s a constant.
The third factor is the storm pattern. Yorba Linda gets most of its rain in a compressed season, often in a handful of high-intensity events, and that’s exactly the pattern that finds a marginal flashing job. A leak-free window during a light shower is not a proven window. The storm that matters is the one that puts water on a back-sloped sill for 30 minutes. That’s the test a bad install can’t pass, and it’s the reason we’re so fixated on the flashing details.
We’ve also seen the local marketplace change how this plays out. Yorba Linda has a lot of established homes built in the 1970s through 1990s, and most of those original windows have now aged into needing replacement. A whole-house window replacement is a big enough investment that it’s tempting to cut the install cost wherever possible. The arithmetic is not in the homeowner’s favor. A professional install with a documented warranty costs more upfront, but it’s the version that’s still dry in year ten. The same logic applies to exterior work more broadly, whether that’s Driveway & Pavers in Yorba Linda taking the sun on the south side of the yard, or Fence Installation in Yorba Linda facing the prevailing weather.
Common Mistakes to Avoid
- Measuring the old window instead of the rough opening. This is the single most common DIY error. The old window may itself have been installed slightly off-square, so measuring the unit instead of the opening bakes the mistake in. Measure the rough opening on a full-frame job and measure the existing window on a like-for-like insert.
- Using caulk where flashing belongs. Caulk is a sealant; flashing is a drainage system. They do different jobs, and substituting one for the other is the failure mode we see most often on DIY jobs. This is the mistake most likely to produce water damage that goes unnoticed for years.
- Skipping the permit when the opening changes size. A window that shrinks a bedroom’s emergency egress opening is a real safety issue, not just a code technicality. Yorba Linda’s building department requires a permit for these changes, and an inspector will catch the problem.
- Not checking for rot before ordering. Ordering a full house of windows and then discovering rotted framing when the old units come out is a schedule and budget disaster. A pro checks for rot during the walkthrough, not after the windows are on the driveway.
- Shimming a door without checking the opening. A door installed into an out-of-square opening will rack within a year, and the racking opens gaps at the corners. Check the opening for plumb and square before the new door goes in.
- Re-caulking the same window every year. This is a symptom, not a maintenance routine. If one window keeps failing at the caulk line, water is getting in somewhere the caulk can’t protect. Get the install checked.
- Assembling windows from mixed sources without a warranty plan. Ordering windows from different suppliers and installing them yourself leaves the warranty record fragmented. When a problem shows up, you’ll be the one arguing with the manufacturer about how the unit went in.
See the difference
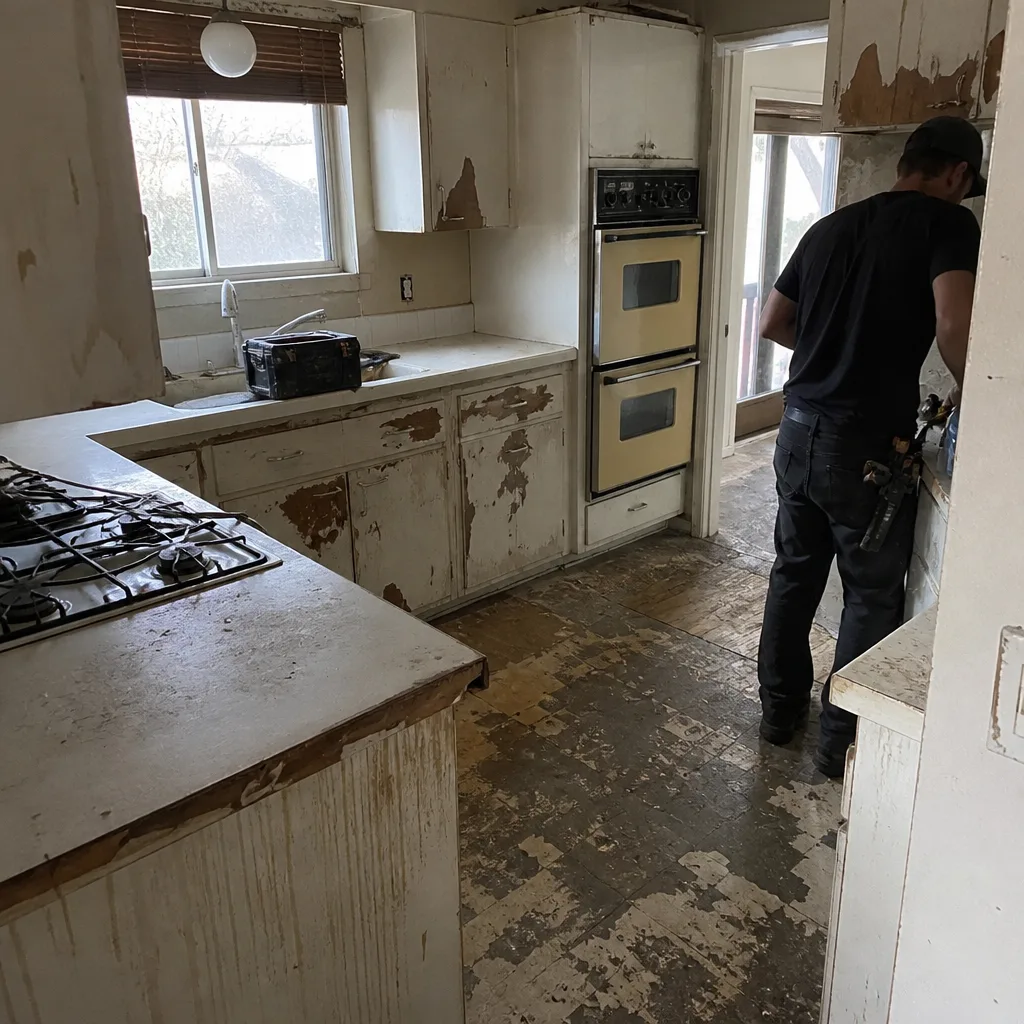
 Before
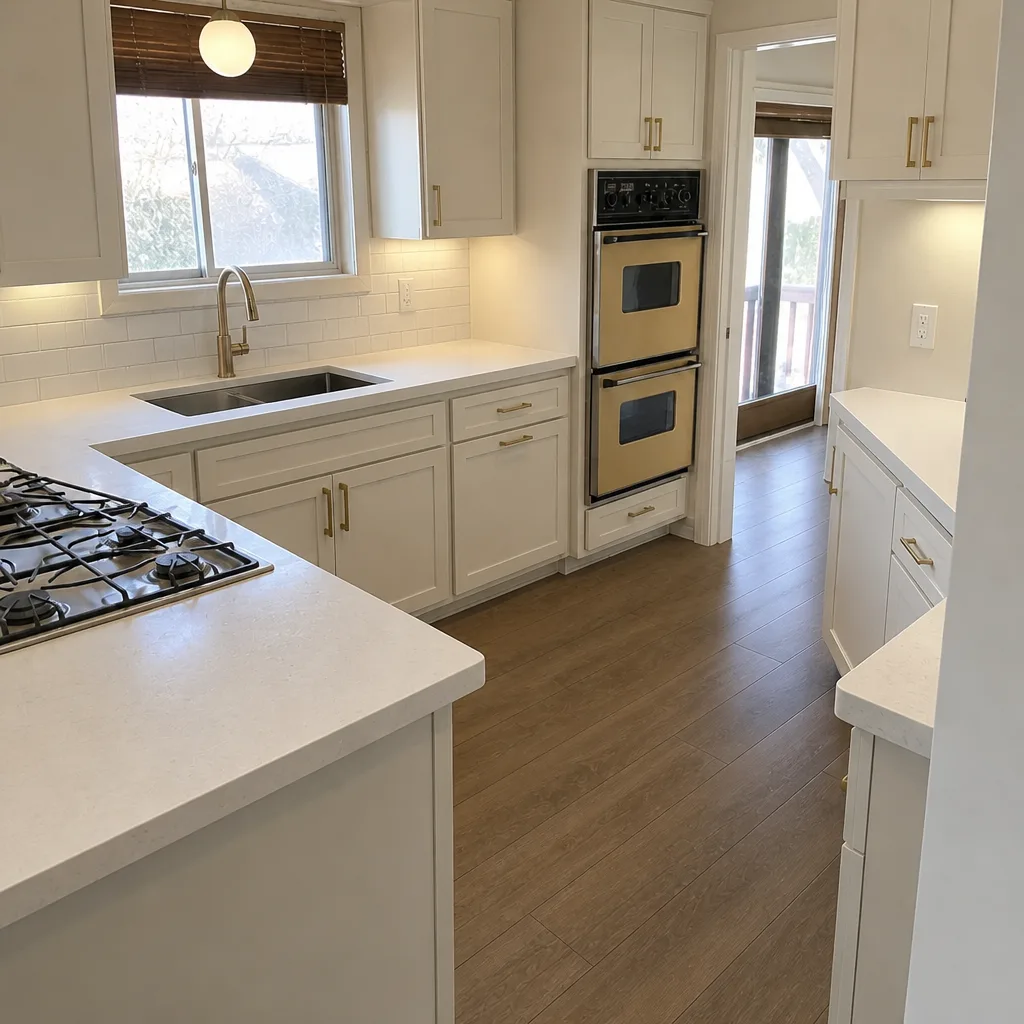
 After
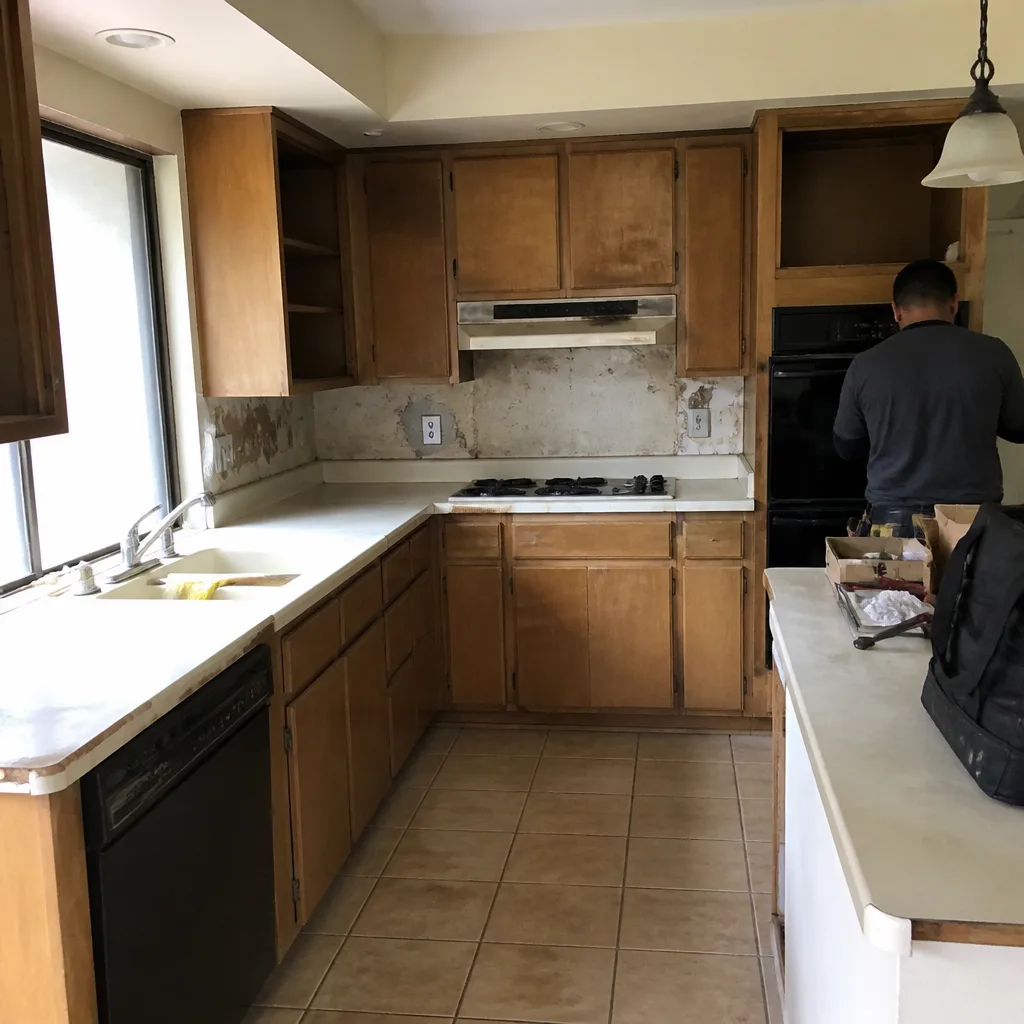
 Before
 After
 Before
 After
When to Call a Professional
Call a professional if your project involves any of the following: full-frame replacement, any change to the rough opening, flashing work, exterior doors that turn the envelope, windows on the second story or any height that makes the work dangerous, permit-triggering changes to the opening or glazing area, or a known pattern of leaks or rot around an existing window. Those scenarios all share the same characteristic. The work happens behind a surface, and the failure is hidden.
If you’re unsure which side of the line your project falls on, the walkthrough answers it. Groundwork Construction Co. of Yorba Linda offers free estimates in Yorba Linda, and we’ll tell you honestly if your project is one you can do yourself. Call (888) 255-9354 to schedule a walkthrough, and we’ll confirm whether the job is DIY or professional before you spend a dollar on materials.
Frequently Asked Questions

You can do a like-for-like insert replacement on a simple window if you’re confident in flashing and the existing frame is sound, but full-frame replacement and anything that changes the opening aren’t homeowner work. The reason isn’t skill, it’s the hidden failure mode: a bad install causes water damage you won’t see for two to five years, and by then the warranty is likely void. Call (888) 255-9354 for an honest read on your specific project.
The exact range depends on unit quality, size, and whether you’re doing insert or full-frame, so we quote each job on its specifics rather than guessing. What we can tell you is that the pricing we provide is upfront and fixed, and the quote you sign is the number you pay. Call (888) 255-9354 for a free estimate, and we’ll walk you through the line items.
No, not when the scope is set correctly up front. The real cause of change orders on window jobs is discovering rot or a failed rough opening after the old units come out, and a proper walkthrough checks for that before the quote is finalized. If we do find rot behind a window, we show you what we found and write the fix into the scope before any work proceeds. Call (888) 255-9354 to schedule a walkthrough.
A like-for-like replacement that doesn’t change the opening, size, or glazing area often doesn’t require one, but a project that changes the opening, adds or removes a window, or alters bedroom egress typically does. California Energy Code requirements also apply to replacement units and are reviewed through the permit process. We pull the permit and pass the inspection on every job that needs one. Call (888) 255-9354 and we’ll tell you which bucket your project falls into.
Yes, in many cases. Andersen and Marvin, like most quality window manufacturers, publish installation instructions and require the windows to be installed per those instructions as a condition of coverage. A DIY install that skips flashing or sets the unit out of plumb can void a 20- to 30-year warranty even though the product itself is fine. A professional install with documentation keeps the manufacturer’s coverage intact. Call (888) 255-9354 to talk through your situation.
Weatherstripping, hardware replacement, caulk touch-ups (as maintenance, not repair), and screen or minor repairs are all safe DIY work. The rule of thumb is simple: if the job touches the frame, the rough opening, or the wall assembly, it’s professional work. If it’s a mechanical part or a maintenance item, you can handle it. Call (888) 255-9354 if you’re not sure which side a job falls on.
Most single-window replacements are a one-visit job, and a full-house replacement typically runs a few days depending on the number of openings and whether the job is insert or full-frame. The schedule we give you at the estimate is the schedule we hold to. Call (888) 255-9354 for a free estimate and a realistic timeline for your home.
UV exposure breaks down sealants and weatherstripping quickly on south and west-facing walls here, and the daily thermal swing from summer heat stresses the framing around every window. Yorba Linda also gets intense, short-duration storms that test flashing in ways a light rain never will. Windows here need exterior seals checked annually and an install that accounts for movement. Call (888) 255-9354 if you’re seeing consistent seal failures.
The Bottom Line
The line between DIY and professional window and door work isn’t about how handy you are. It’s about what’s hidden in the wall. Weatherstripping, hardware, and caulk maintenance are safe for a careful homeowner and worth doing regularly, especially on the sun-facing side of a Yorba Linda home. Replacement itself, flashing, and anything that touches the rough opening belongs with a pro, because the failure mode is invisible for years and the warranty consequence is severe. If you’re weighing a window project, get the walkthrough first. Groundwork Construction Co. of Yorba Linda offers free estimates and honest answers on what’s DIY and what isn’t. Call (888) 255-9354 to schedule yours, and we’ll put the scope in writing before you commit to anything.
Written by the team at Groundwork Construction Co. of Yorba Linda.