Last updated November 17, 2026


Free written scope consultation - allowances, timeline, and change-order rules on paper before a single trade is scheduled
Fence Installation Warning Signs Every Homeowner Should Know
Here’s the part nobody warns you about: most of the damage you’ll pay for later is planted on installation day, in the first few hours, while the concrete is still wet. A fence can look perfectly straight when the crew packs up, and then it starts to shift within a season or two. The boards don’t fall off because they’re bad boards – they fall off because a hole was dug too shallow, a post was set too wide, or a permit got “handled” with a handshake. We’ve walked Yorba Linda properties where a three-year-old fence is already leaning into the neighbor’s yard, and in almost every case the failure traces back to something the homeowner could have spotted during the build if they’d known where to look.
Quick Answer
The warning signs of a bad fence installation are shallow posts (under 24 inches of buried depth), posts set too far apart for the climate zone, panels that look racked or out of square, missing permits, no site survey, and crews who skip the concrete check. If you see any of these during the build, stop the job before final payment. In Yorba Linda, where Santa Ana winds are real and soil movement on sloped lots is common, these mistakes surface faster than they do almost anywhere else in Southern California.
Styles & brands we work with
- Kitchen remodeling
- Bathroom remodeling
- Home additions & ADU
- Roofing
- Windows & doors
- Driveway & pavers
- Fence
Table of Contents
- Before the First Post Goes In: The Paperwork Warning Signs
- Post Depth and Concrete: The Corner-Cutting You Can Actually See
- Improper Post Spacing: The Quiet Failure That Waits for the Wind
- Panel Racking: What It Looks Like and Why It Matters
- Plumb, Square, and Straight: Testing the Bones of the Fence
- Gate Hinges, Fasteners, and the Materials That Age Well
- Your Pre-Payment Walkthrough Checklist
- Common Mistakes to Avoid
Before the First Post Goes In: The Paperwork Warning Signs
Most fence failures begin before a single shovel hits the dirt. The way a company behaves in the planning phase tells you almost everything about how they’ll behave when the job is 80% done and the easy money is already banked. In Yorba Linda, fence work on a shared property line, on a corner lot, or on a slope almost always needs a permit and definitely needs a site survey – and a contractor who waves those off as “not necessary” is telling you exactly how they plan to handle problems later.
Here’s what a legitimate start should look like:
- A site survey before the estimate is final. The fence line needs to be walked, the property pins located, and the existing soil and grade checked. If someone quotes a Yorba Linda fence from a satellite image and a phone call, they’re guessing – and you’ll be the one absorbing the guess.
- A permit pulled in your name or the company’s name. Fences over a certain height, fences on retaining walls, and fences near the front property line in Yorba Linda generally require city review. No permit means no inspection, and no inspection means nobody with authority is checking the work.
- Written confirmation of the property line. If the crew starts digging and the first post is six inches over the property line, you’ll pay for it twice – once to build it and once to move it.
- A clear scope sheet. Post spacing, footing depth, material grade, gate hardware, and stain or finish treatment should all be spelled out. Handwritten vague scopes are how “nice fence” turns into a discount version of what you thought you bought.
- Live answer when you call. A company that answers the phone during the week but ghosts you on a Saturday after installation is a company that’s already booked too thin. Groundwork Construction Co. answers calls with a live person 24 hours a day, seven days a week – and that’s the standard to hold any fence contractor to.
A missing permit is not a barg ain; it’s a liability you carry forward. If the fence ever needs to be repaired, replaced, or disclosed in a home sale, the missing paper trail becomes your problem, not the contractor’s.
Post Depth and Concrete: The Corner-Cutting You Can Actually See
Post depth is the single most common shortcut in fence work, and it’s also the easiest to spot if you know what to look for. The standard for a residential wood fence post in this part of Southern California is a hole about 24 to 30 inches deep with a concrete footing that fills roughly a third of the post’s buried length. Crews shorten that hole for one reason: time. Every post is dug faster at 16 inches than at 28.
What to watch for during the install:
- Short holes and low concrete. When a post is set and you can see the concrete dome sitting well above the surrounding grade, that’s usually a sign the footer is shallow. Properly set posts have concrete near or just below grade.
- Dry-mix dumped, not mixed. Some crews skip the mixing step and pour bagged concrete into the hole, assuming soil moisture will set it. On Yorba Linda’s heavier clay soils and during our dry months, that can leave a footing that never properly cures.
- No soil probing. A serious installer probes the hole before setting the post to make sure they’re not hitting old roots, buried utility fill, or loose fill dirt from a previous landscape job.
- Posts wobble before set. If a post moves in the hole before the concrete cures, the footing is already compromised. A straight post barely moves when pushed on a diagonal; a bad one sways.
- Foam or gravel footings on load-bearing fences. There’s a place for foam in some temporary fencing, but not in a permanent privacy fence next to a sloped Yorba Linda backyard where soil movement is a real risk.
You don’t need to monitor every hole. Stand outside during the first day and spot-check three or four of them. If the depth measure tape comes out and it reads 18 inches on a job spec’d for 28, you know what kind of job this is. Concrete footings are structural – a shallow one can fail silently for a season, then let the post twist or pull loose. This is also why we tell homeowners to ask about the concrete mix, not just the bag count.
Improper Post Spacing: The Quiet Failure That Waits for the Wind
Post spacing is the warning sign that hides the longest. A fence with posts set 10 feet apart instead of the standard 6 to 8 feet will look perfectly fine for a summer. Then the first strong Santa Ana wind event rolls through in fall – and in Yorba Linda those gusts funnel down the canyon corridors and into neighborhoods like Black Gold and the ridgeline streets above Yorba Linda Boulevard with real force – and the panels between those posts start to bow, then sag, then fail at the fasteners.
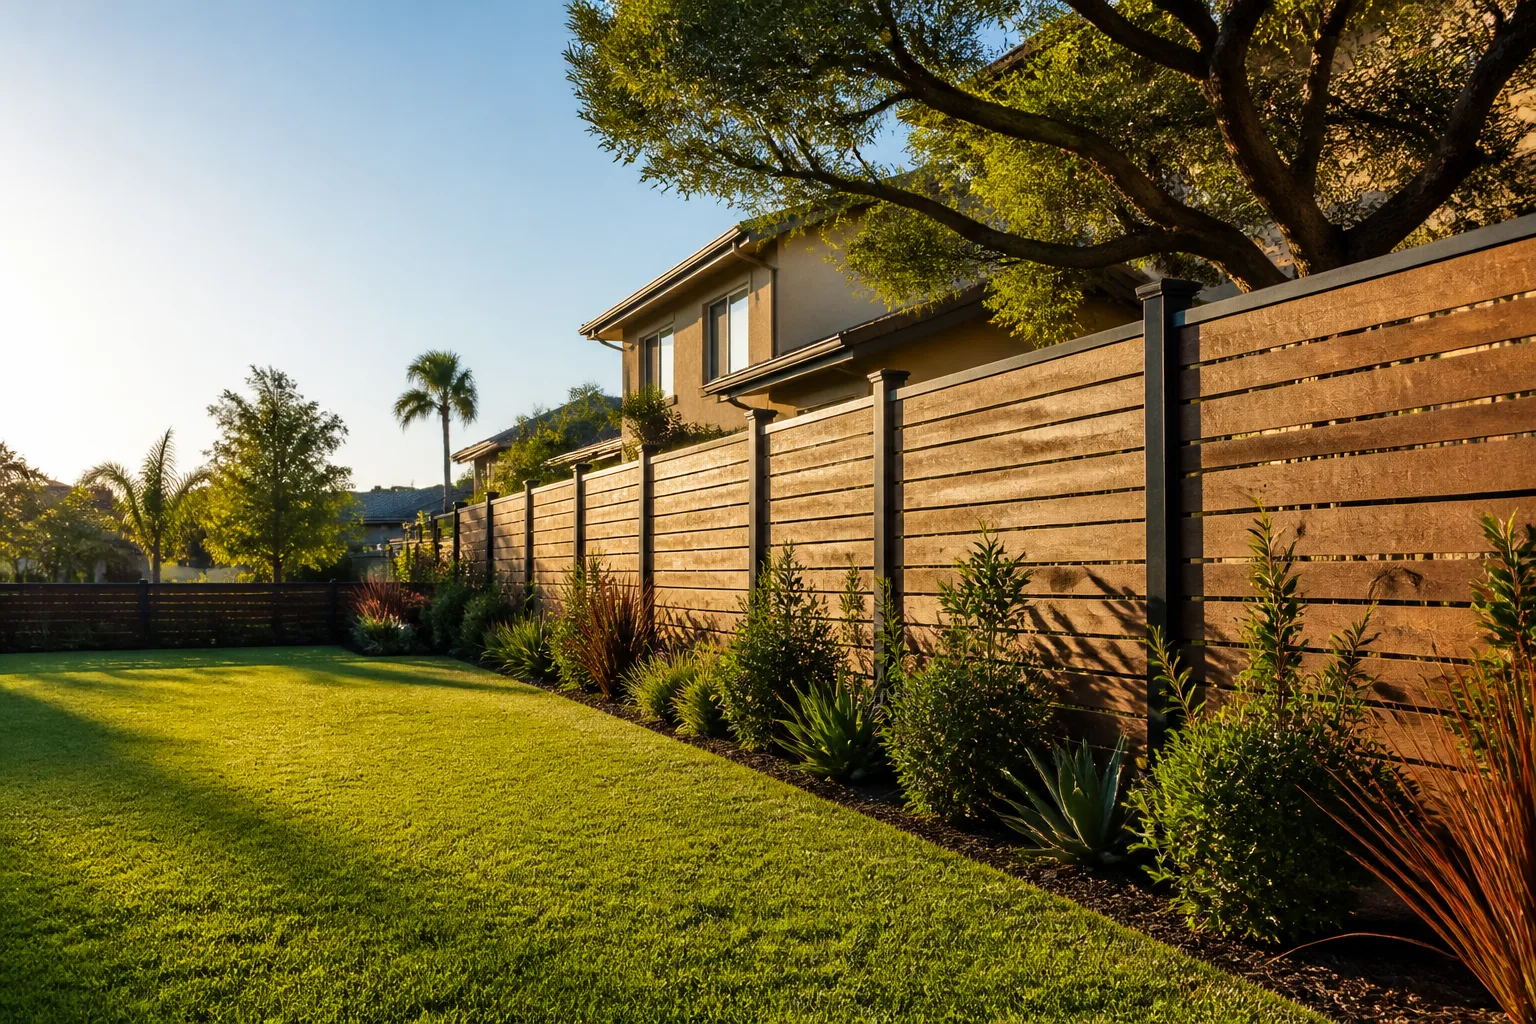
Standard residential wood privacy fence post spacing is 6 feet to 8 feet on center. Six feet is more common where wind exposure is a known concern. If you’re on a slope or a ridgeline in Yorba Linda, insist on 6 feet on center – the extra posts cost more in material but save far more in repair work.
What spacing problems look like on install day:
- You can count more than 8 feet between post centers with a tape measure. Do this on a few panels, not just one.
- Rails are spliced to span longer gaps. Spliced rails are a red flag on a new build.
- Panels flex visibly when you push on them. A well-built panel with 6 to 8 foot posts has a surprising amount of stiffness.
- Posts look thinner than spec. Common 4×4 posts are fine for standard privacy; some long-span builds try to save by using lighter material and calling it fine. It isn’t.
In Yorba Linda, the wind is not a hypothetical. The topography creates real pressure loads on fences higher up the hillsides, and it’s why we build tighter spacing than what a flat lot in the valley might use. Ask your contractor how they adjust for wind exposure. If the answer is “we build the same everywhere,” keep asking.
Panel Racking: What It Looks Like and Why It Matters
Racking is what happens when the panels between posts are not square to the rails. You’ll see it as a parallelogram effect: the pickets aren’t perpendicular to the ground, the tops of the boards sit at a slight diagonal, or the whole panel has slipped out of square in one direction. In some installations, racking is an intentional adjustment for a slope – a fence built to follow a grade transition will have slanted panels and that’s normal. But racking on a level stretch is a structural warning sign.
Racking on flat sections usually means one of three things:
- Posts are out of plumb. If the post tilts two degrees off vertical, every board attached to it is fighting that tilt forever.
- Rails were attached after the post cured with short fasteners. The panel hangs uneven and gets worse as the fasteners work loose.
- Pickets were nailed at an angle to force the fit. Angled nails look fine at handshake distance and fail fast under wind load and daily temperature cycling.
Stand at one end of a new fence and look down the line. Every picket top should sit in a clean, continuous line. If the line dips, wanders, or steps between posts, something is racked. Also check the fasteners – they should hit square to the board, not angled. This is one of those details that shows up on month-six review calls when the fence “suddenly” starts to look tired.
On a home addition or ADU project, we’ve seen the same racking issue in fence lines that connect new construction to existing fencing, because the new build changes the grade. If your fence is being tied into a new Home Additions & ADU in Yorba Linda project, demand a level top rail through the transition, not a slanted panel that lets water pool against the new structure.
Plumb, Square, and Straight: Testing the Bones of the Fence
You can verify plumb and square with nothing more than a level and a tape measure. If possible, borrow a four-foot level from a neighbor before the first day, then walk the build line after the posts cure and before the pickets go up. You’re checking three things: post plumb, line straightness, and gate squareness.
- Post plumb check. Hold the level on two adjacent sides of each post. Bubble centered means plumb. Any visible tilt – even a couple degrees – will worsen over time as the wood dries and the footing settles.
- Line straightness. Run a string from the first post to the last post at the same height. Every post should just touch the string. Posts that pull away from it or push past it are out of line.
- Panel square. Measure corner to corner on each gate frame. If the two diagonals don’t match within a quarter inch, the gate is racked and will sag. It’ll swing on day one and drag within months.
- Rail height consistency. Top and bottom rails should sit at matching heights all the way down the fence. A rail that drifts a half inch or more between panels is a sign the build was rushed.
- Coping and cap check. If a cap rail or trim is going on, check that it’s seated flat with no gaps or gaps at joints.
If you’re looking at Fence Installation in Yorba Linda and the contractor objects to you doing this walkthrough, that’s your answer. A confident builder invites the inspection.
Gate Hinges, Fasteners, and the Materials That Age Well
Fasteners and hardware tell you whether the build was priced to survive or priced to sell. Galvanized or stainless fasteners cost a little more than standard galvanized collated nails, but they’re the difference between a fence that handles five summers of Southern California sun without rust streaks and one that needs cosmetic repairs inside two years. Same story with hinge sets on gates: cheap stamped hinges pinch, then bind, then break.
Materials worth asking about by name:
- Boral composite or premium vinyl for fence caps and cosmetic fascia.
- PGT or CGI hardware sets where the fence line meets the gate hardware.
- CWS post caps and connectors on structural joints.
- Stainless ring-shank nails or galvanized equivalents on pickets and rails – not smooth-shank nails.
You don’t need to memorize brands. You do need to ask what fasteners and what hardware are going into the build, and hear a specific answer. “Standard hardware” is not an answer.
We’ve been specifying materials this way for years in Yorba Linda for one reason: it’s the difference between a fence that needs a callback in month twelve and one that flat-out doesn’t. That’s the same standard we apply on Driveway & Pavers in Yorba Linda projects next to fences, where soil movement and drainage need to line up with the fence footer.
Your Pre-Payment Walkthrough Checklist
Hold final payment until you’ve walked the full fence with this checklist. This is the walkthrough most homeowners skip, and it’s the one that determines whether the contractor’s workmanship warranty gets called into practice or stays theoretical. In Yorba Linda, we recommend doing this on a clear weekend morning when you can see the lines cleanly.
- Walk the full fence line looking down the top edge. Any dipping, wandering, or stepping between panels is a problem.
- Check post plumb with a four-foot level on 4-5 posts spread across the fence. Note any lean.
- Probe the concrete with a screwdriver or probe rod at the base of 3-4 posts. Properly cured concrete resists hard; loose or crumbly means shallow or improperly mixed footing.
- Swing every gate open and closed ten times. Any binding, dragging, or loud clicking indicates improper hinge alignment or racked framing.
- Inspect fasteners on every panel. Fasteners should sit flush and square, not angled or overdriven into the wood.
- Check cap and trim for gaps at joints. Joints should be tight, not filled with silicone.
- Verify cleanup. Concrete splatter on walkways, extra nails in the grass, and dirt piles left on site are signs of a job being “closed out” without finishing.
- Confirm the permit record. Ask for the permit number and the inspection date. If the fence required a permit and no inspection was scheduled, hold payment.
If something fails, take photos and note the issue in writing before you pay. Reputable contractors correct these items without argument.
Common Mistakes to Avoid
- Paying the full balance before the walkthrough. Final payment is your last bargaining chip. Hold it until the checklist is clean.
- Skipping the site survey to save a line item. Every Yorba Linda fence line on a slope, corner, or shared property boundary needs the survey first. The “savings” disappear the moment a property line gets contested.
- Accepting “we don’t need a permit for that.” In Yorba Linda, most fence heights and retaining wall combinations do require city review. A contractor who skips it is transferring the risk to you.
- Ignoring wind exposure on ridgeline lots. Standard 8-foot spacing on an exposed Yorba Linda ridge is asking for a wind failure within two Santa Ana seasons.
- Not asking what fasteners are going in. “Standard nails” is how fence lines turn rust-streaked and loose inside 24 months.
- Tying new fence to old posts. New panels joined to aged posts rack immediately because the older post is already slightly out of plumb. Replace the connecting post.
- Skipping the gate swing test. The most common callback on a new fence is a sagging gate. If the diagonals don’t match, refuse the gate.
See the difference
 Before
 After
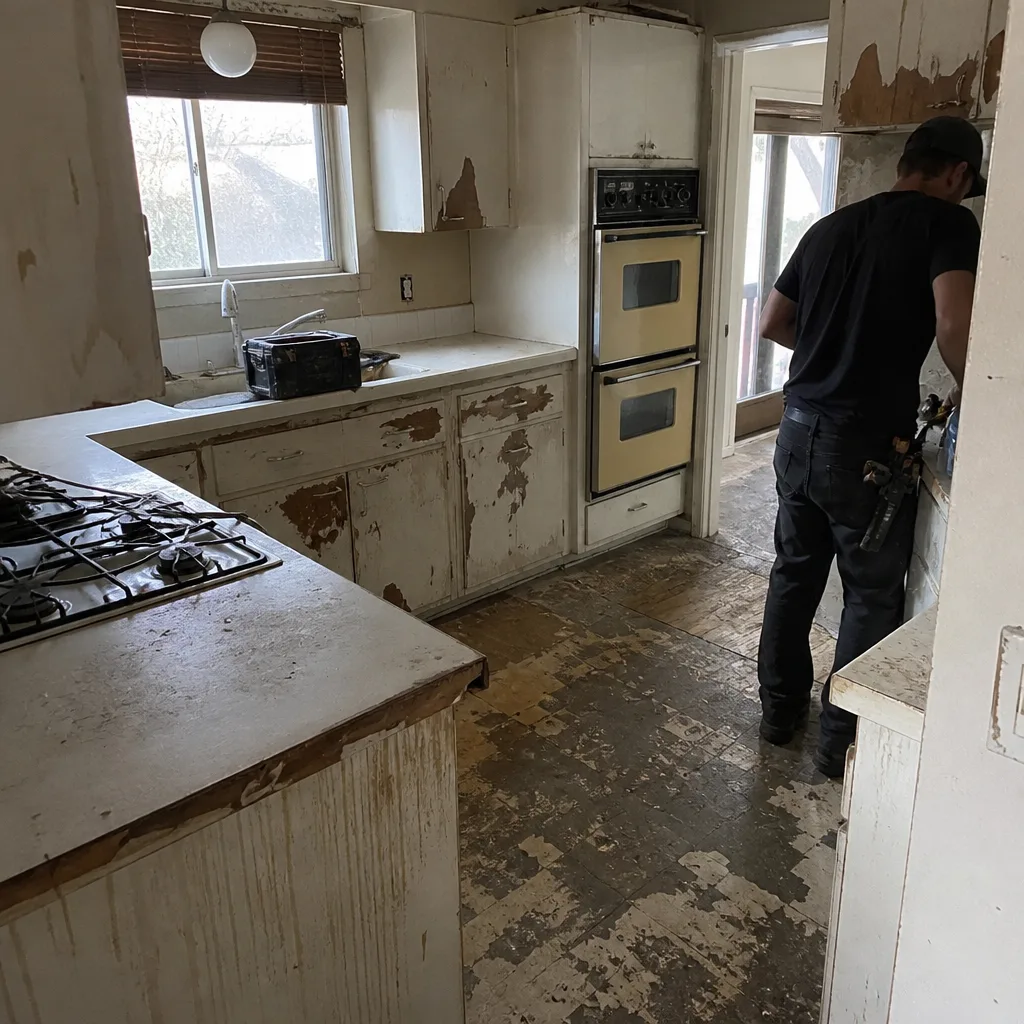 Before
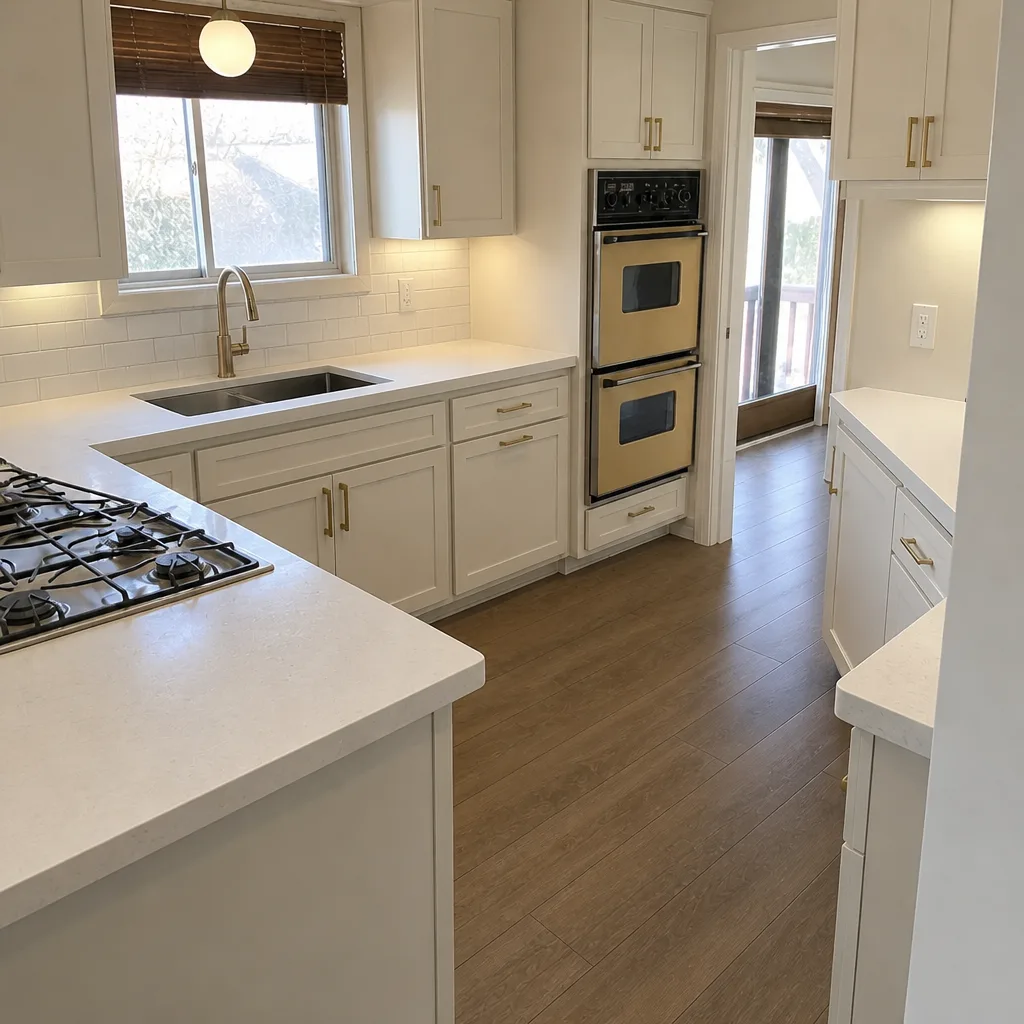 After
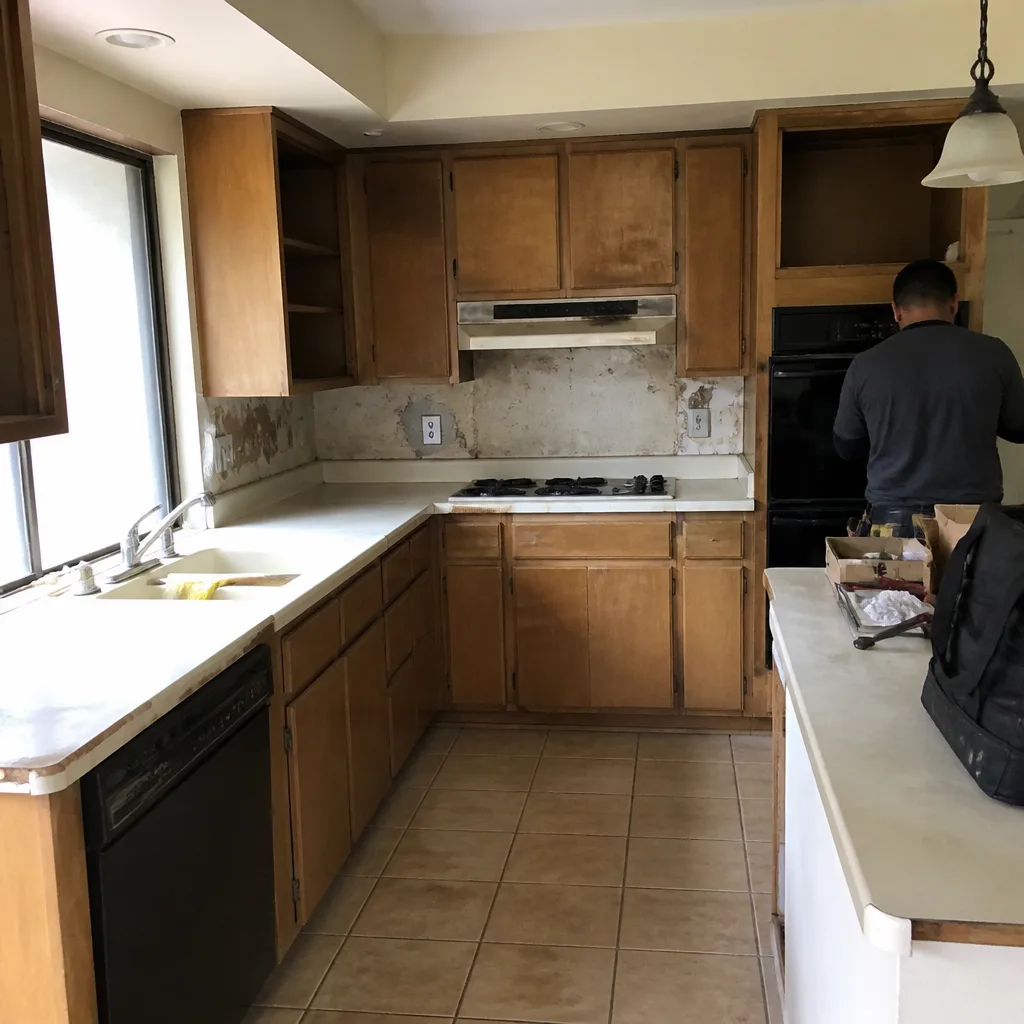 Before
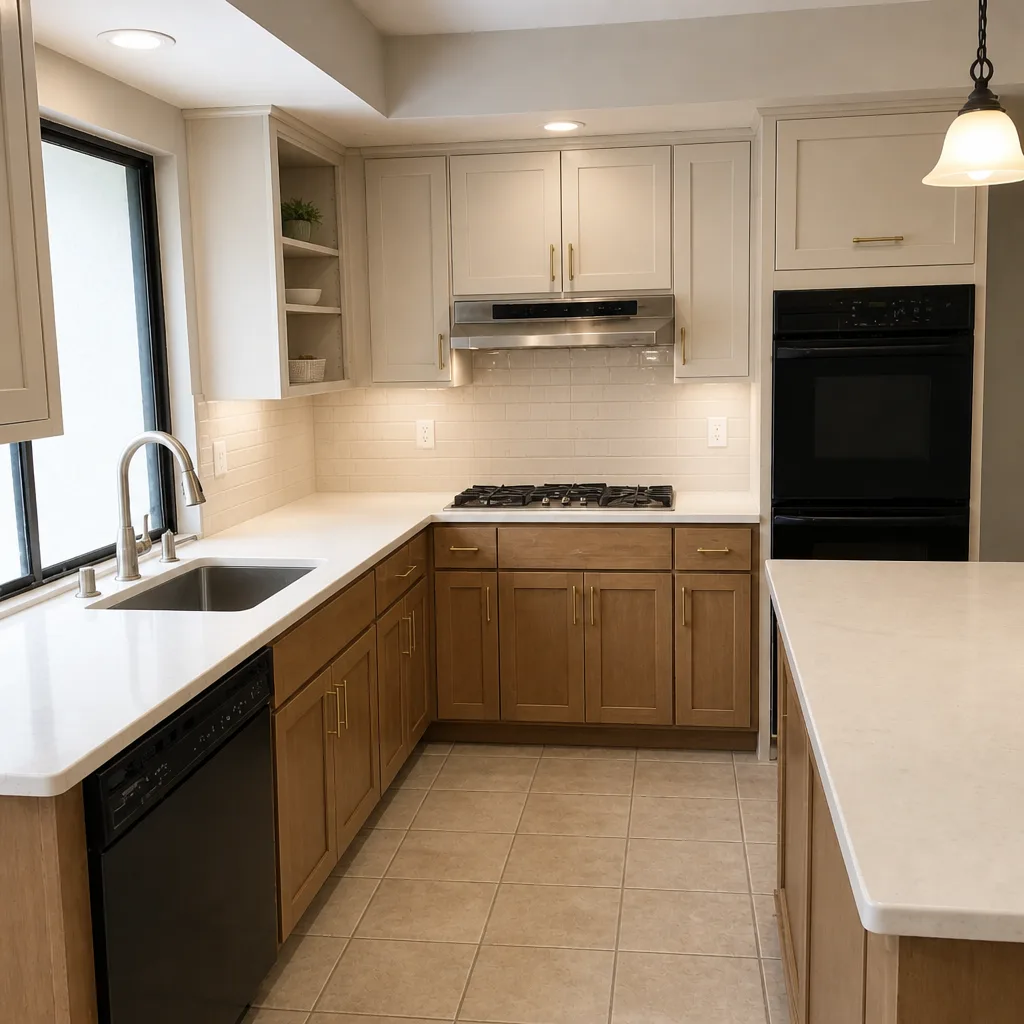 After
When to Call a Professional
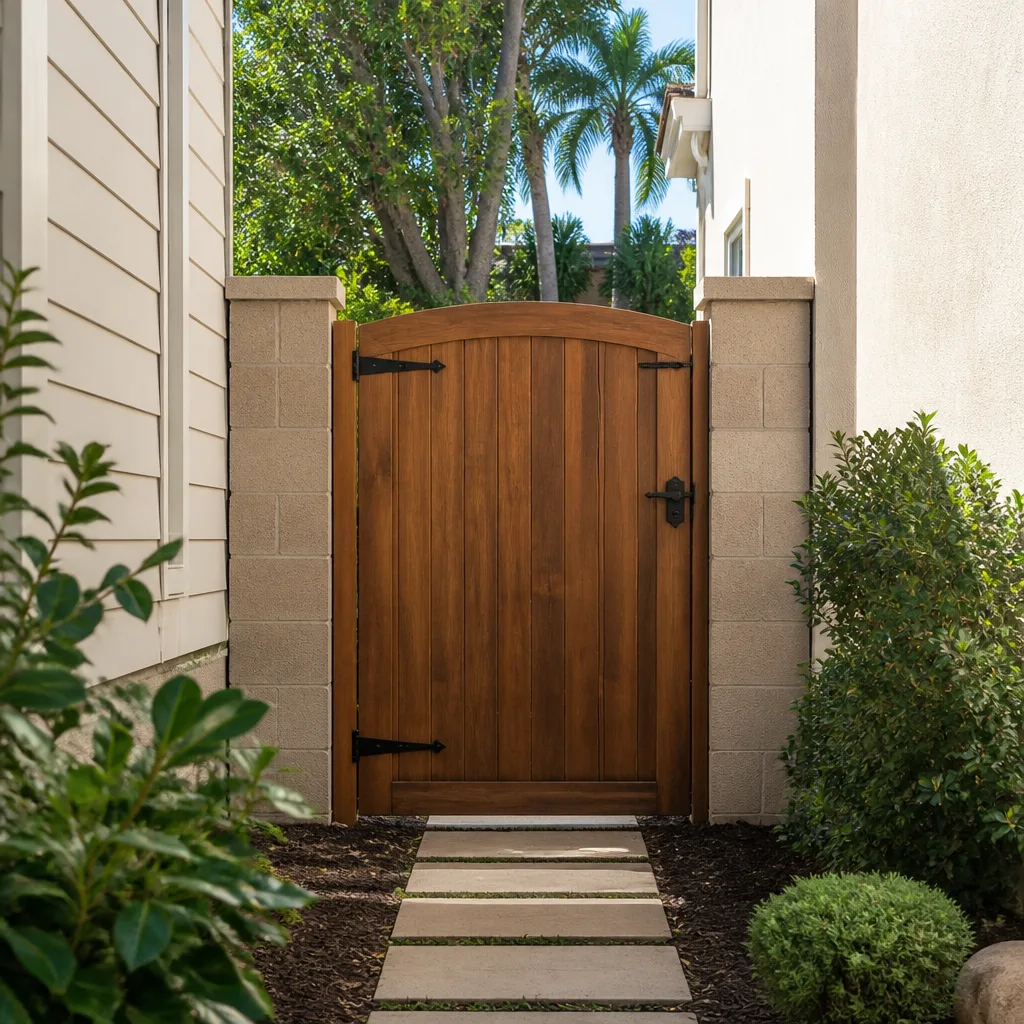
Call a professional fence contractor if you’re on a property line, on a slope, on a ridgeline wind corridor, or on any lot where the fence is doing real structural work – retaining soil, securing a pool area, or finishing a home addition project. DIY fence installation has a place on a flat backyard run under 60 feet, but anything more complex will cost more to fix than to install correctly the first time. Rot, termite, and footing failure in Yorba Linda homes usually show up in year three to five, and a proper installation with a written workmanship promise is the difference between a repair call and a reinstall. Groundwork Construction Co. of Yorba Linda offers free estimates in Yorba Linda – call (888) 255-9354.
If you’re comparing us to another contractor, hold both to the same checklist and ask the same questions. The right answer wins on facts, not sales language.
Frequently Asked Questions
Most residential wood fence posts in Yorba Linda should be set 24 to 30 inches deep with a concrete footing that fills roughly a third of the buried post length. Wind corridor and slope lots on the ridgelines above Yorba Linda Boulevard call for the deeper end of that range. Any post set shallower than 24 inches is a real risk for footing failure within the first few years.
The single most common warning sign is a shallow hole with a low concrete dome sitting well above grade at the base of the post. It’s visually obvious once you know to look for it, and it’s the fastest way to spot a crew cutting corners on footing time. If you spot it on 3 or more posts, stop the job and require corrections before final payment.
In most cases, yes. Fence heights beyond the standard limit, fences on retaining walls, and fences near the front property line in Yorba Linda typically require city review and inspection. A contractor who tells you a permit isn’t needed is a liability, not a bargain – if the fence ever needs repair, replacement, or must be disclosed in a home sale, you carry the risk of missing documentation. Ask for a permit number before work begins.
Stand at one end of the fence and look down the line of picket tops – they should form a clean continuous line with no dipping or stepping between panels. On flat sections, any visible slanted panel means the posts are out of plumb or the rails were attached unevenly. Slanted panels on a slope transition are normal; slanted panels on flat stretches are structural warnings.
Typical Yorba Linda fence installation runs roughly $45 to $90 per linear foot for standard wood privacy fencing, and $70 to $130 per linear foot for premium composite or vinyl, depending on height, post spacing, gate count, and site complexity. Slope and wind-exposure work runs higher because the footer and spacing requirements are stricter. Call (888) 255-9354 for a free estimate – the quote is written with line items, not a single price.
The 730-Day Done Right Promise covers our fence work for two years from completion – if the work fails, we make it right. That includes footing issues, panel racking, gate hardware failures, and any other workmanship defects that surface in that window. We put it in writing, and the promise is one of the longer residential workmanship guarantees in the market.
The Bottom Line
Bad fence work hides in the first few hours of installation and then waits 18 to 36 months to announce itself. The fix is simple: know what to look for before the first post goes in, and hold final payment until the checklist passes. Post depth, post spacing, panel racking, gate square, fastener quality, permit record, and a proper site survey are the seven things that determine whether your Yorba Linda fence lasts 15 years or needs replacing inside three. Walk the build, ask direct questions, demand a written scope and a workmanship promise – and if a contractor resists any of that, you’ve learned what you needed to know before signing.
If you’re ready for a fence built to that standard, Groundwork Construction Co. of Yorba Linda home puts a 730-Day Done Right Promise behind every job, with background-checked, uniformed technicians and upfront pricing with no surprises. Call (888) 255-9354 for a free estimate – a live person answers 24 hours a day, seven days a week. New customers get $1,000 off projects over $10,000 and 0% financing for 18 months.
Written by the team at Groundwork Construction Co. of Yorba Linda.